Task #26: Loox or Judge.me Product Reviews
Optimize your site with Loox for Shopify: installation, pricing, integration, and review management.
Purpose
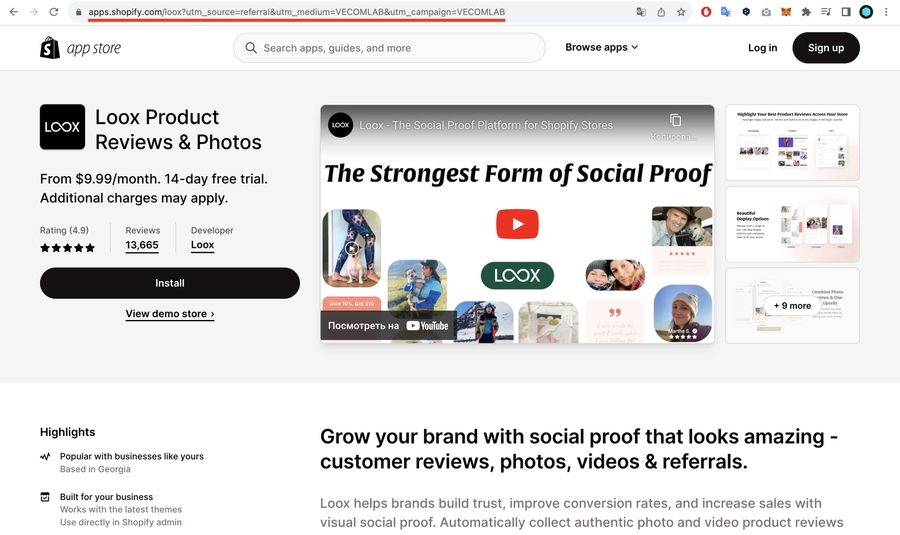
Install the Loox review app → https://vecomlab.com/loox
Loox is a great review app. We suggest you install the app using our link and enjoy all the benefits for 30 days for free. By default, the free trial period is 14 days.
Install: https://vecomlab.com/loox
If you initially selected the Beginner plan but later decide you need the Scale plan with more features, simply switch the plan – the free trial period will still be preserved. The Scale plan offers many advantages, one of which is the ability to add 100 reviews from AliExpress at once for your product. This will greatly speed up and simplify your work.
The video tutorial shows how to use the Loox app for Shopify: installation, selecting a plan, theme integration, setting up the review widget, language, color scheme, feedback requests, discounts for photo reviews, and managing reviews.
Description
Add as many reviews as possible to the product page
Read more
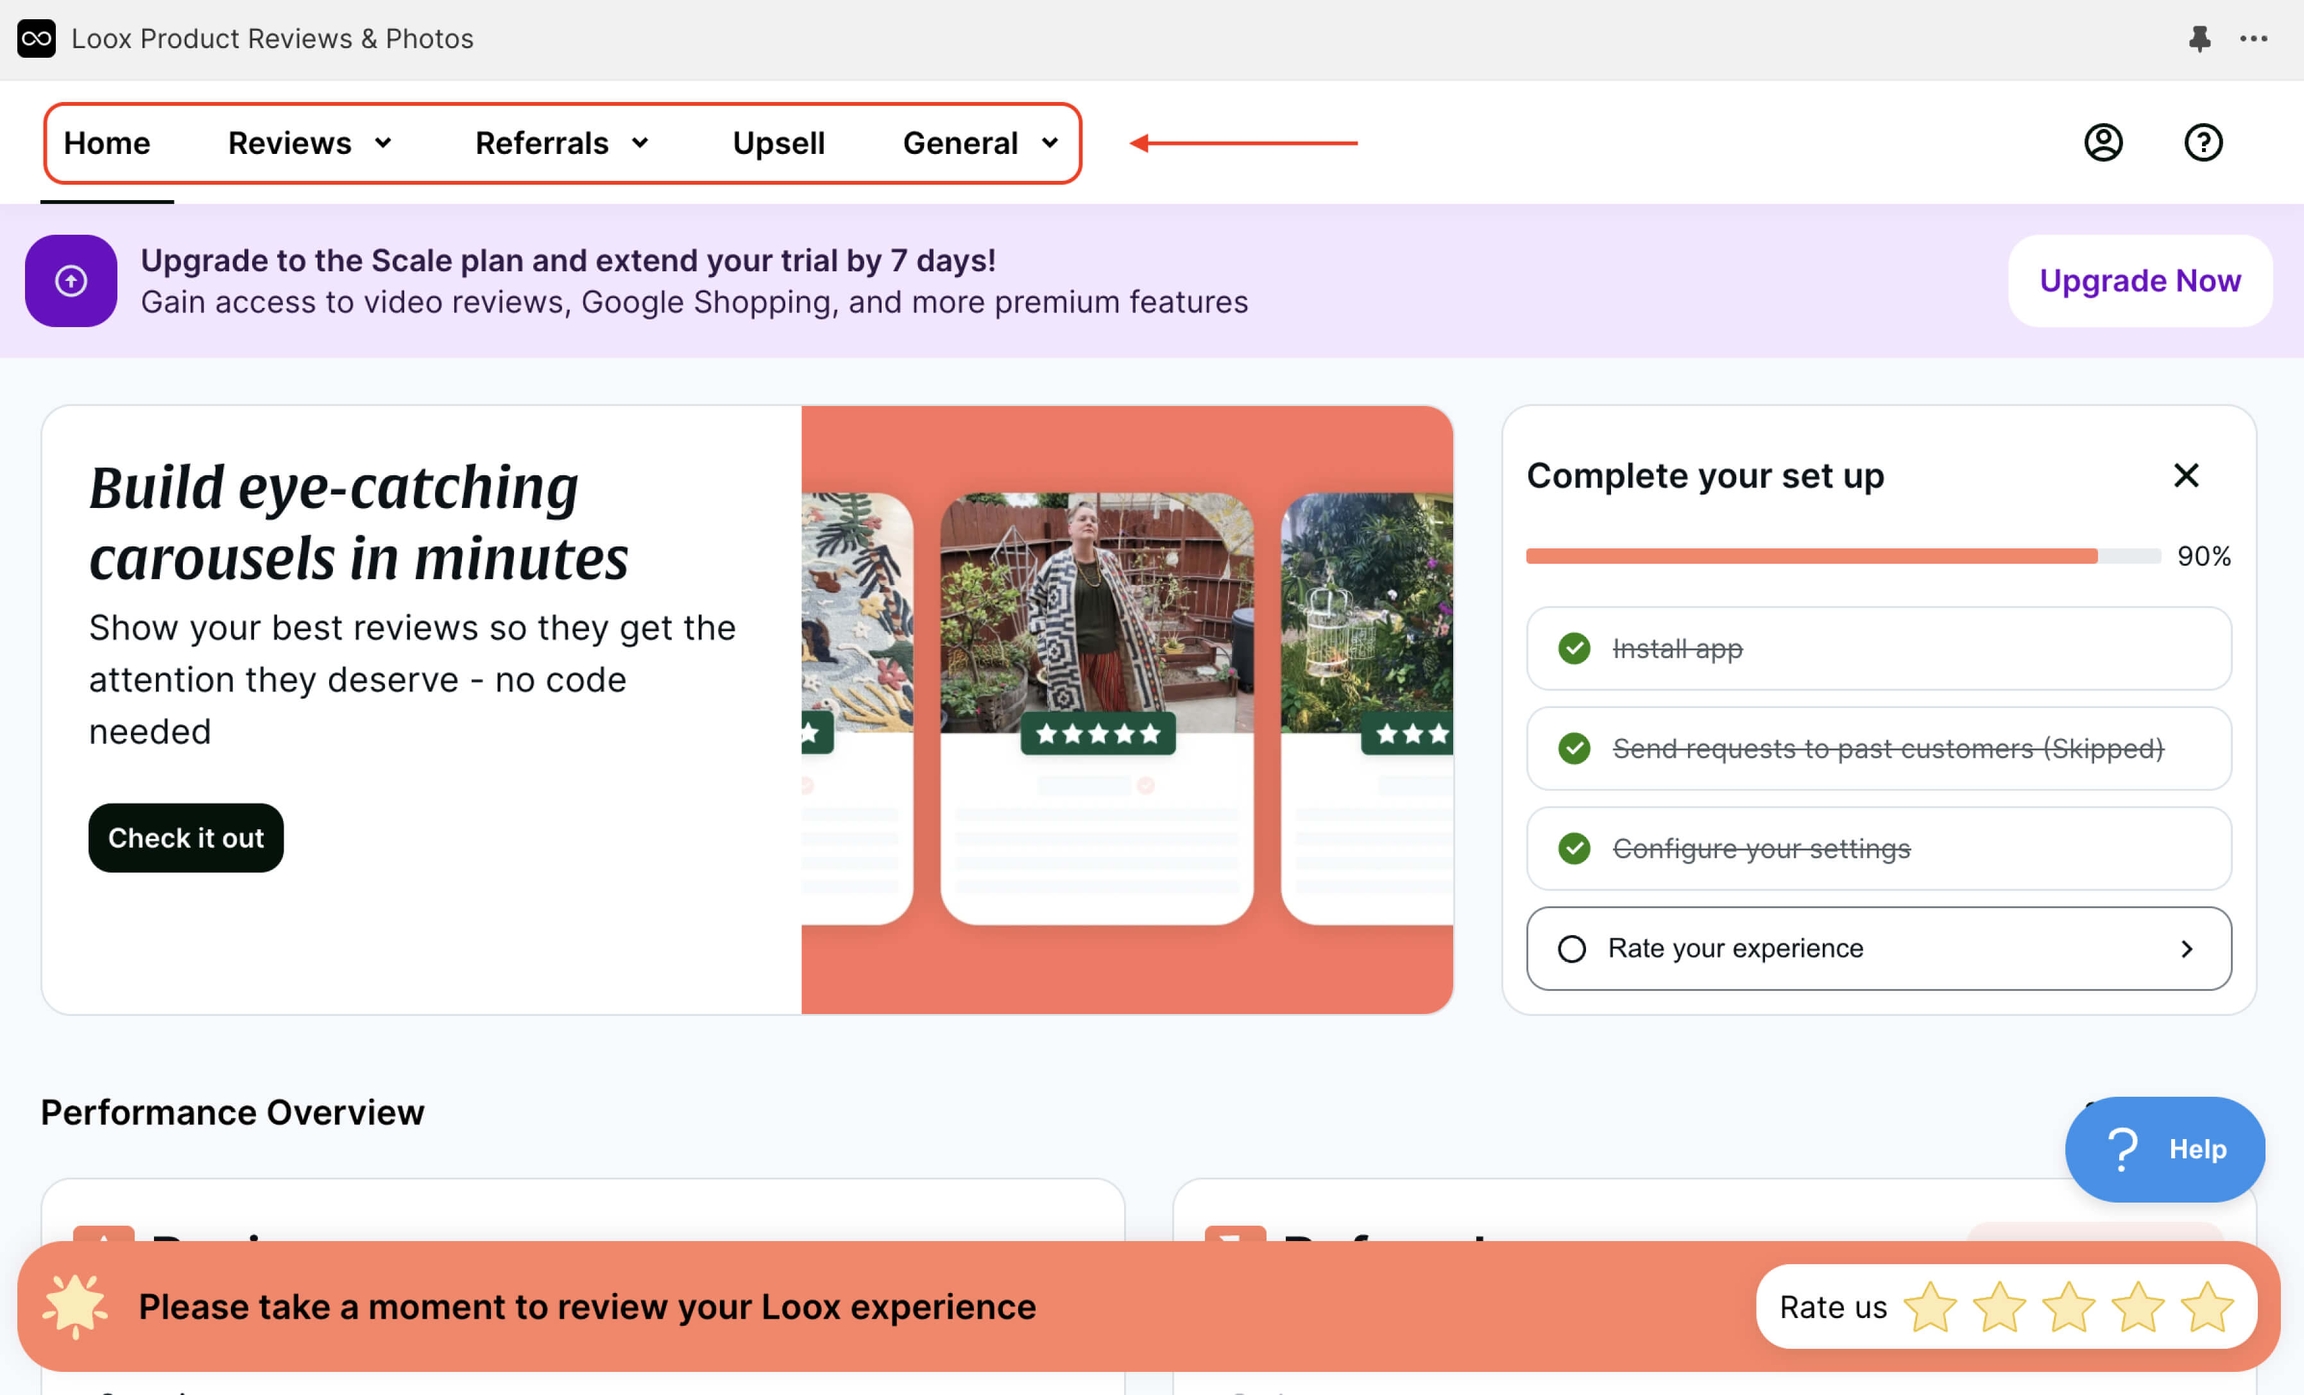
App menu (Home, Reviews, Referrals, Upsell, General). Set up Referrals and Upsell as desired.
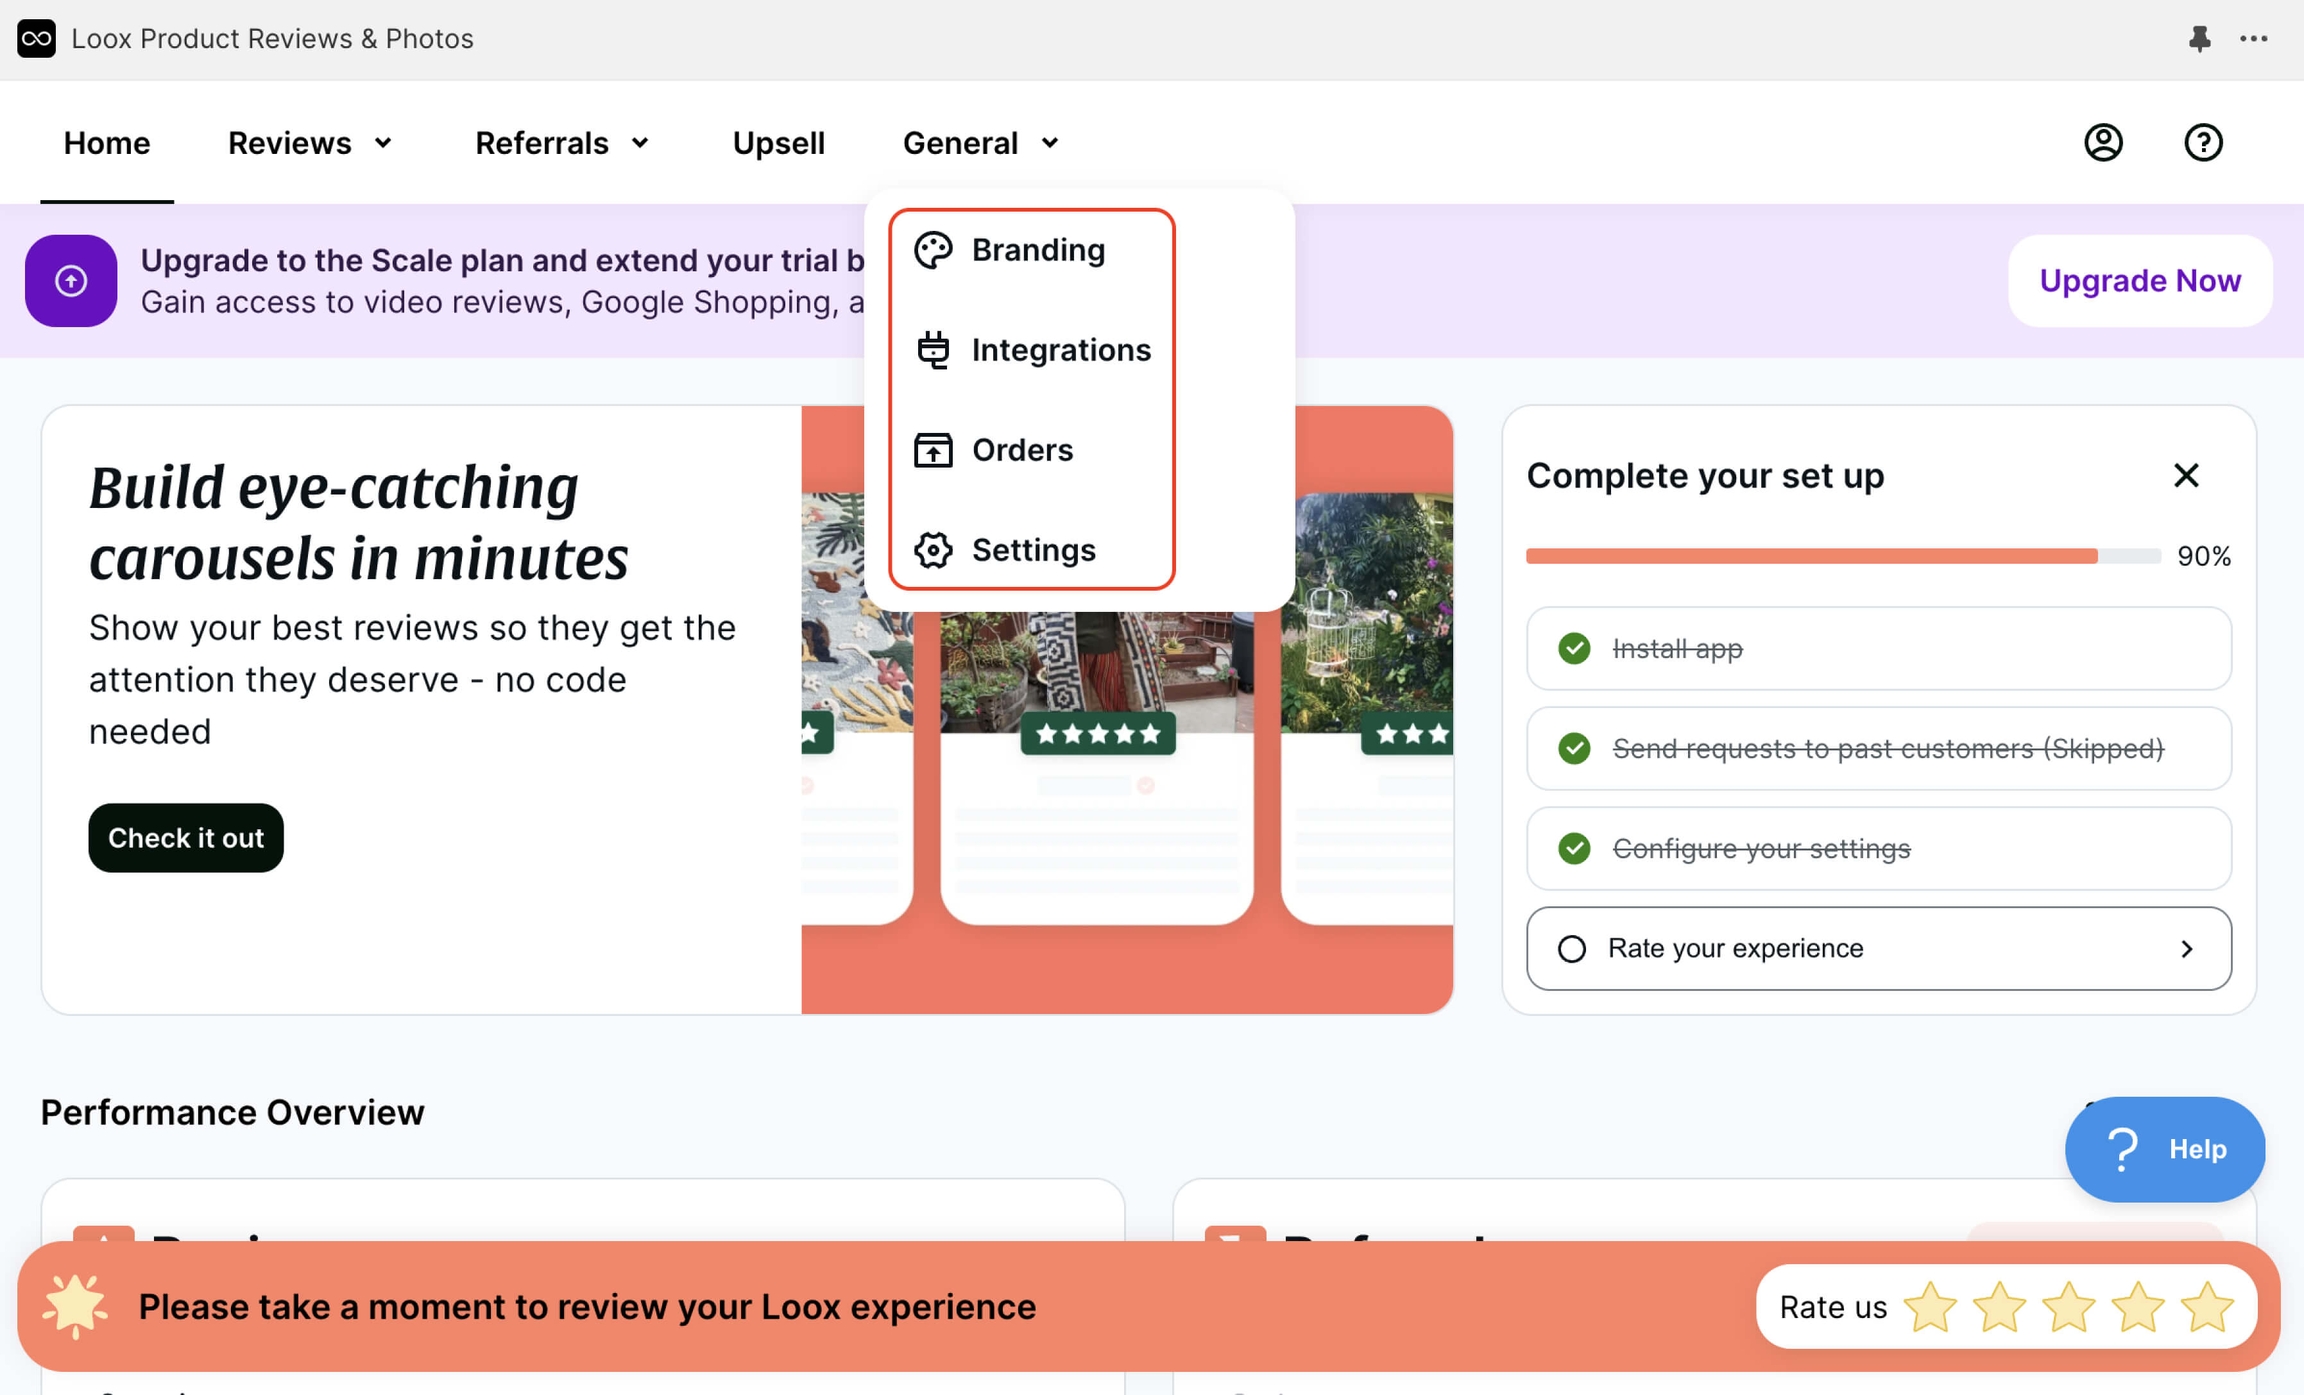
App menu General (Branding, Integrations, Orders, Settings).
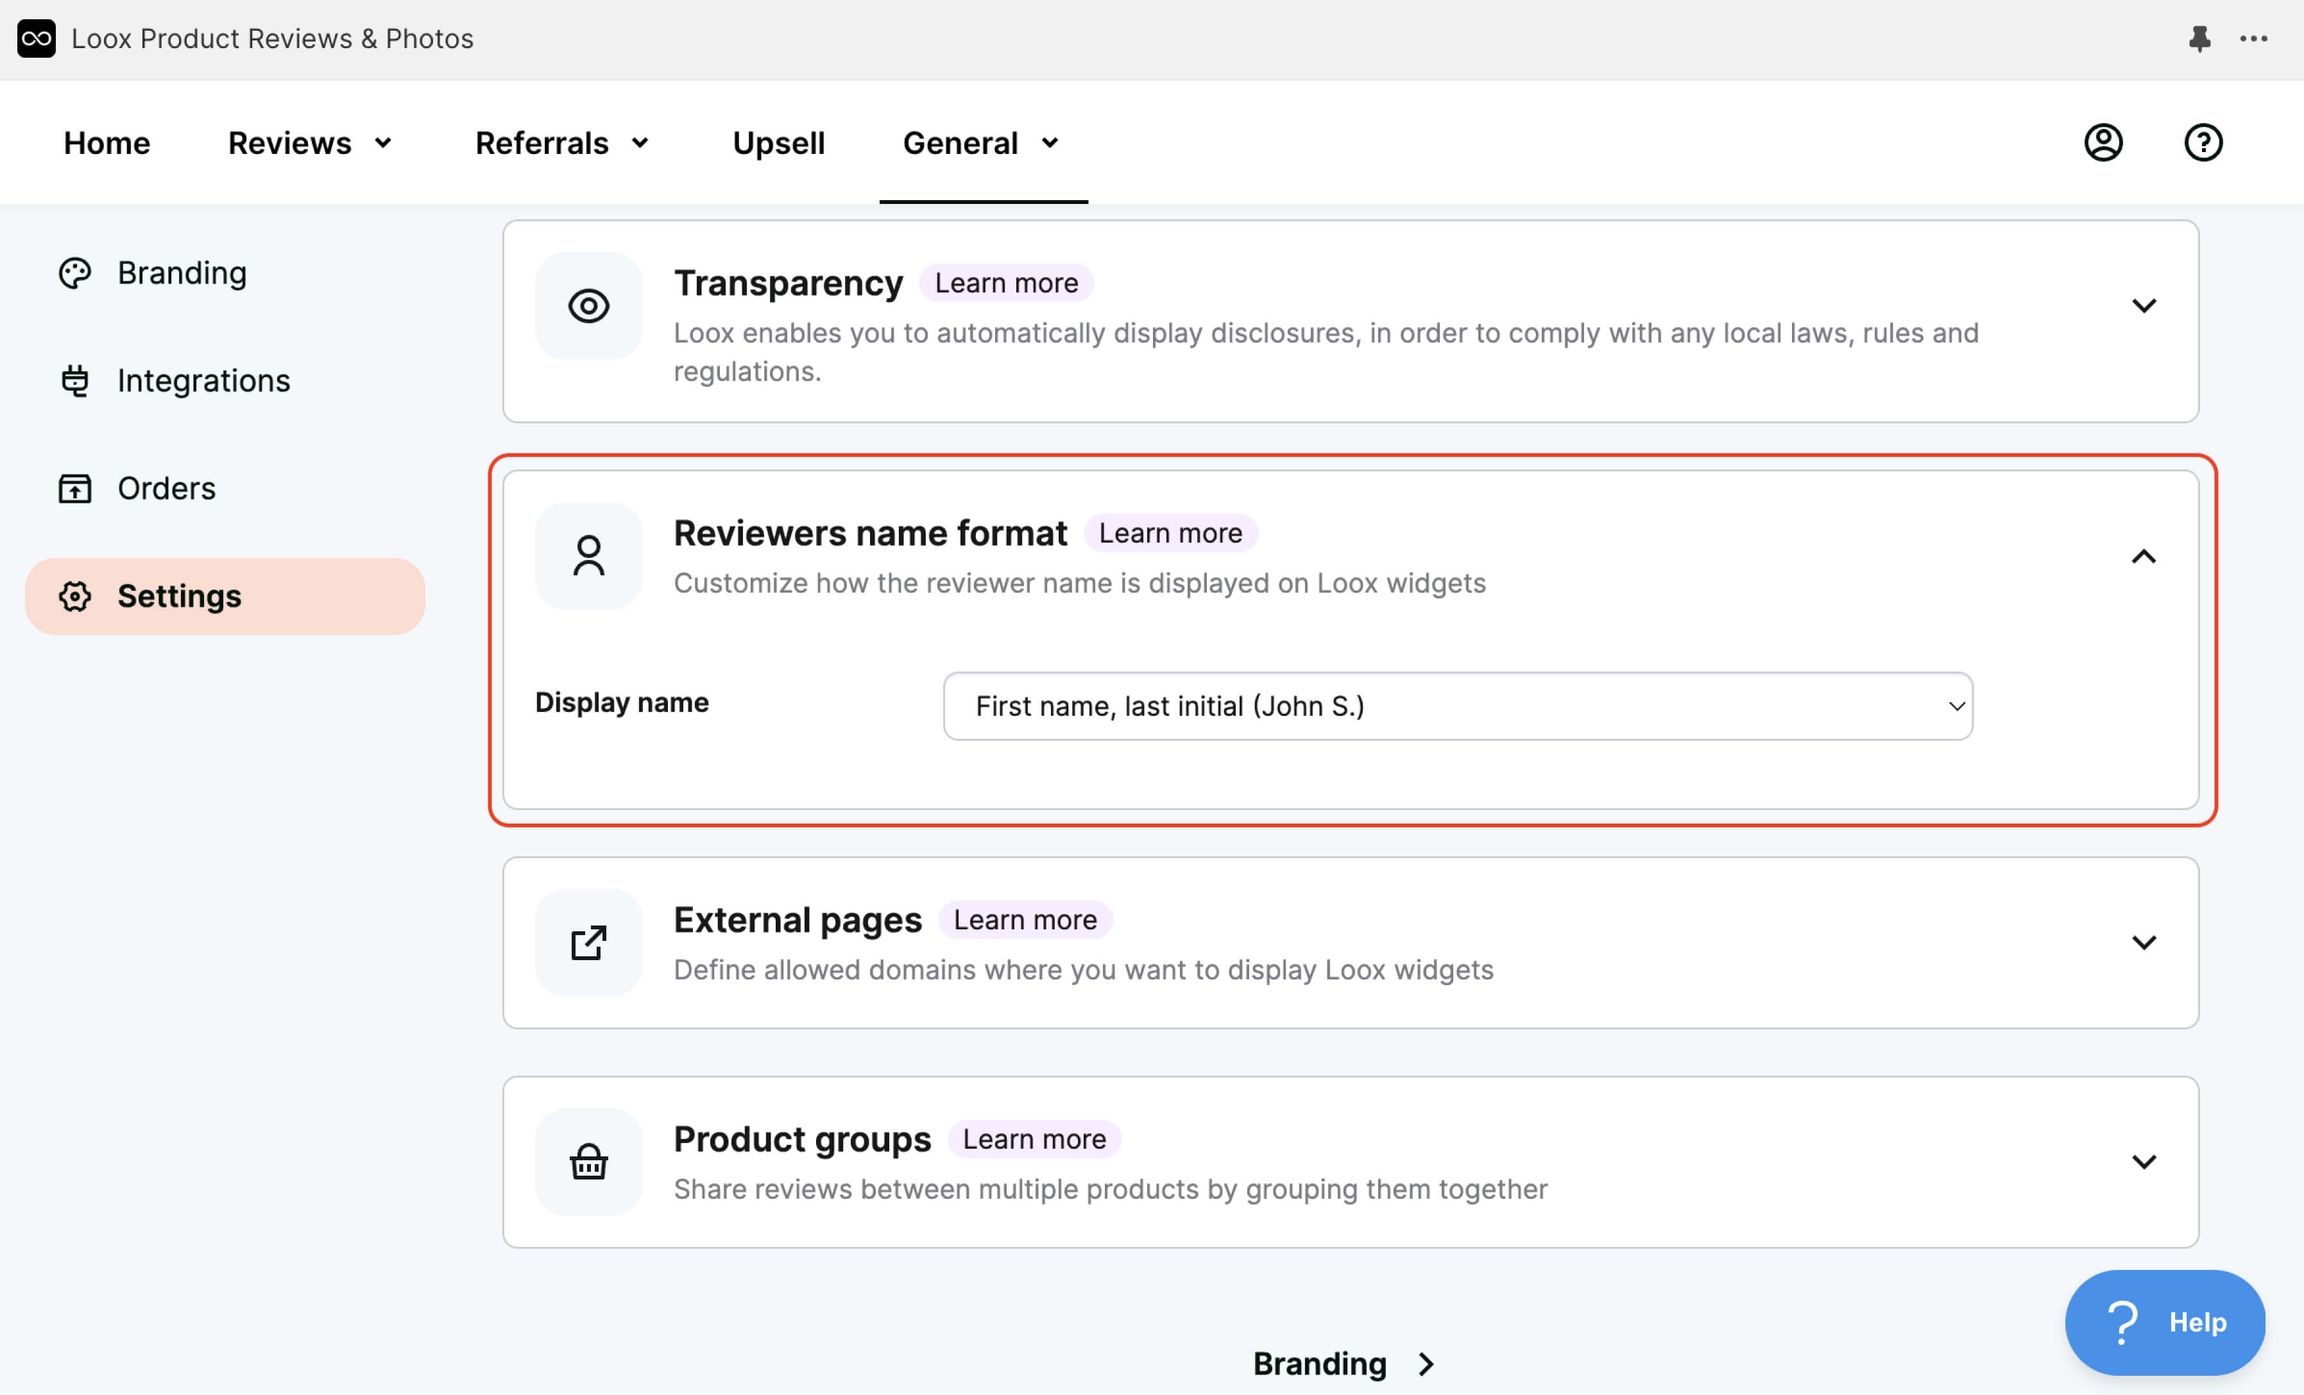
In Settings, configure the display format of the name.
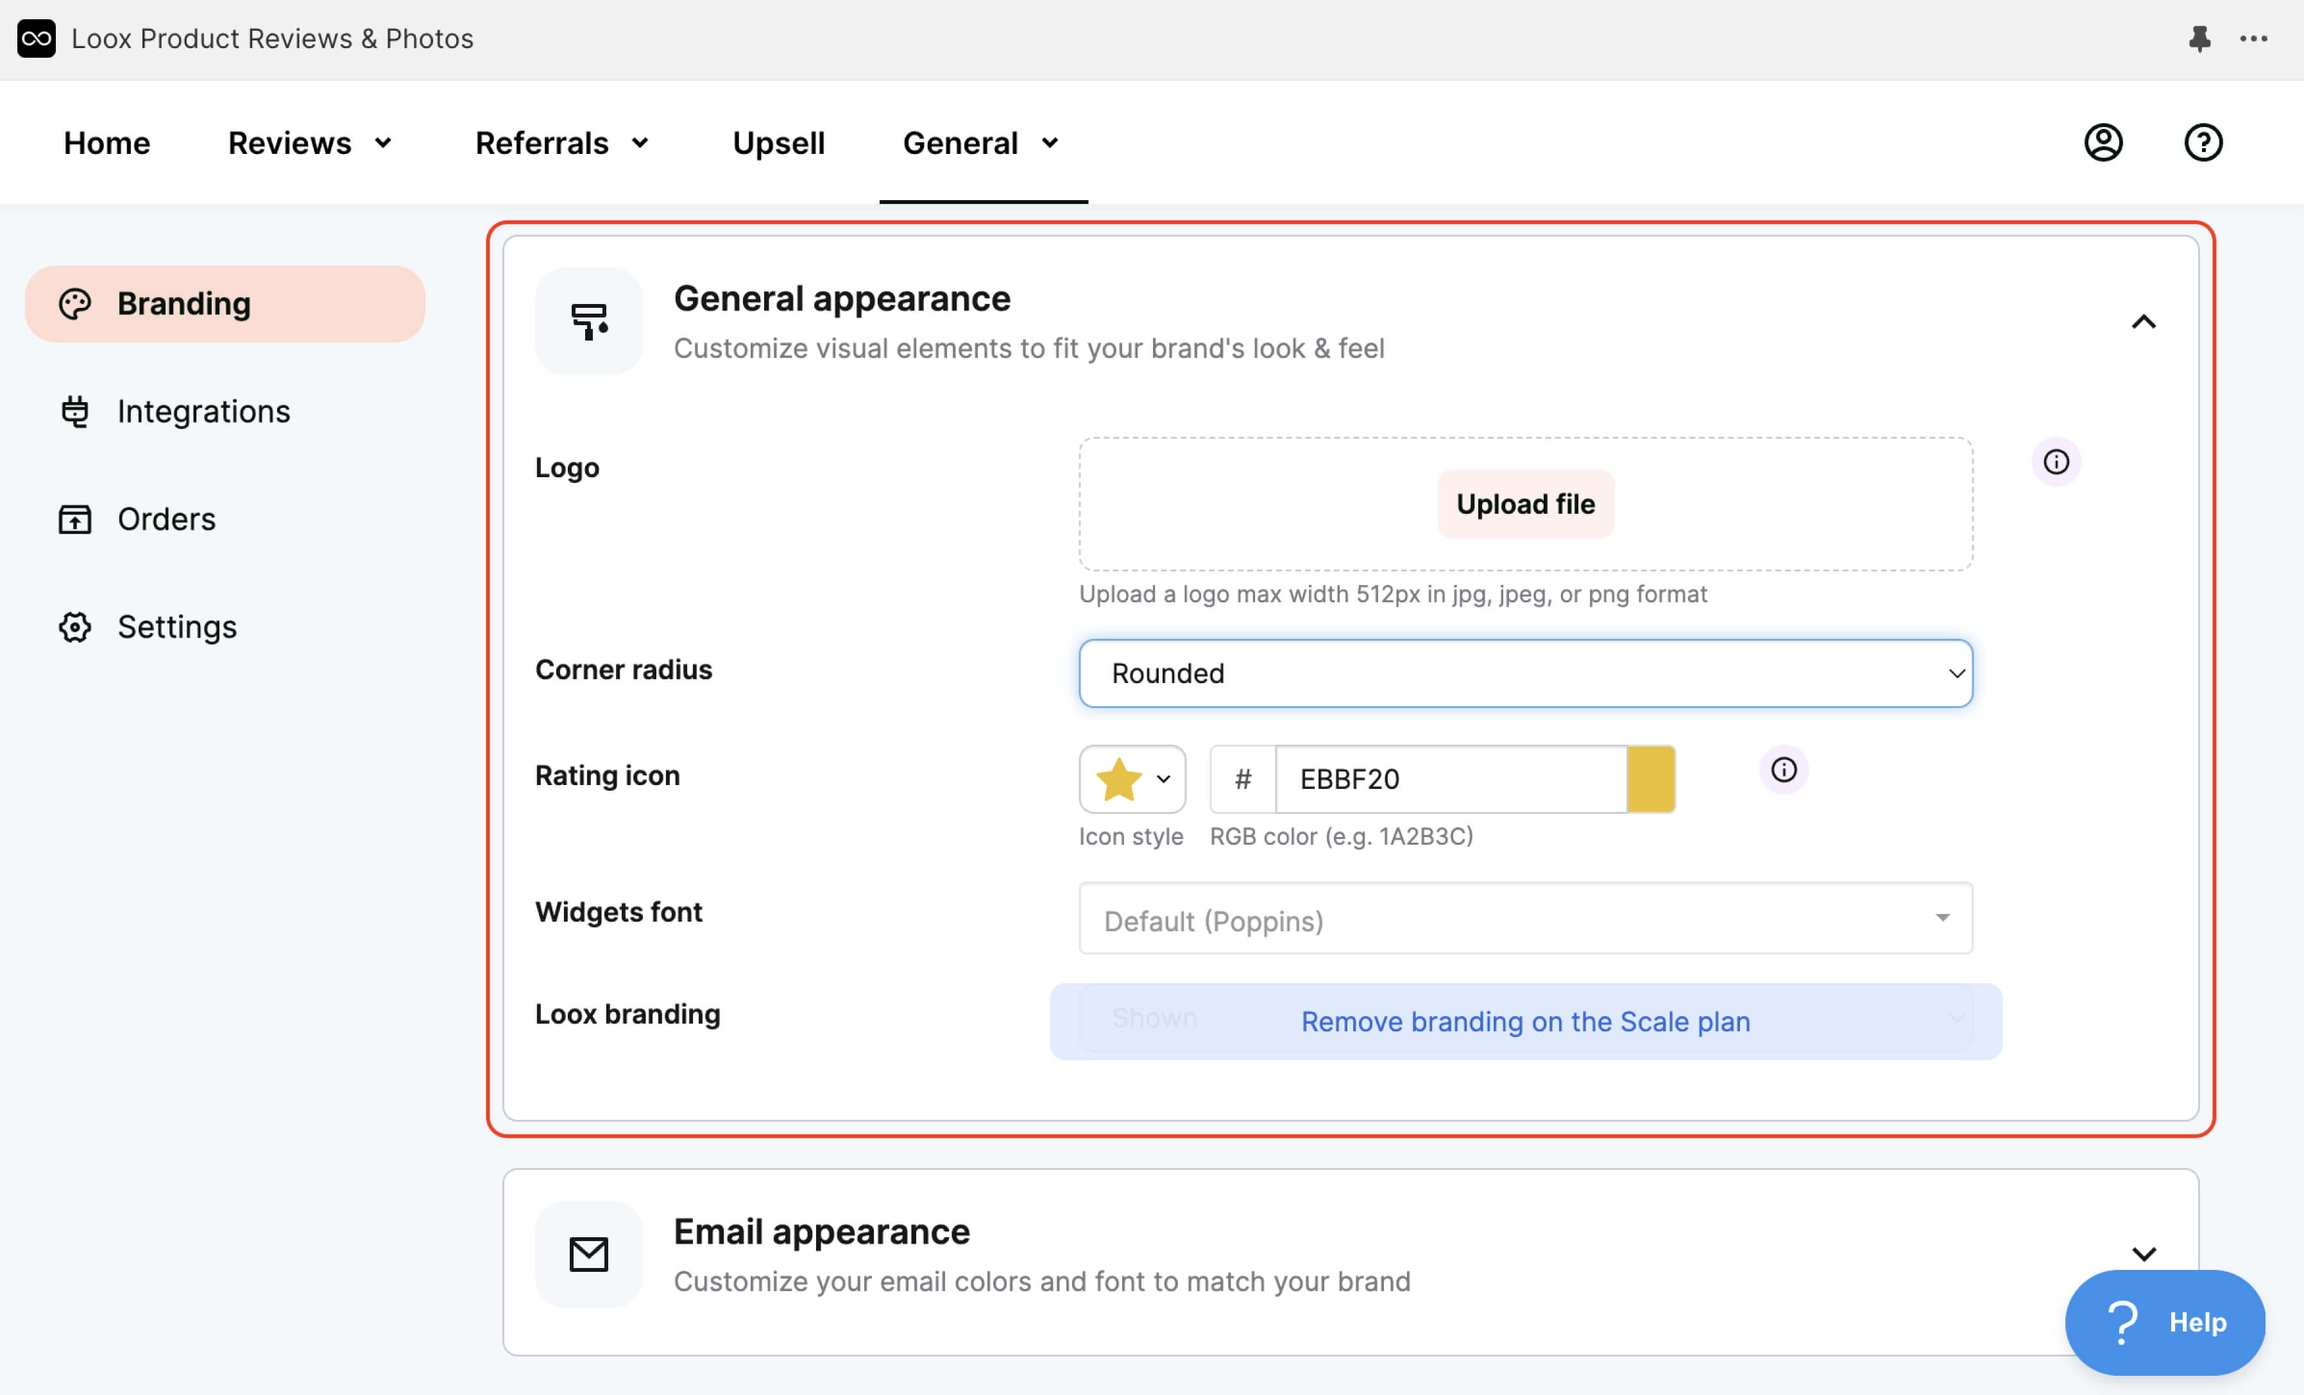
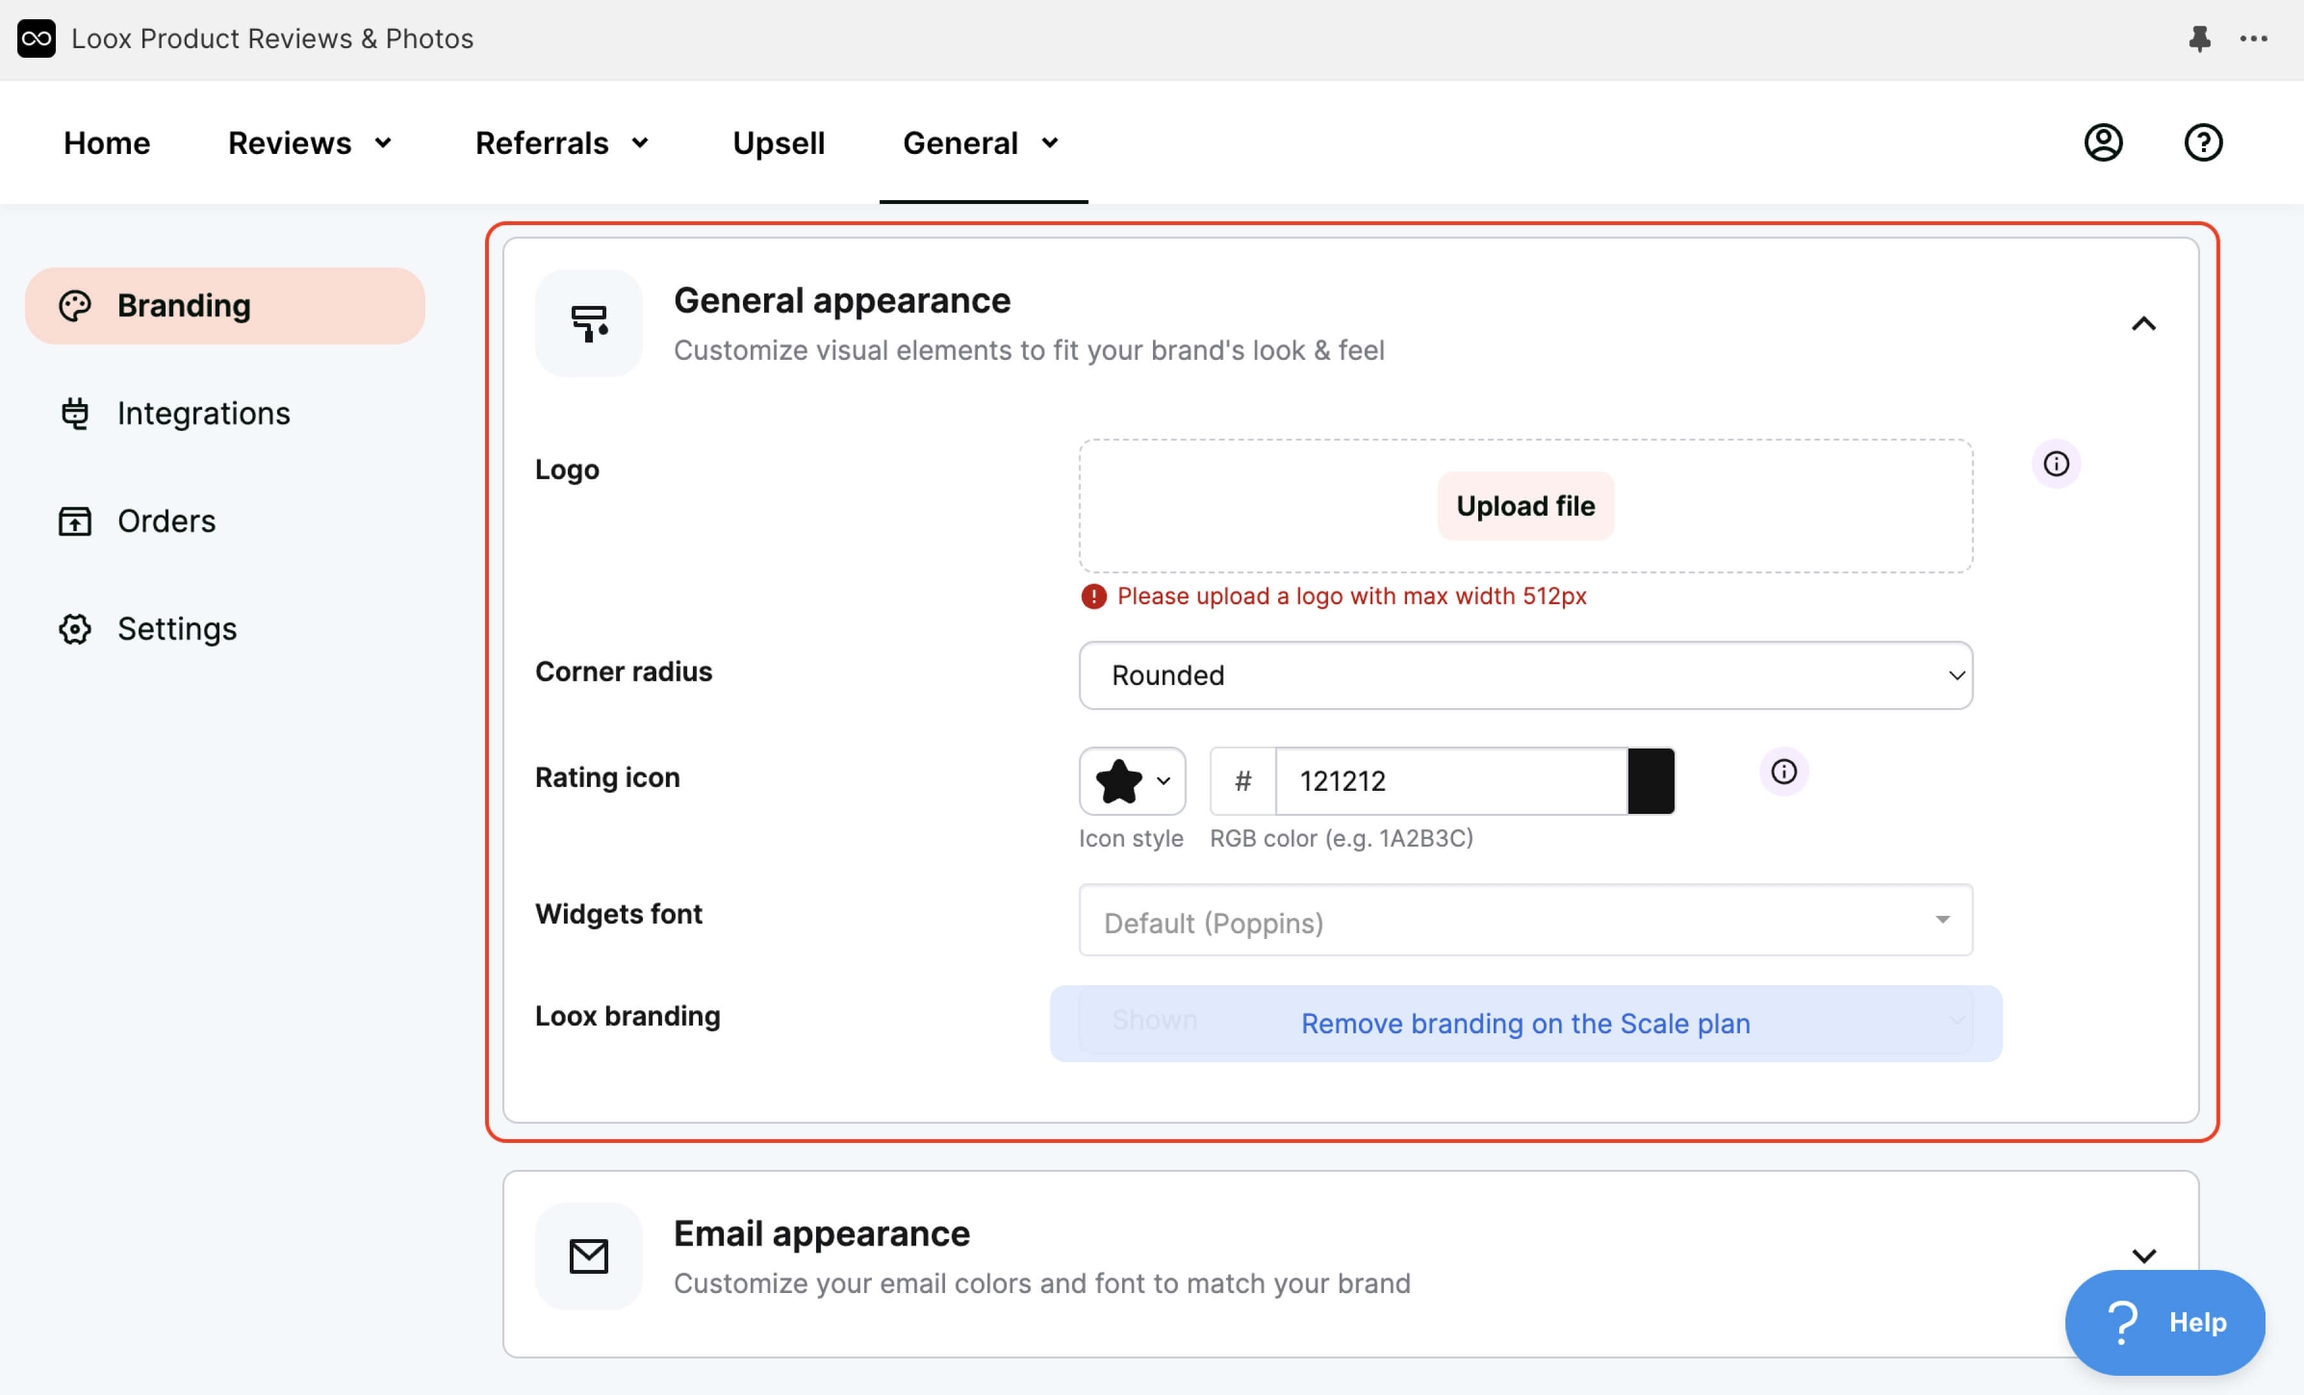
In Branding, customize the font, colors, and optionally add a logo.
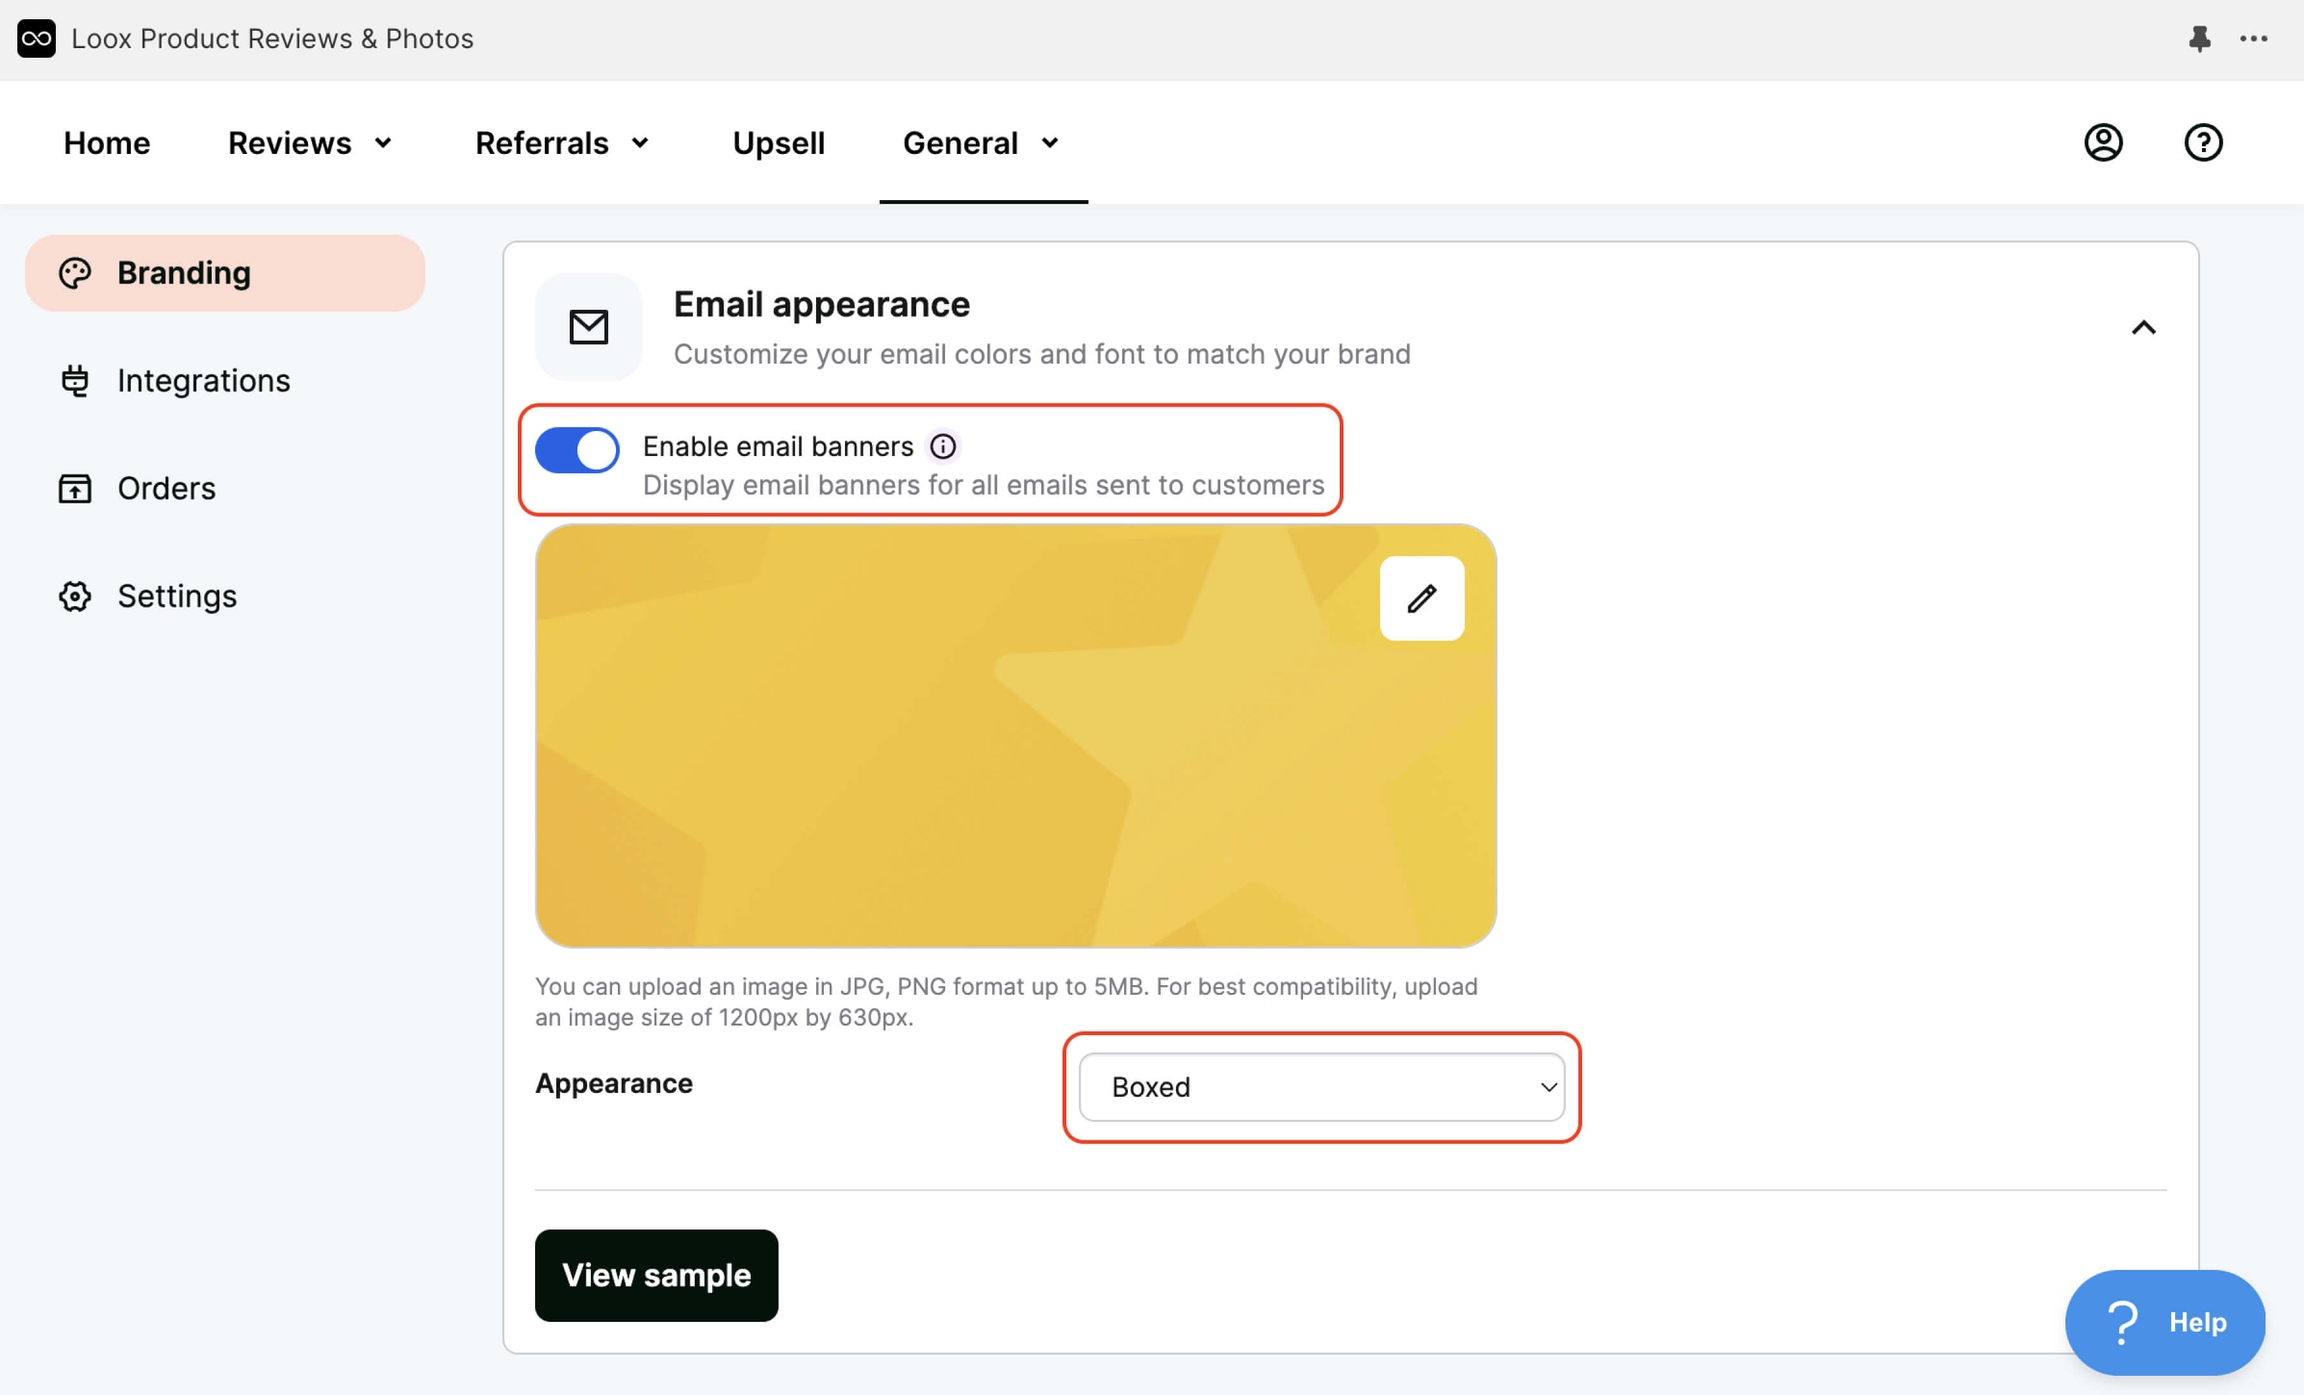
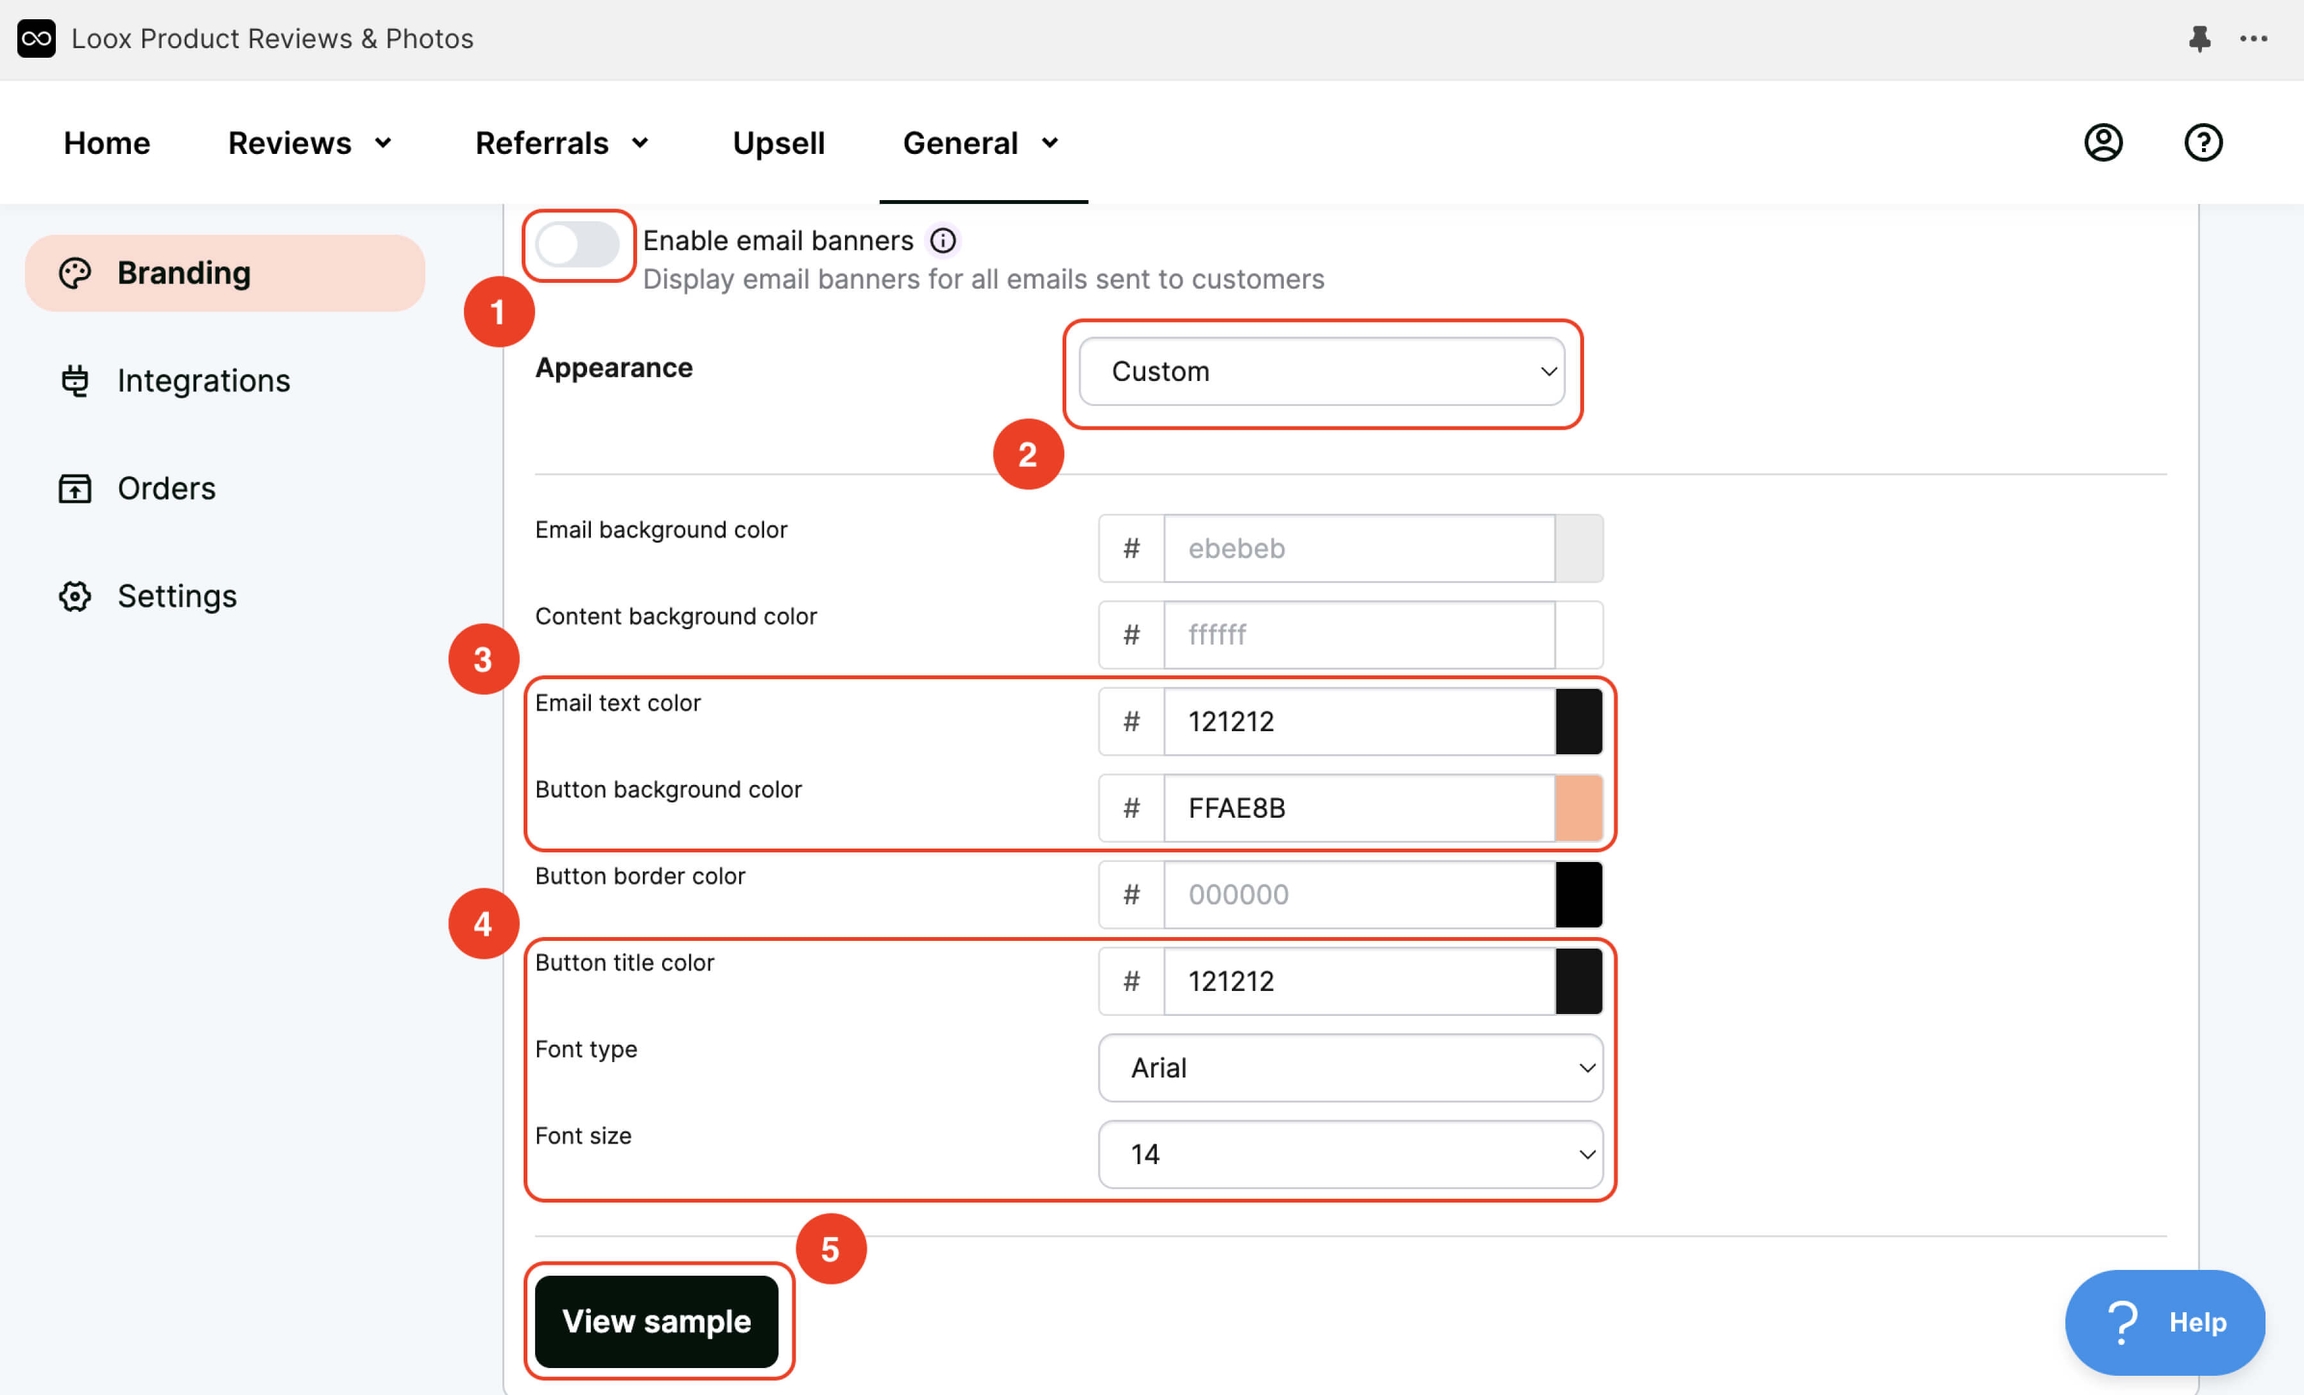
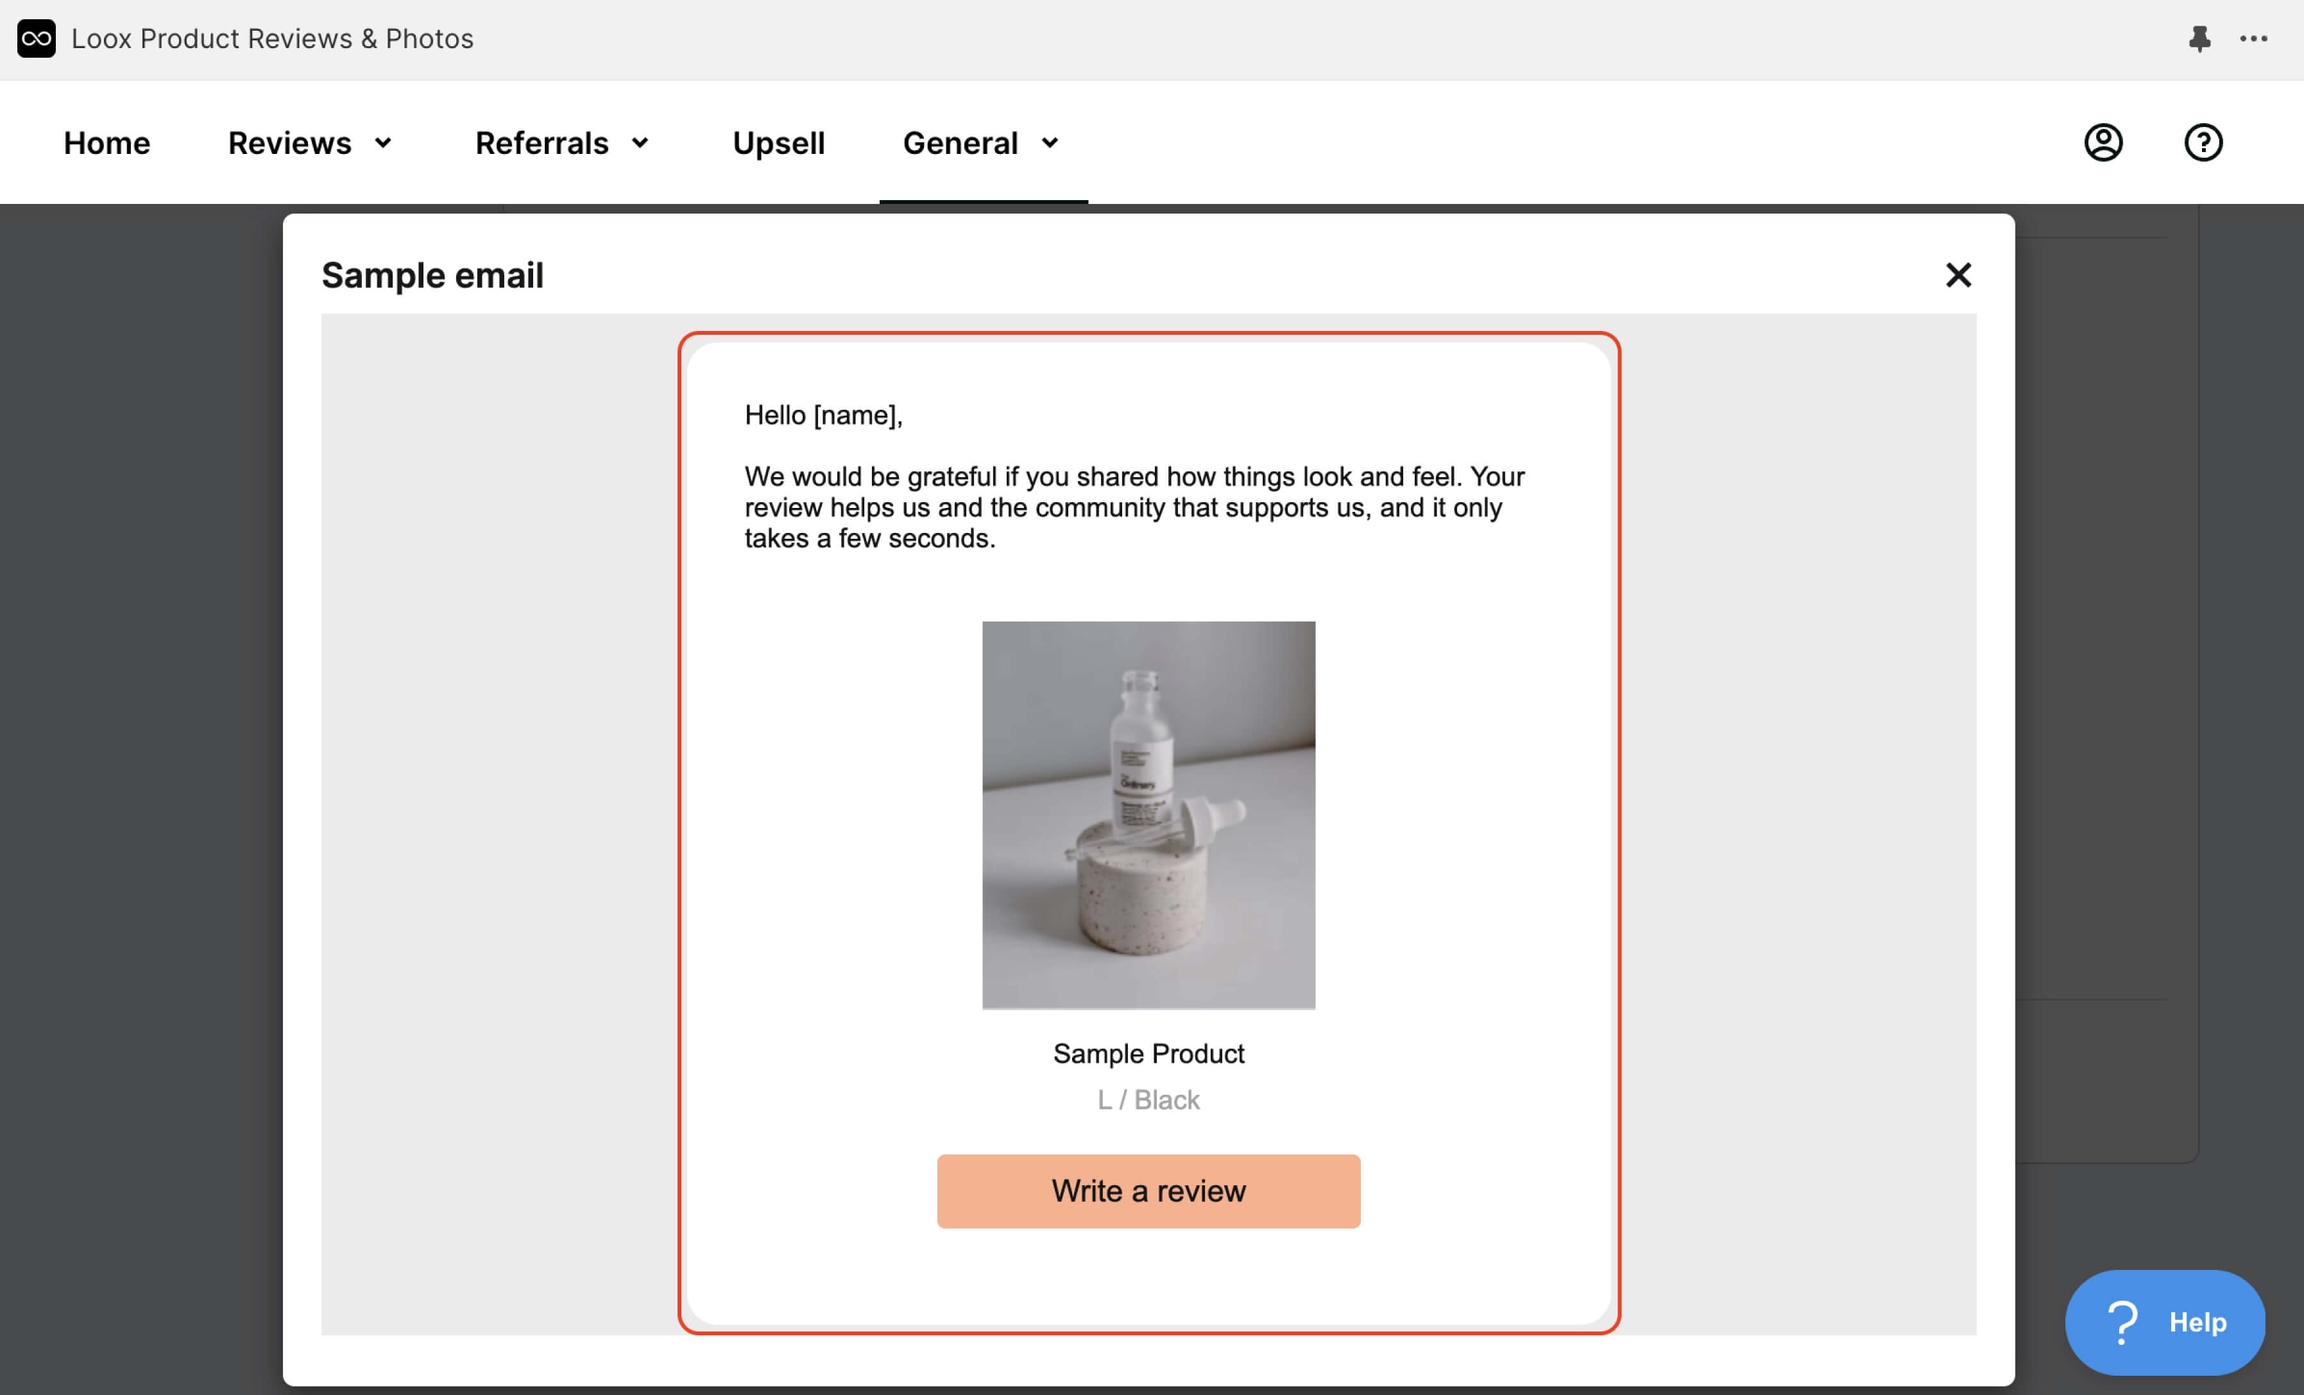
Set up the styles and banner for the email you send requesting feedback from customers. You can:
Disable the banner (1)
Switch the styles to Custom (2)
Customize the colors (3, 4)
View the preview (5)
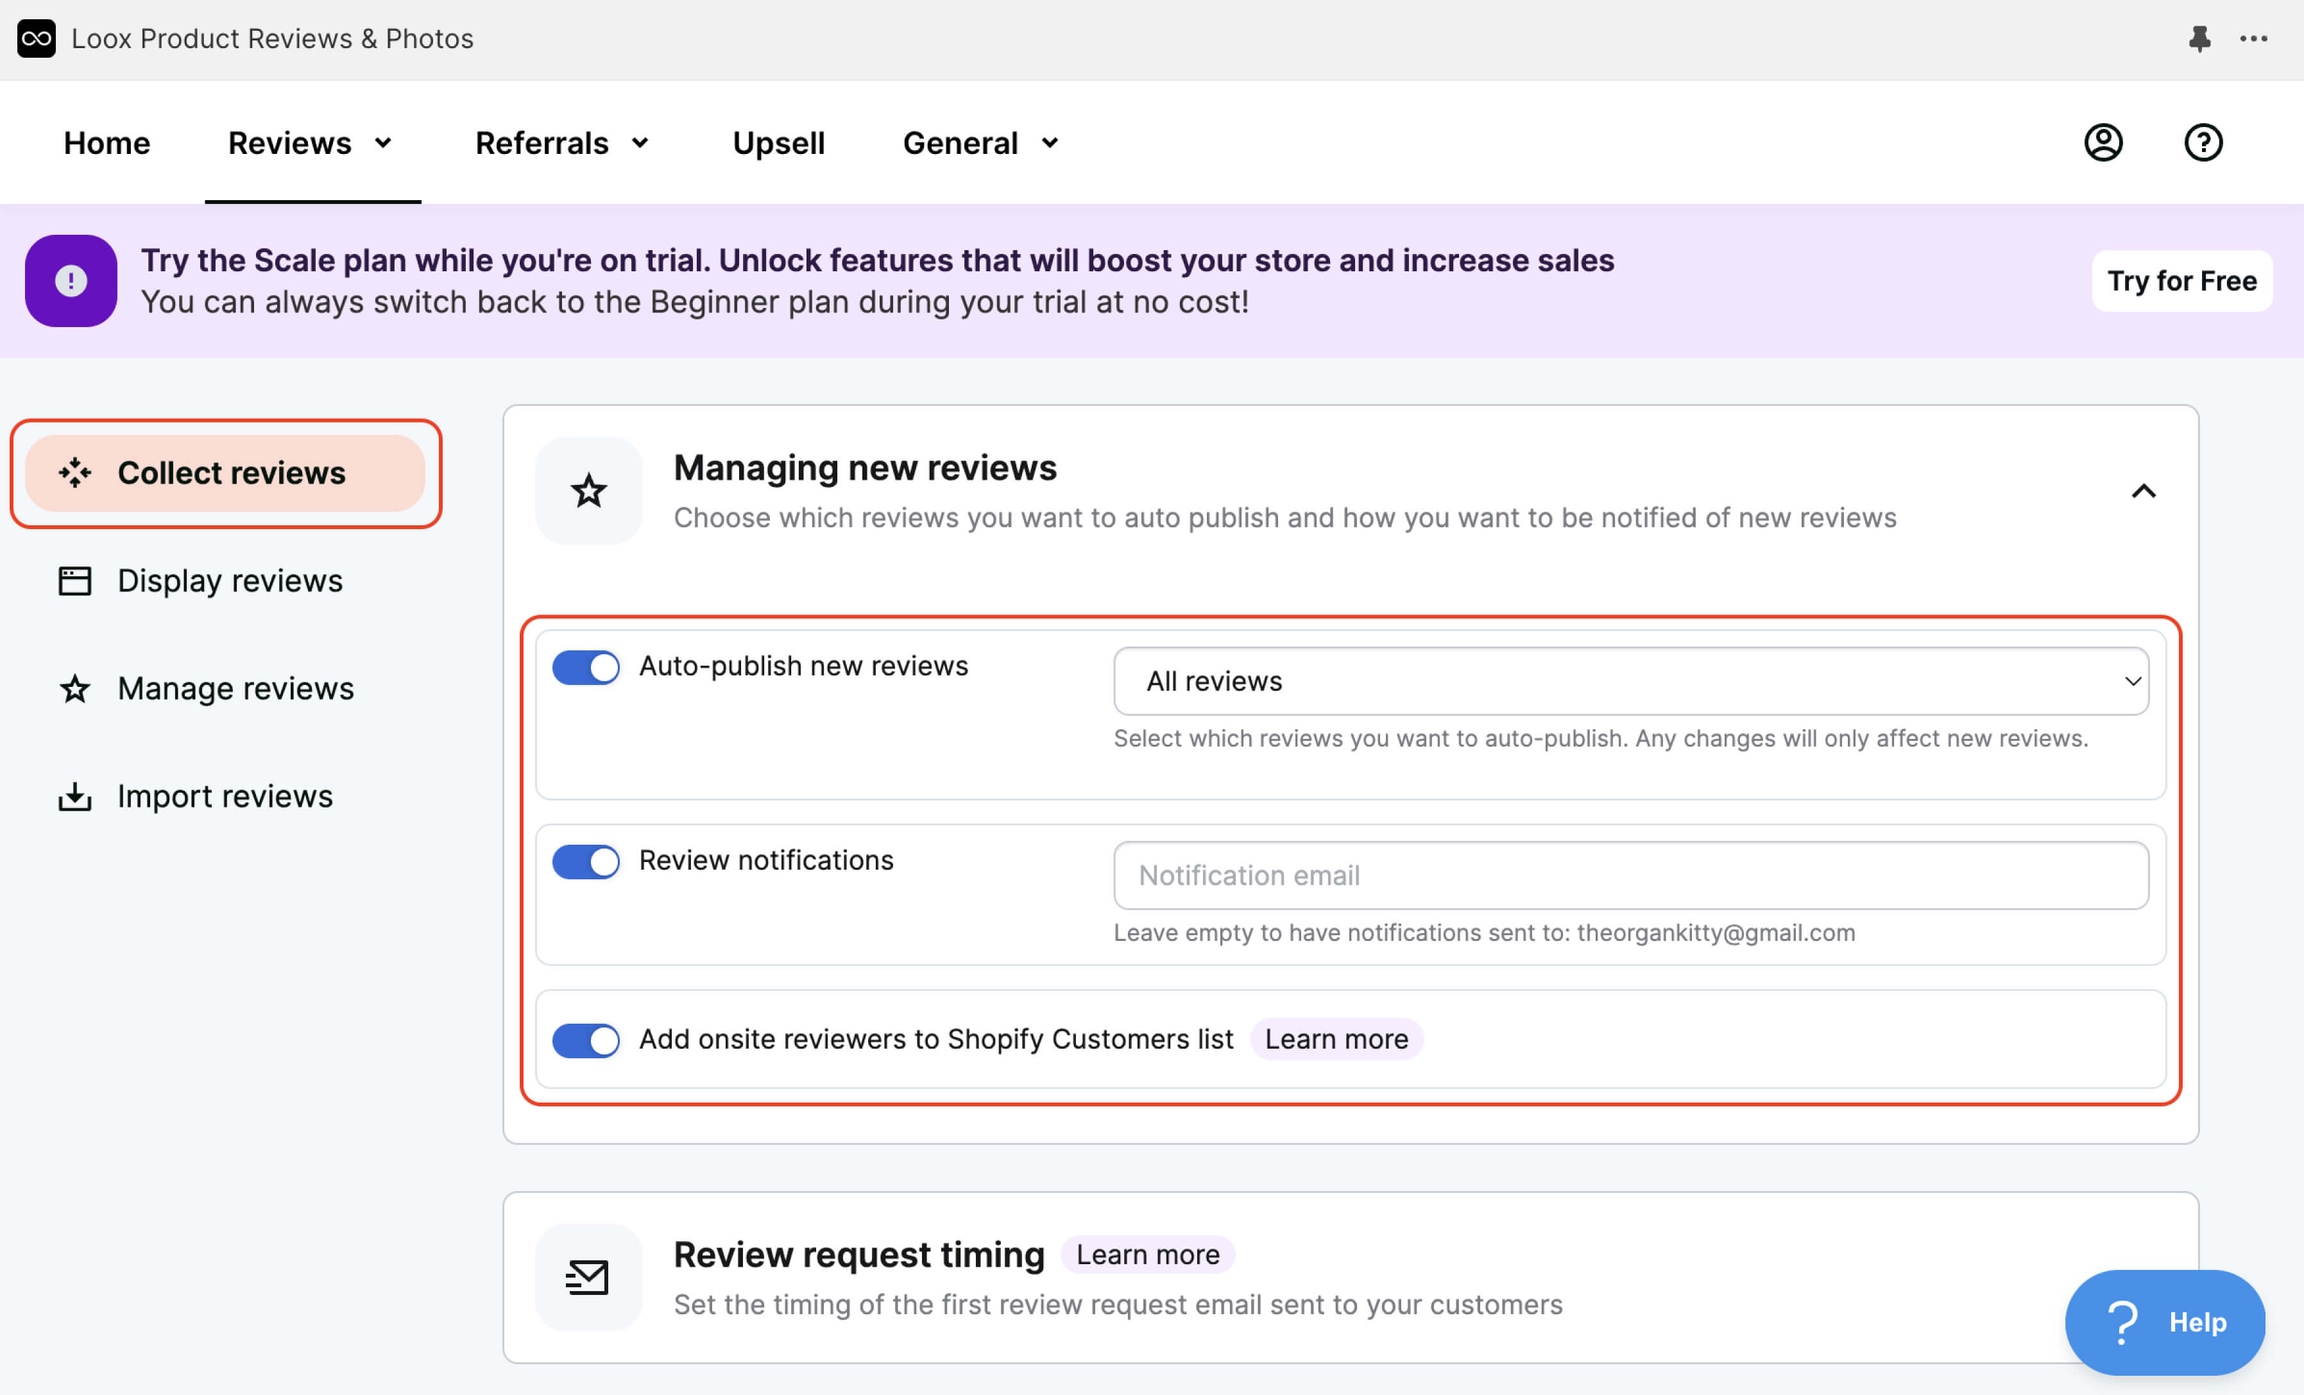
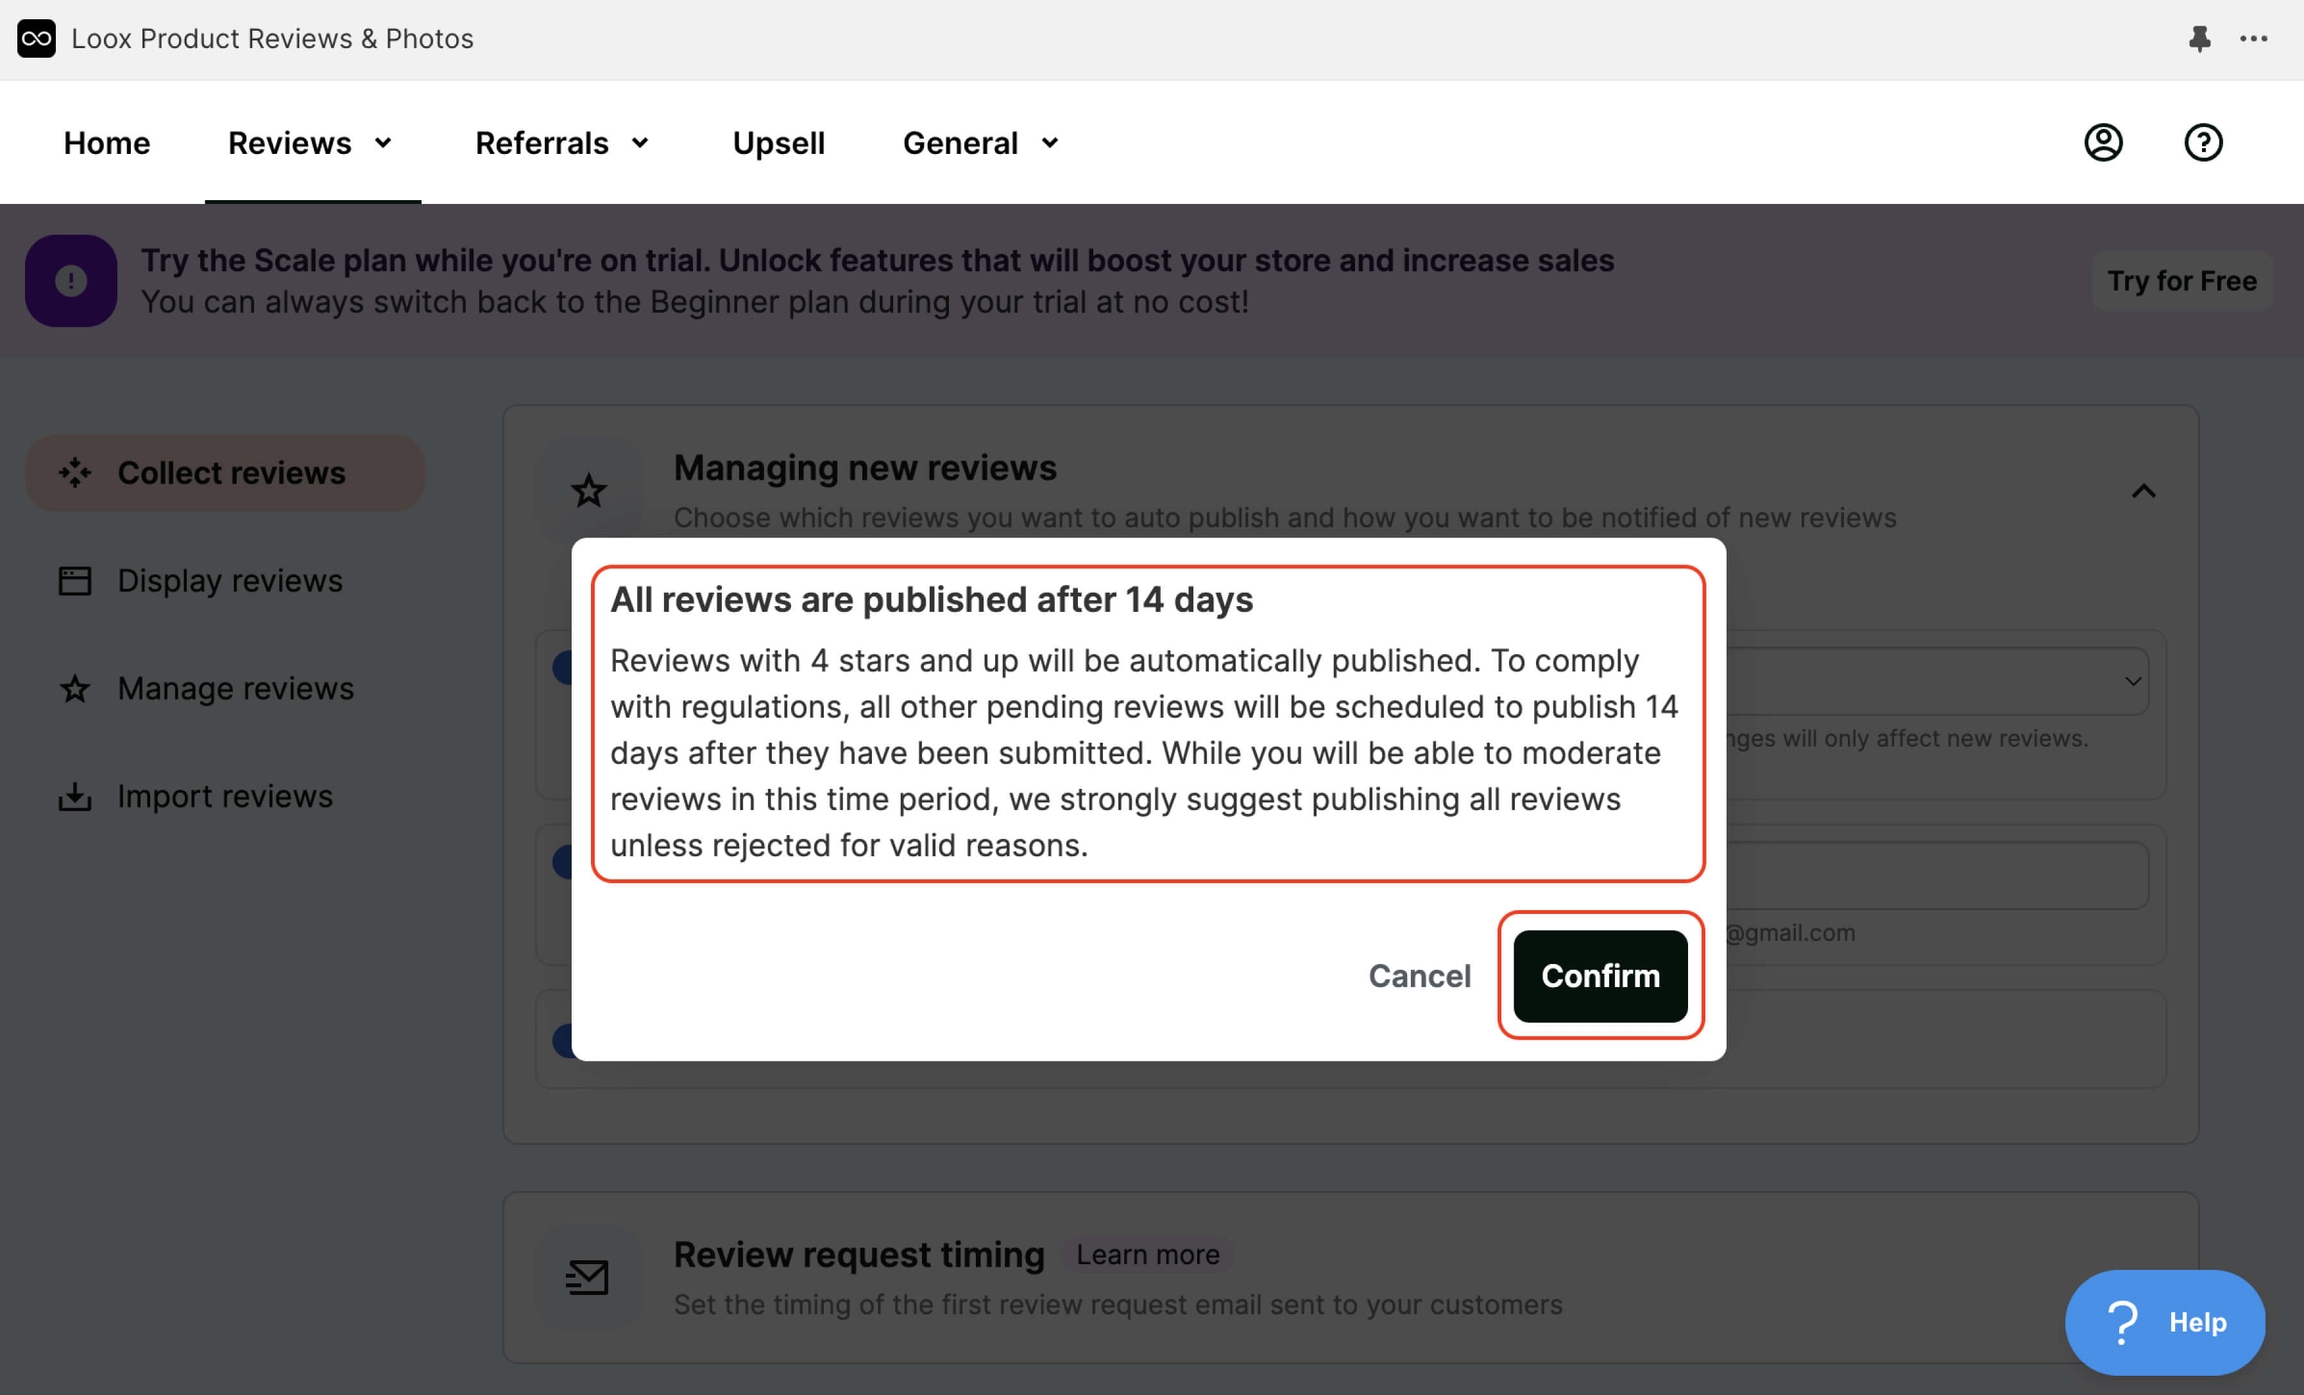
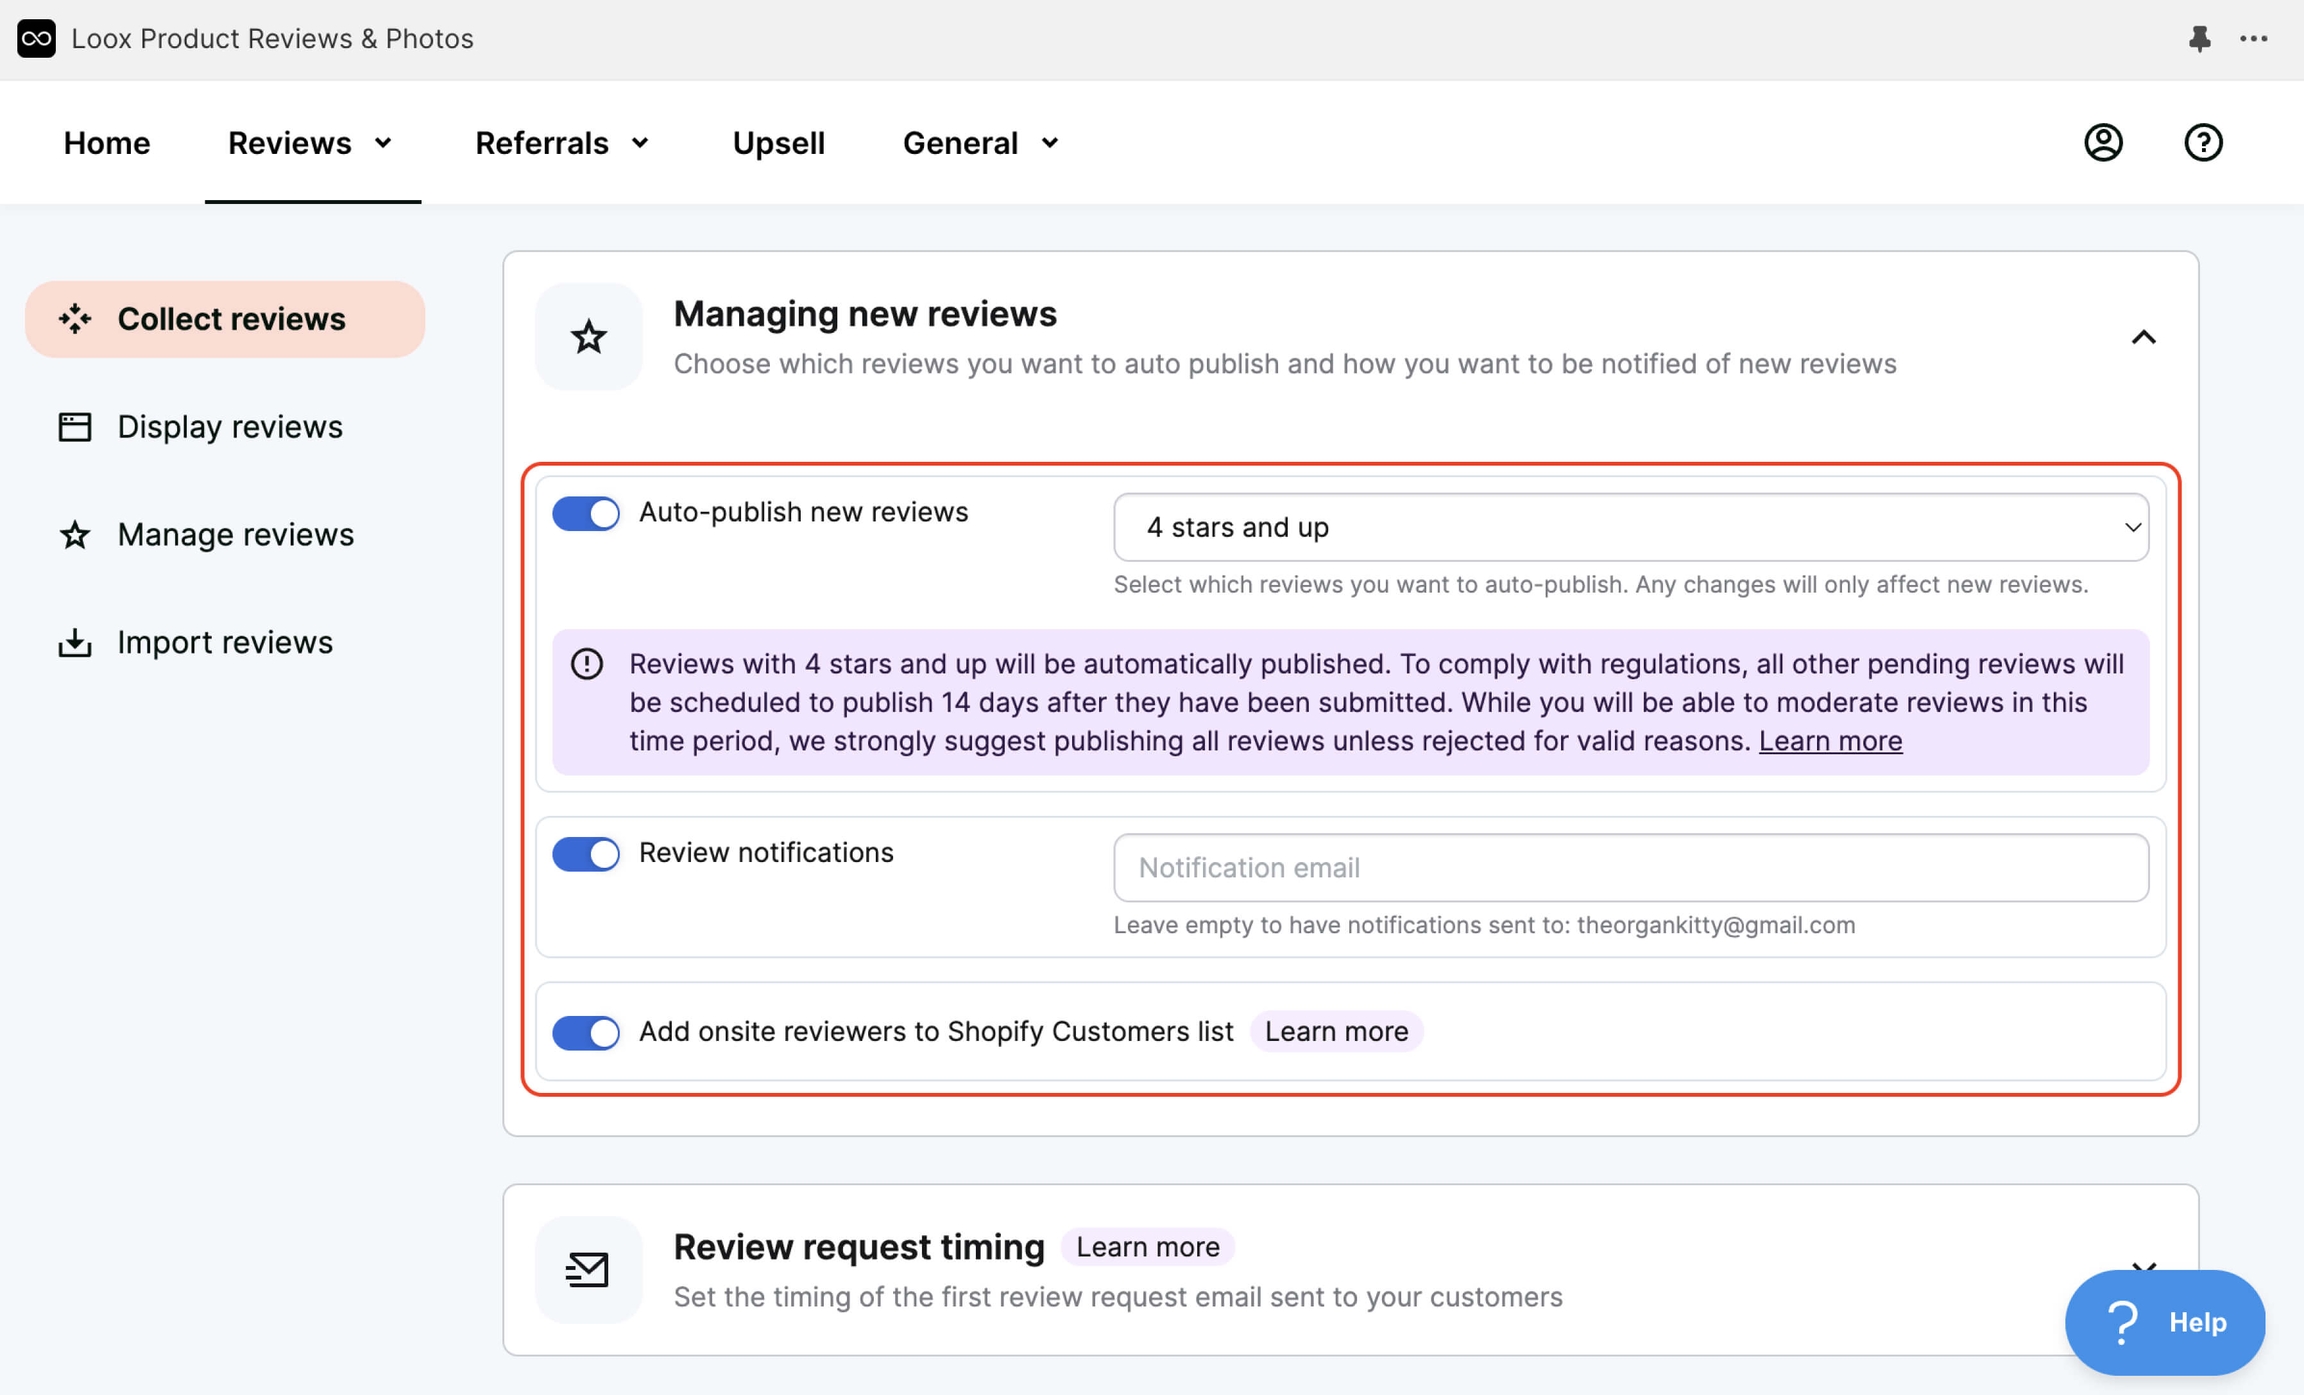
Set up review collection rules (Collect reviews) in Reviews. For Auto-publish new reviews, for example, choose to automatically publish reviews with a rating of 4 and above. Reviews with a rating lower than 4 will be published after 14 days. Don't leave negative reviews unattended. Set up email notifications for reviews (Review notifications) when users leave a review. If you've followed all the steps from the first video, as shown, you can leave this field setting to the default. For Add onsite reviewers to Shopify Customers list, leave it as default if you want to save everyone who leaves a review to the Customers list (this list is located in the Shopify admin under the "Customers" section on the left menu).
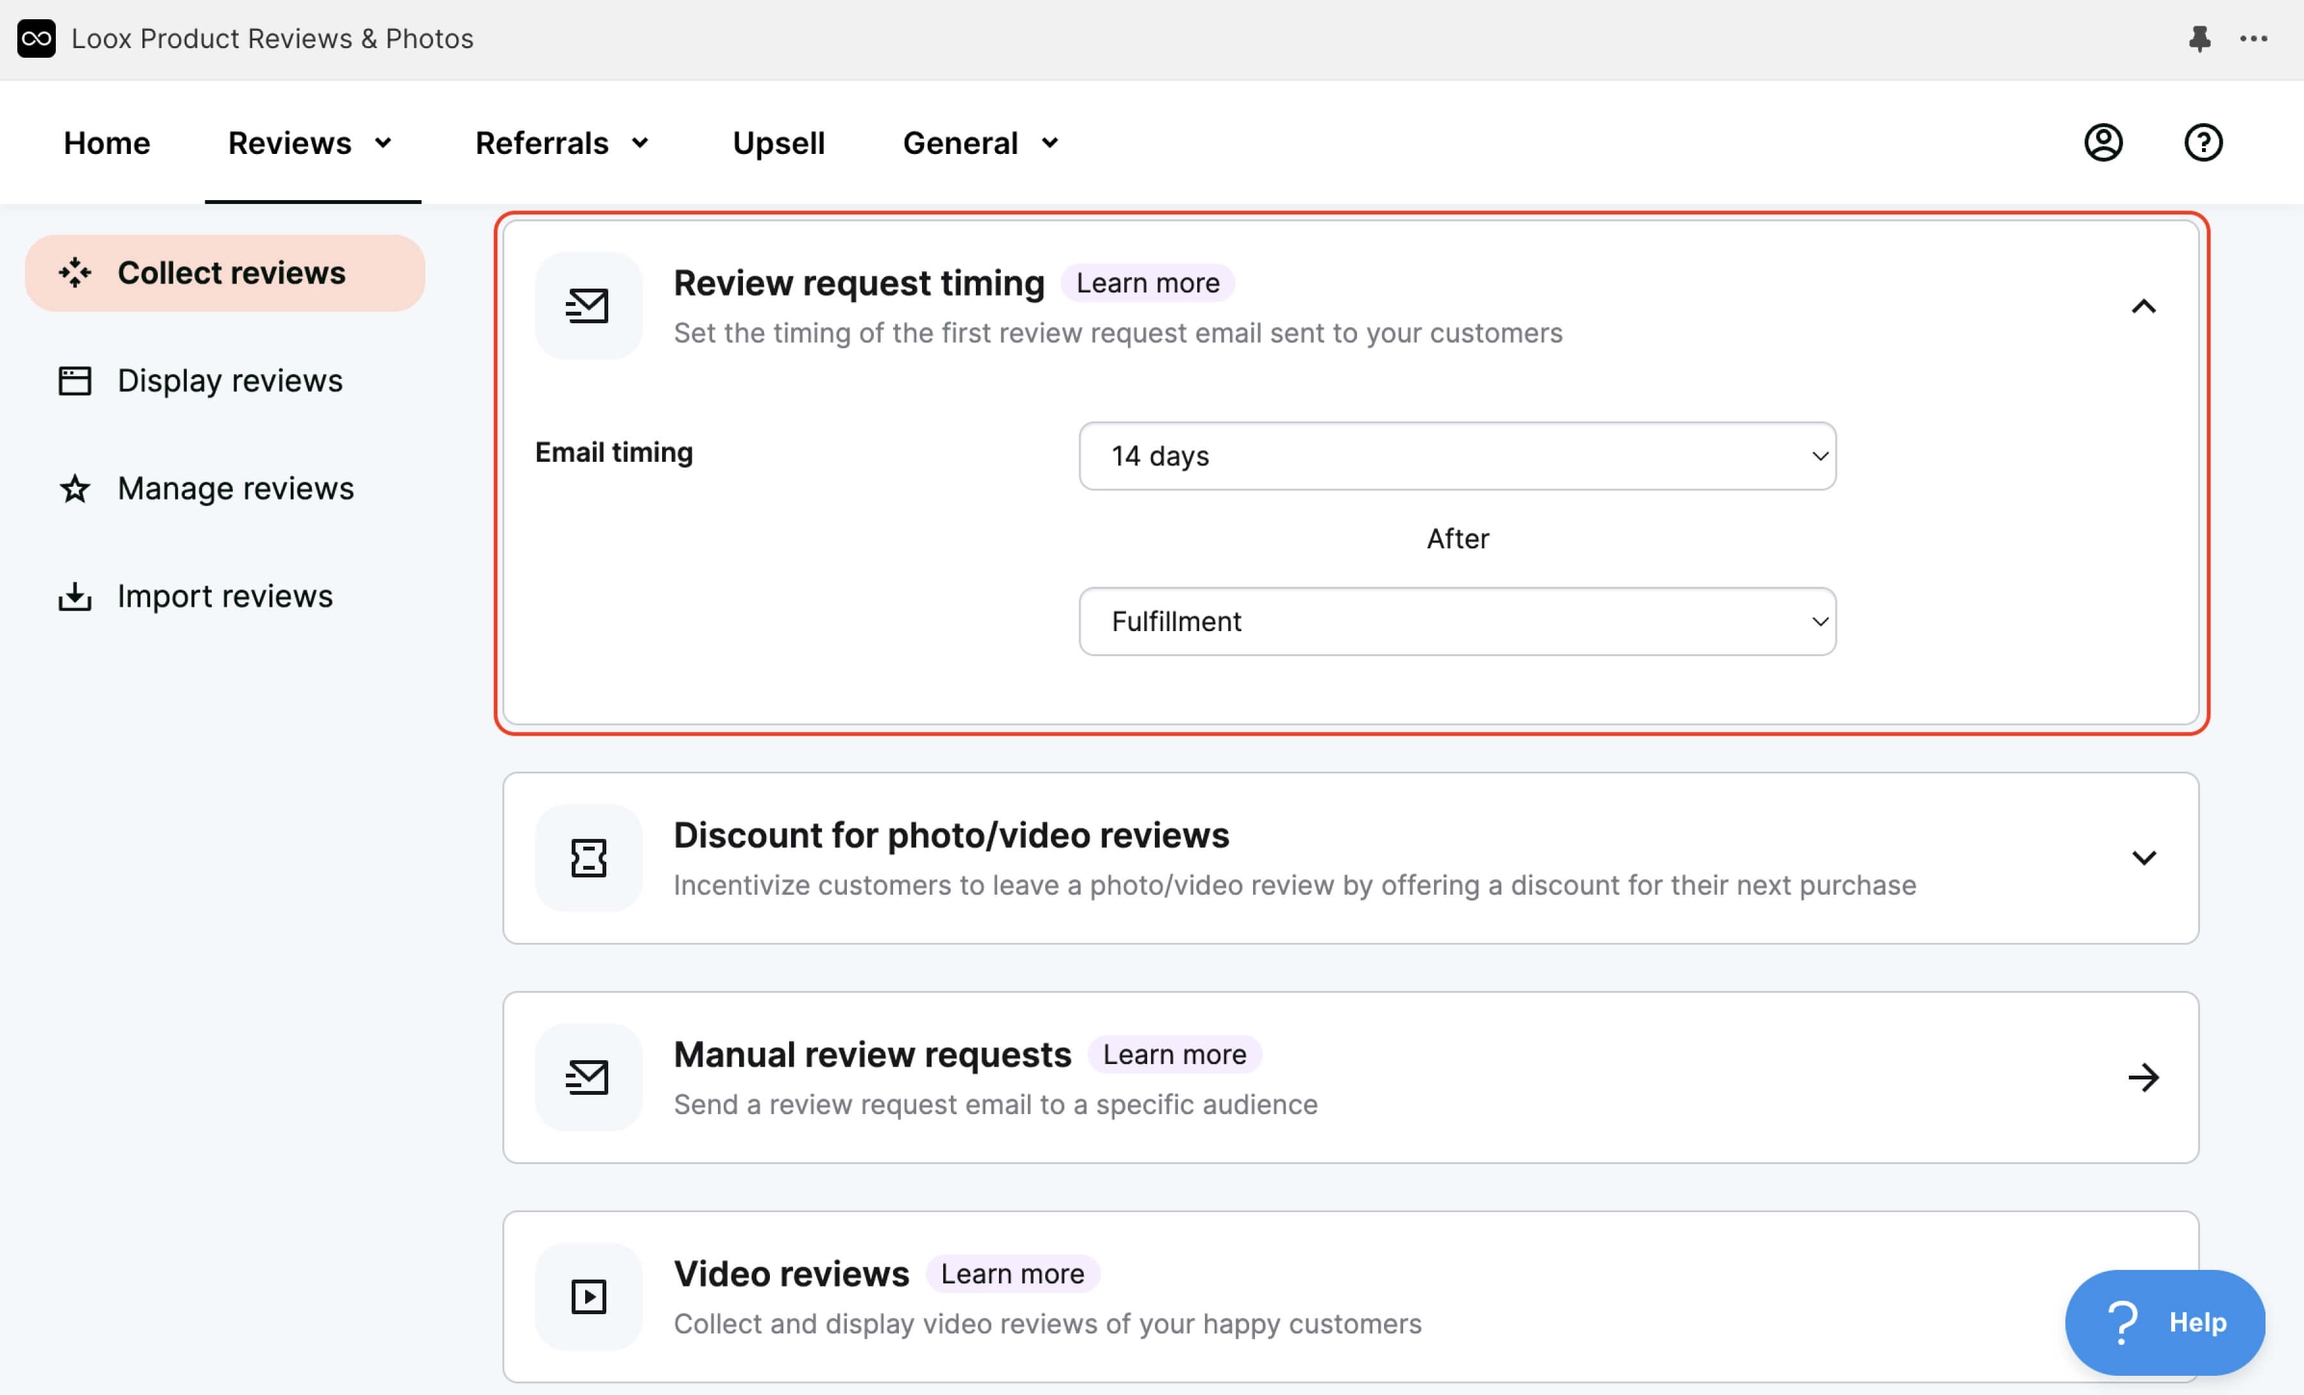
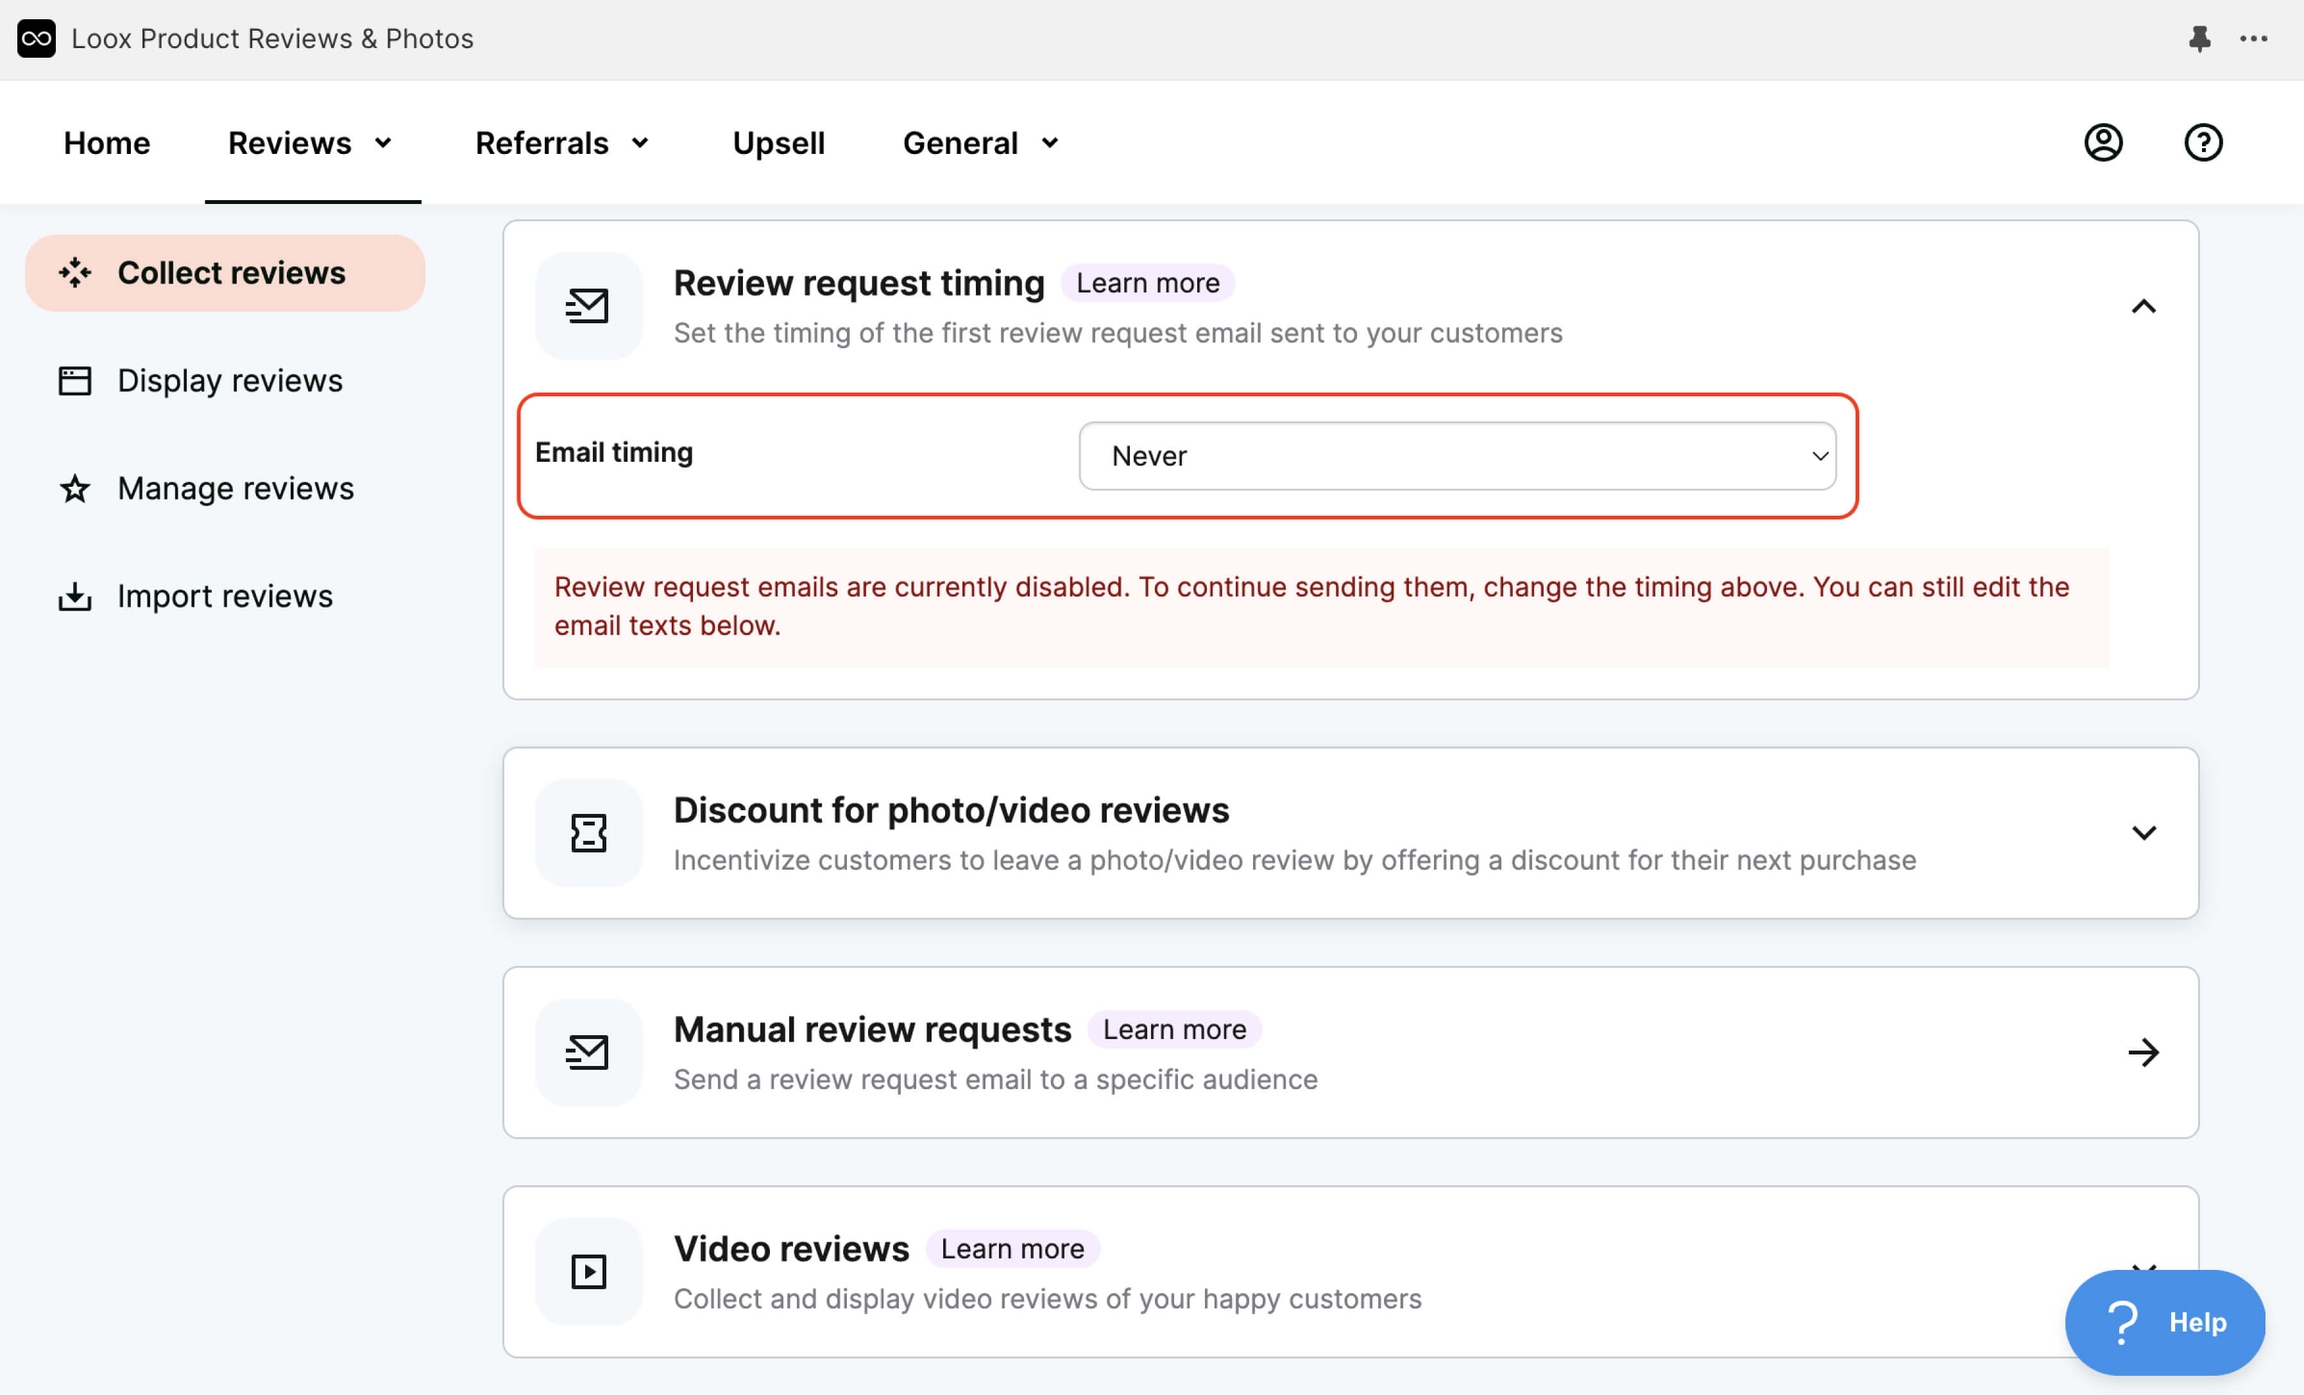
Set up Review request timing — this determines when you send an email requesting feedback. As an example, we will disable this email. This means that when someone purchases a product from your store, they will not receive an email asking them to leave a review.
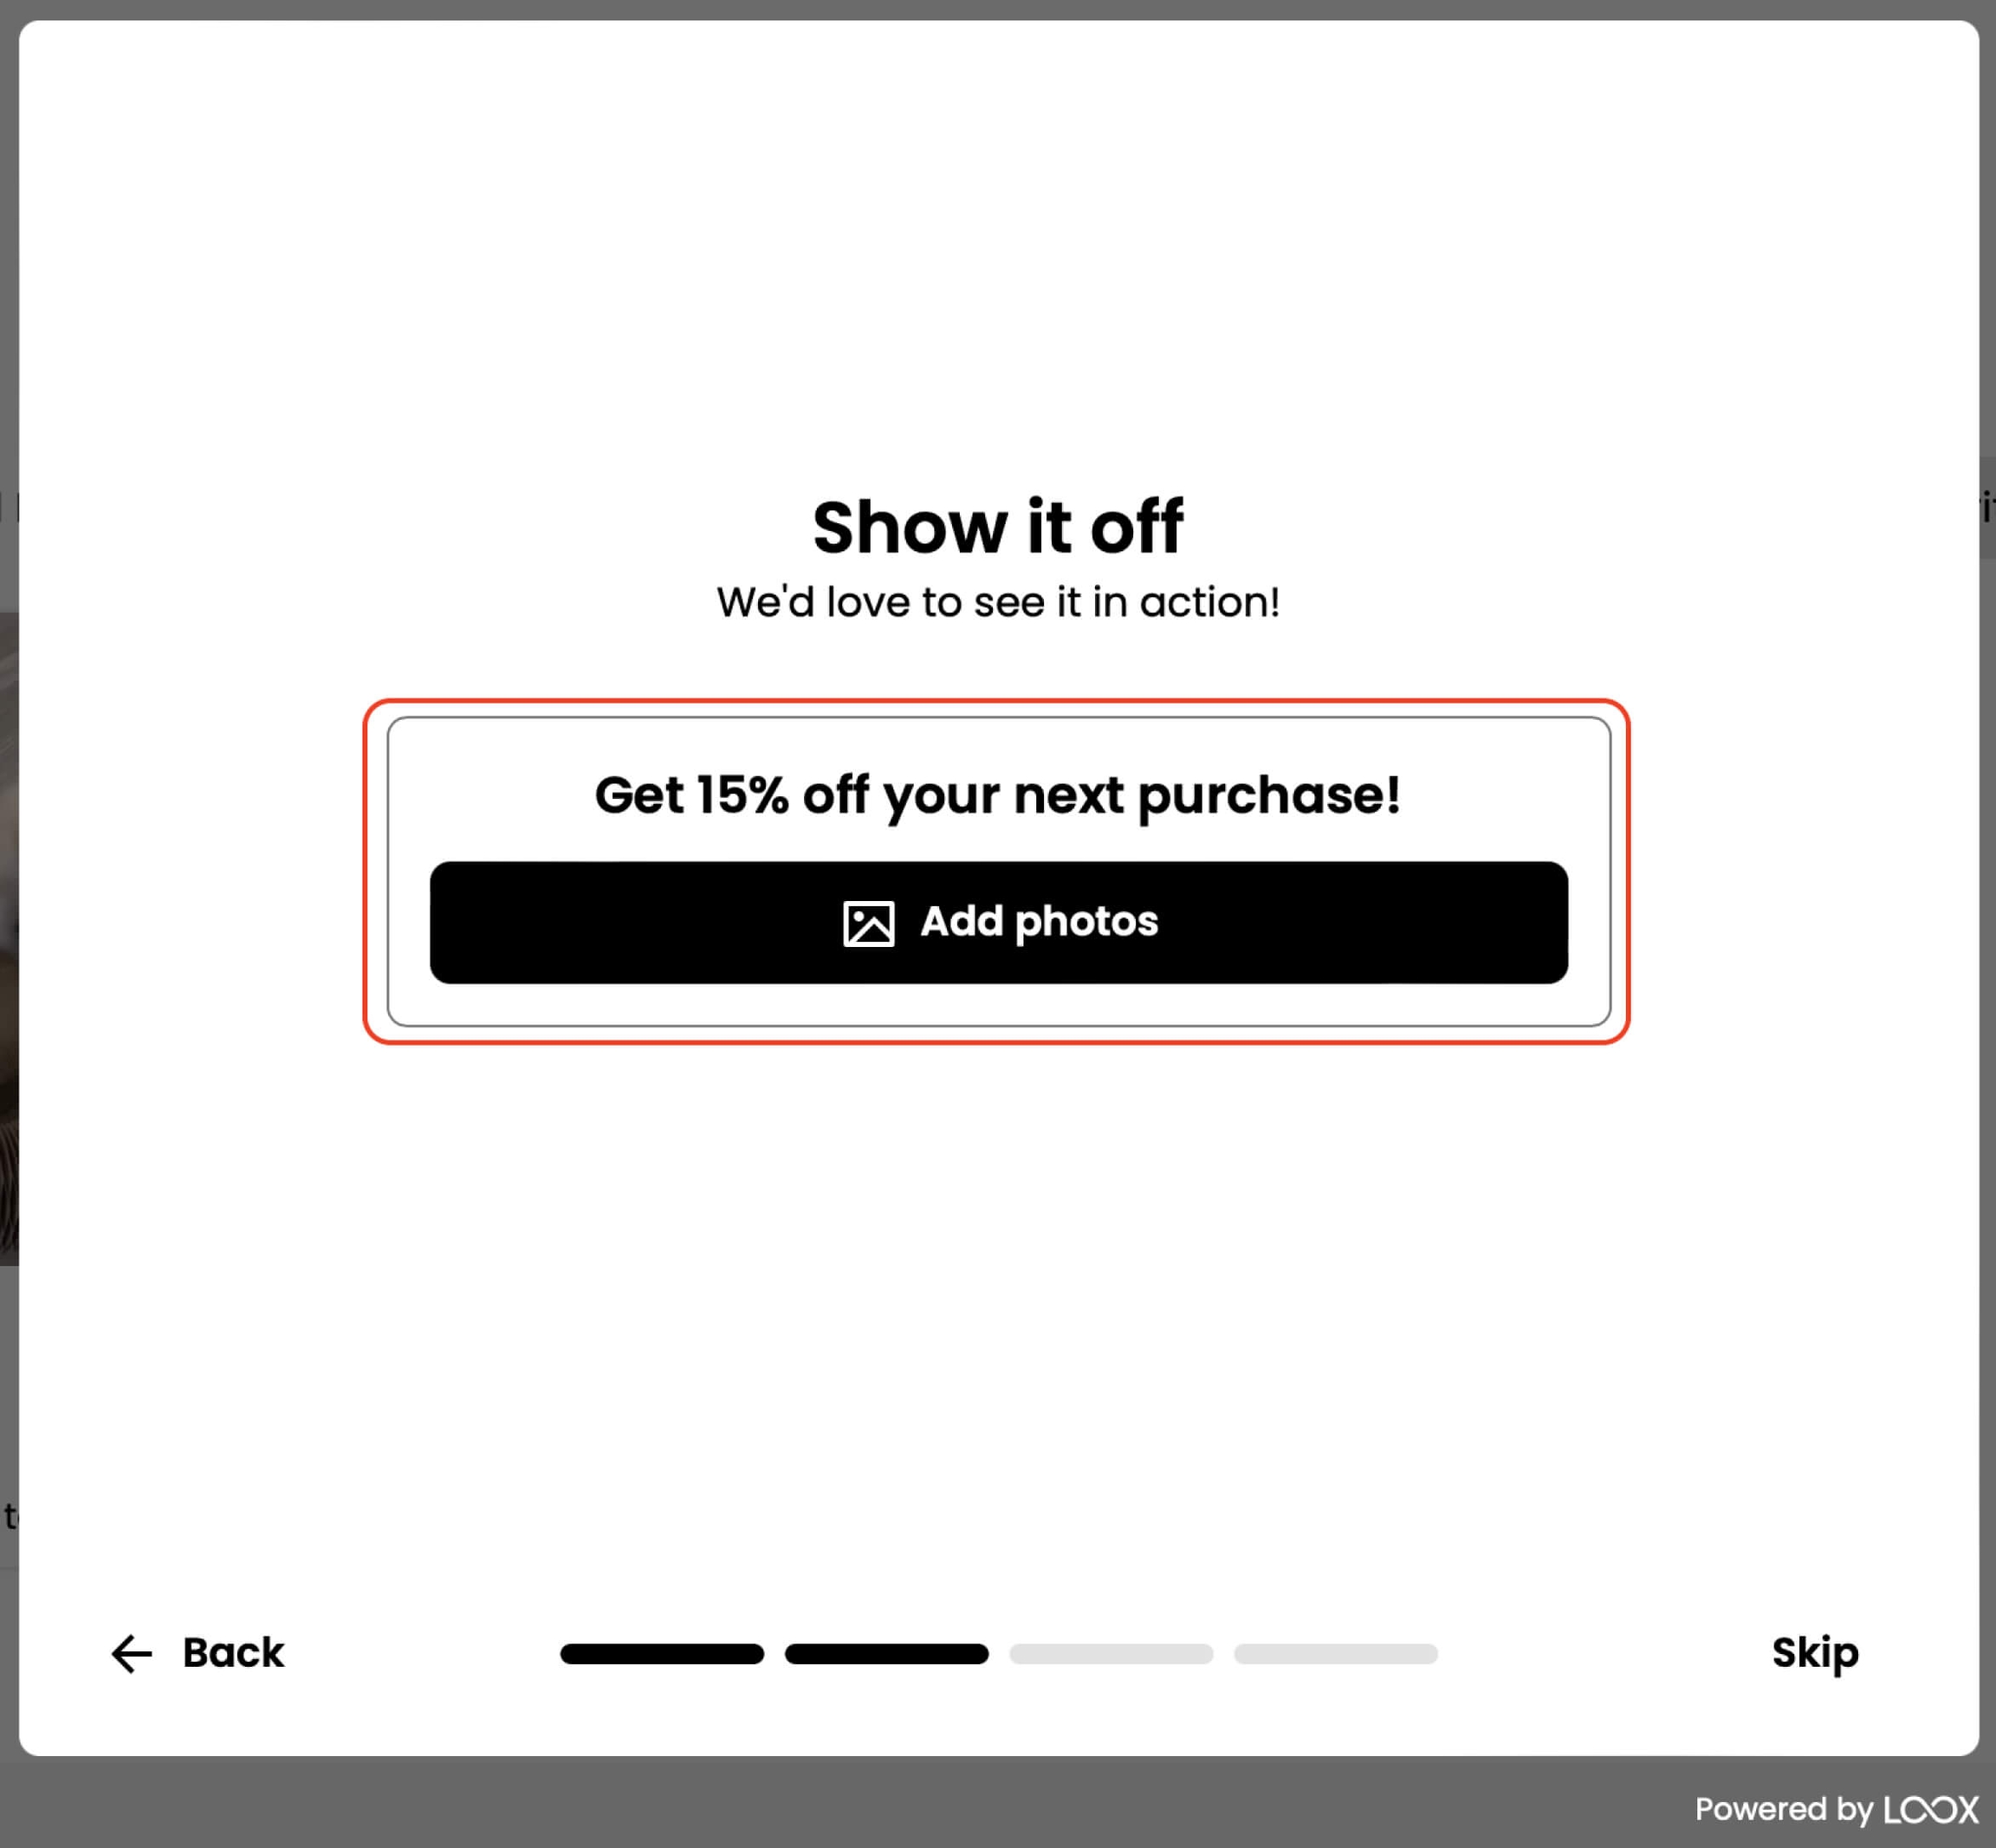
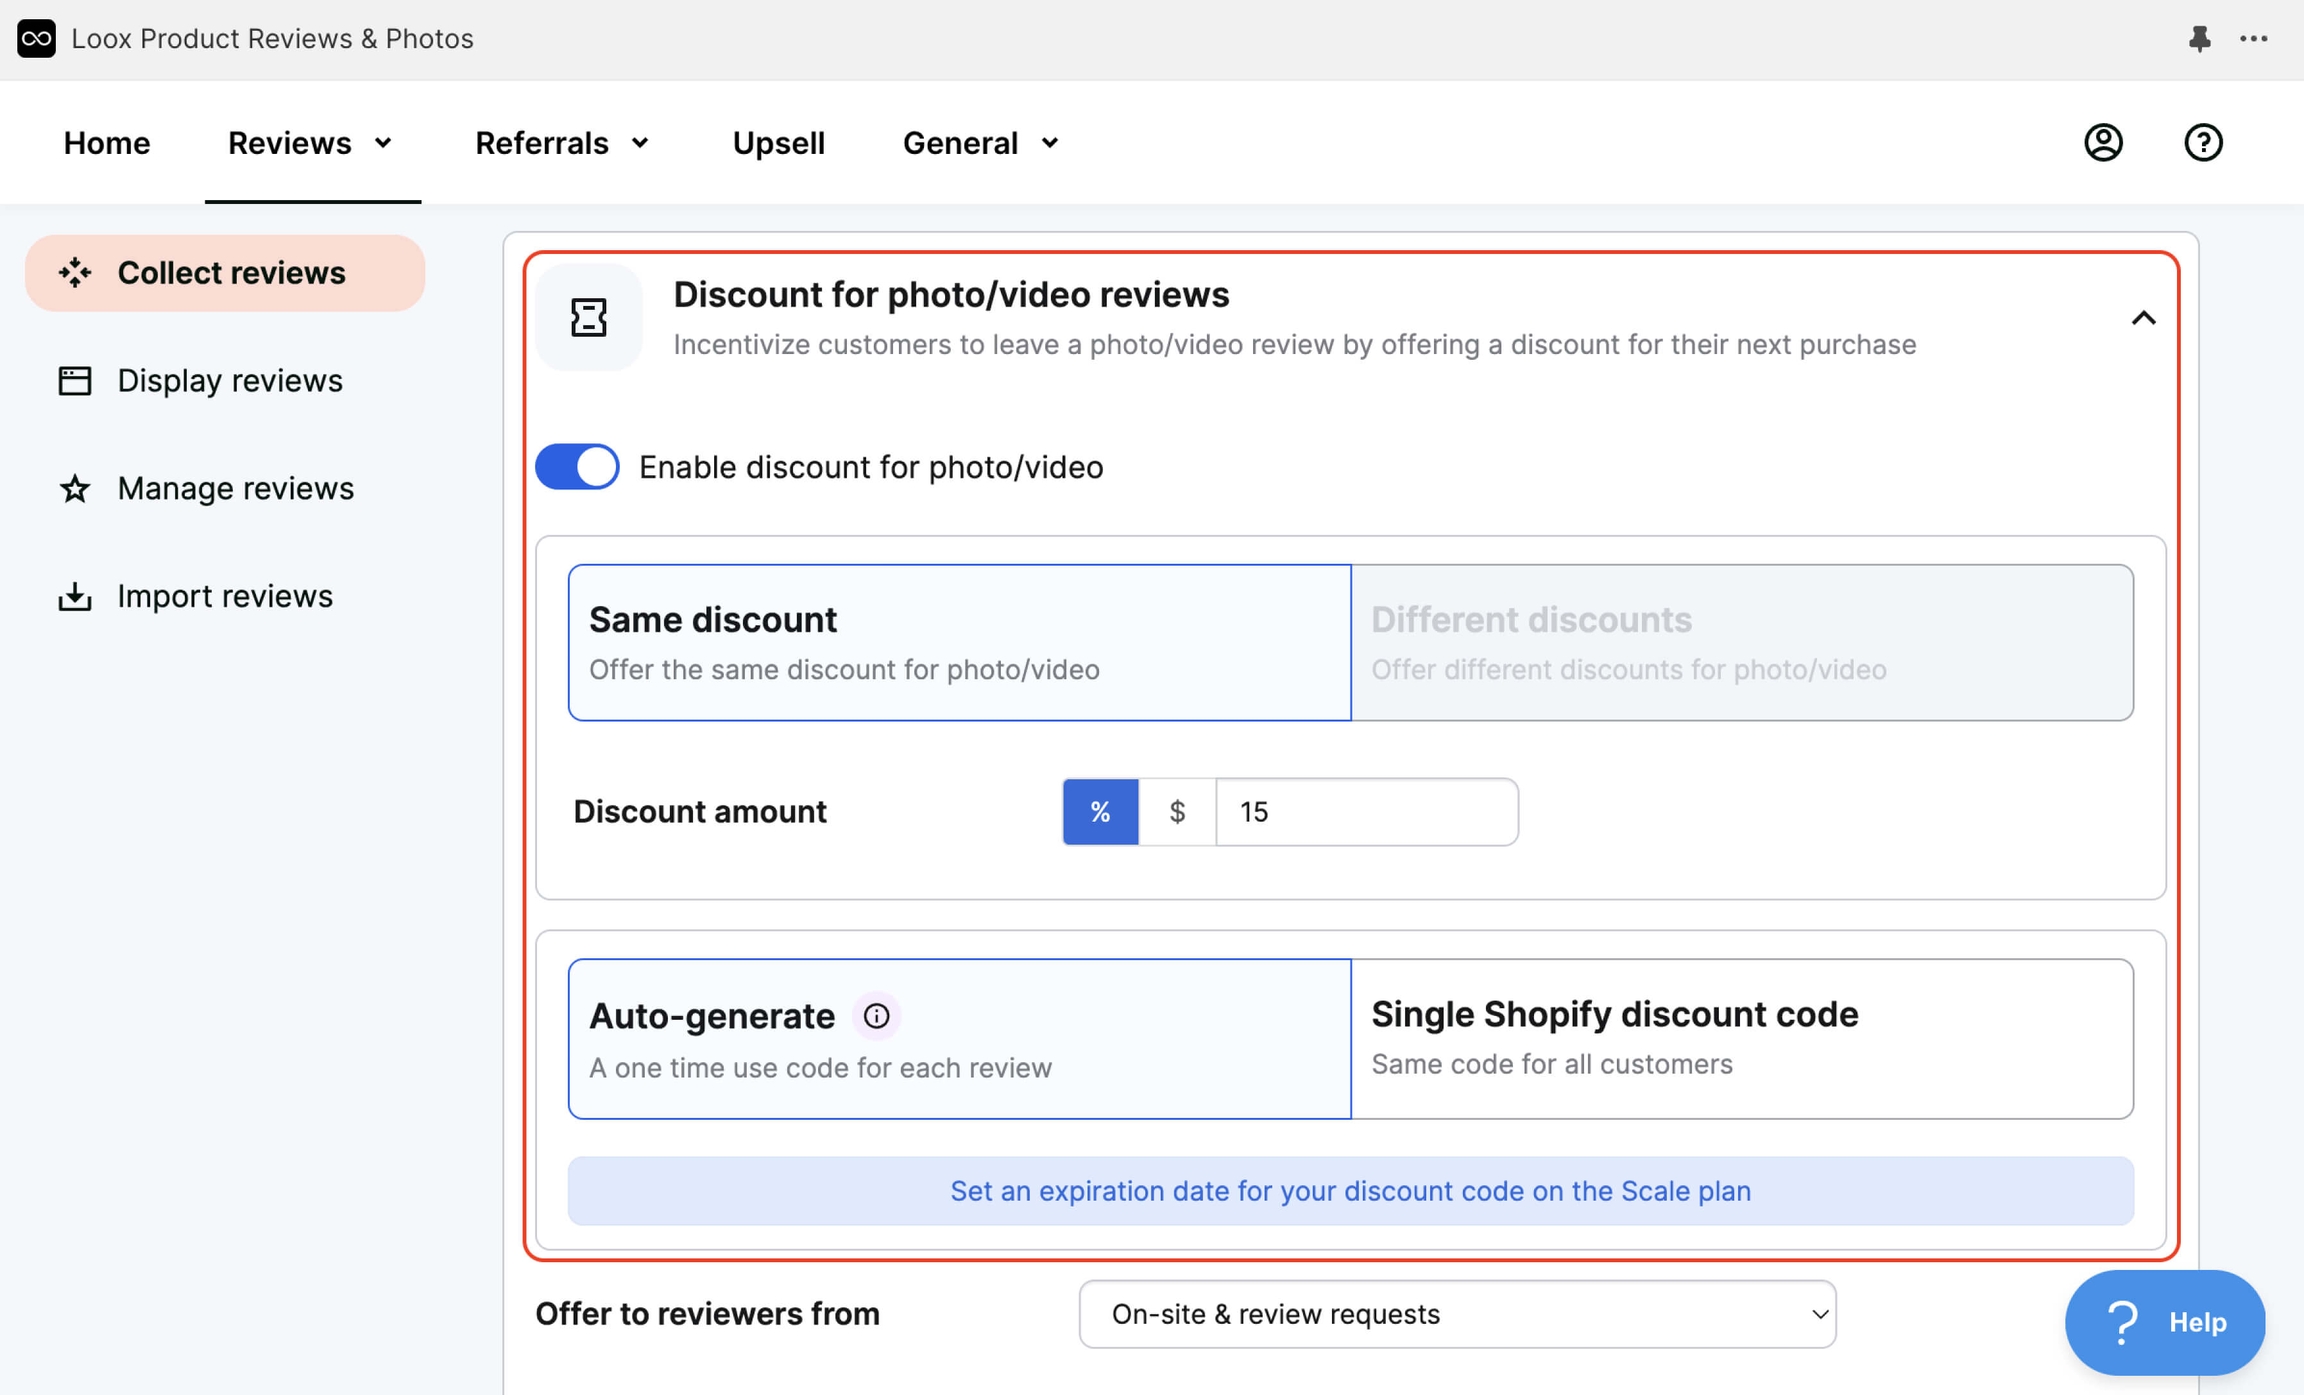
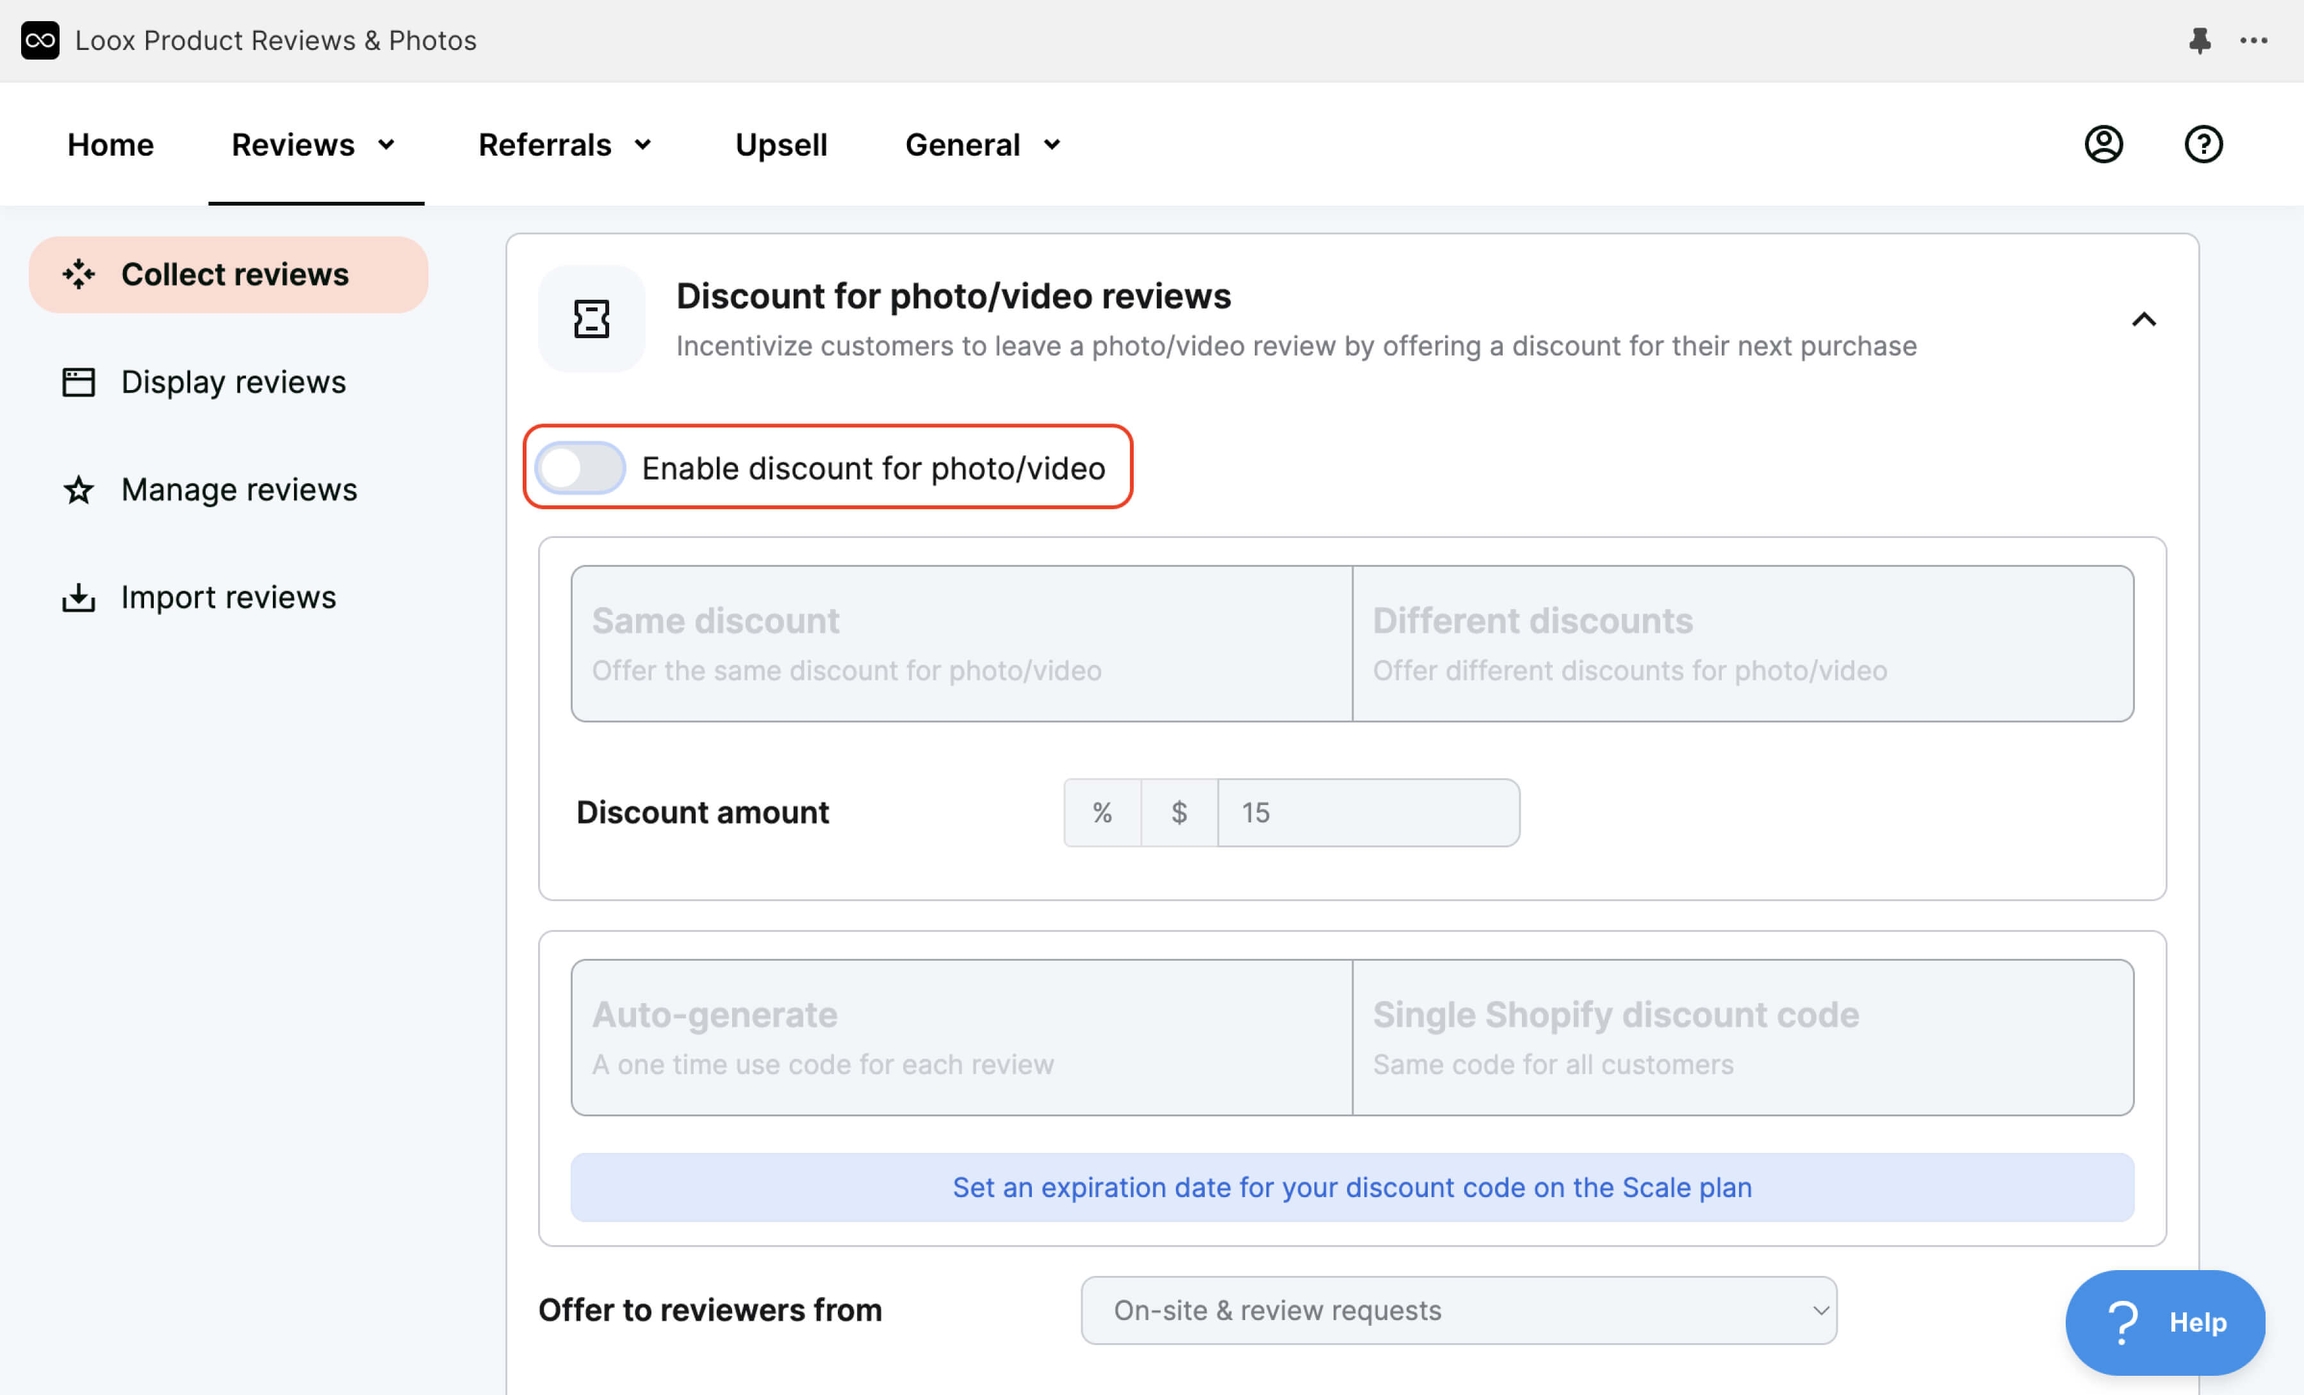
The video shows how to manually add a review to the product page. When adding a review, you can upload a photo and receive a promo code. This feature can be disabled or customized. As an example, we will disable it.
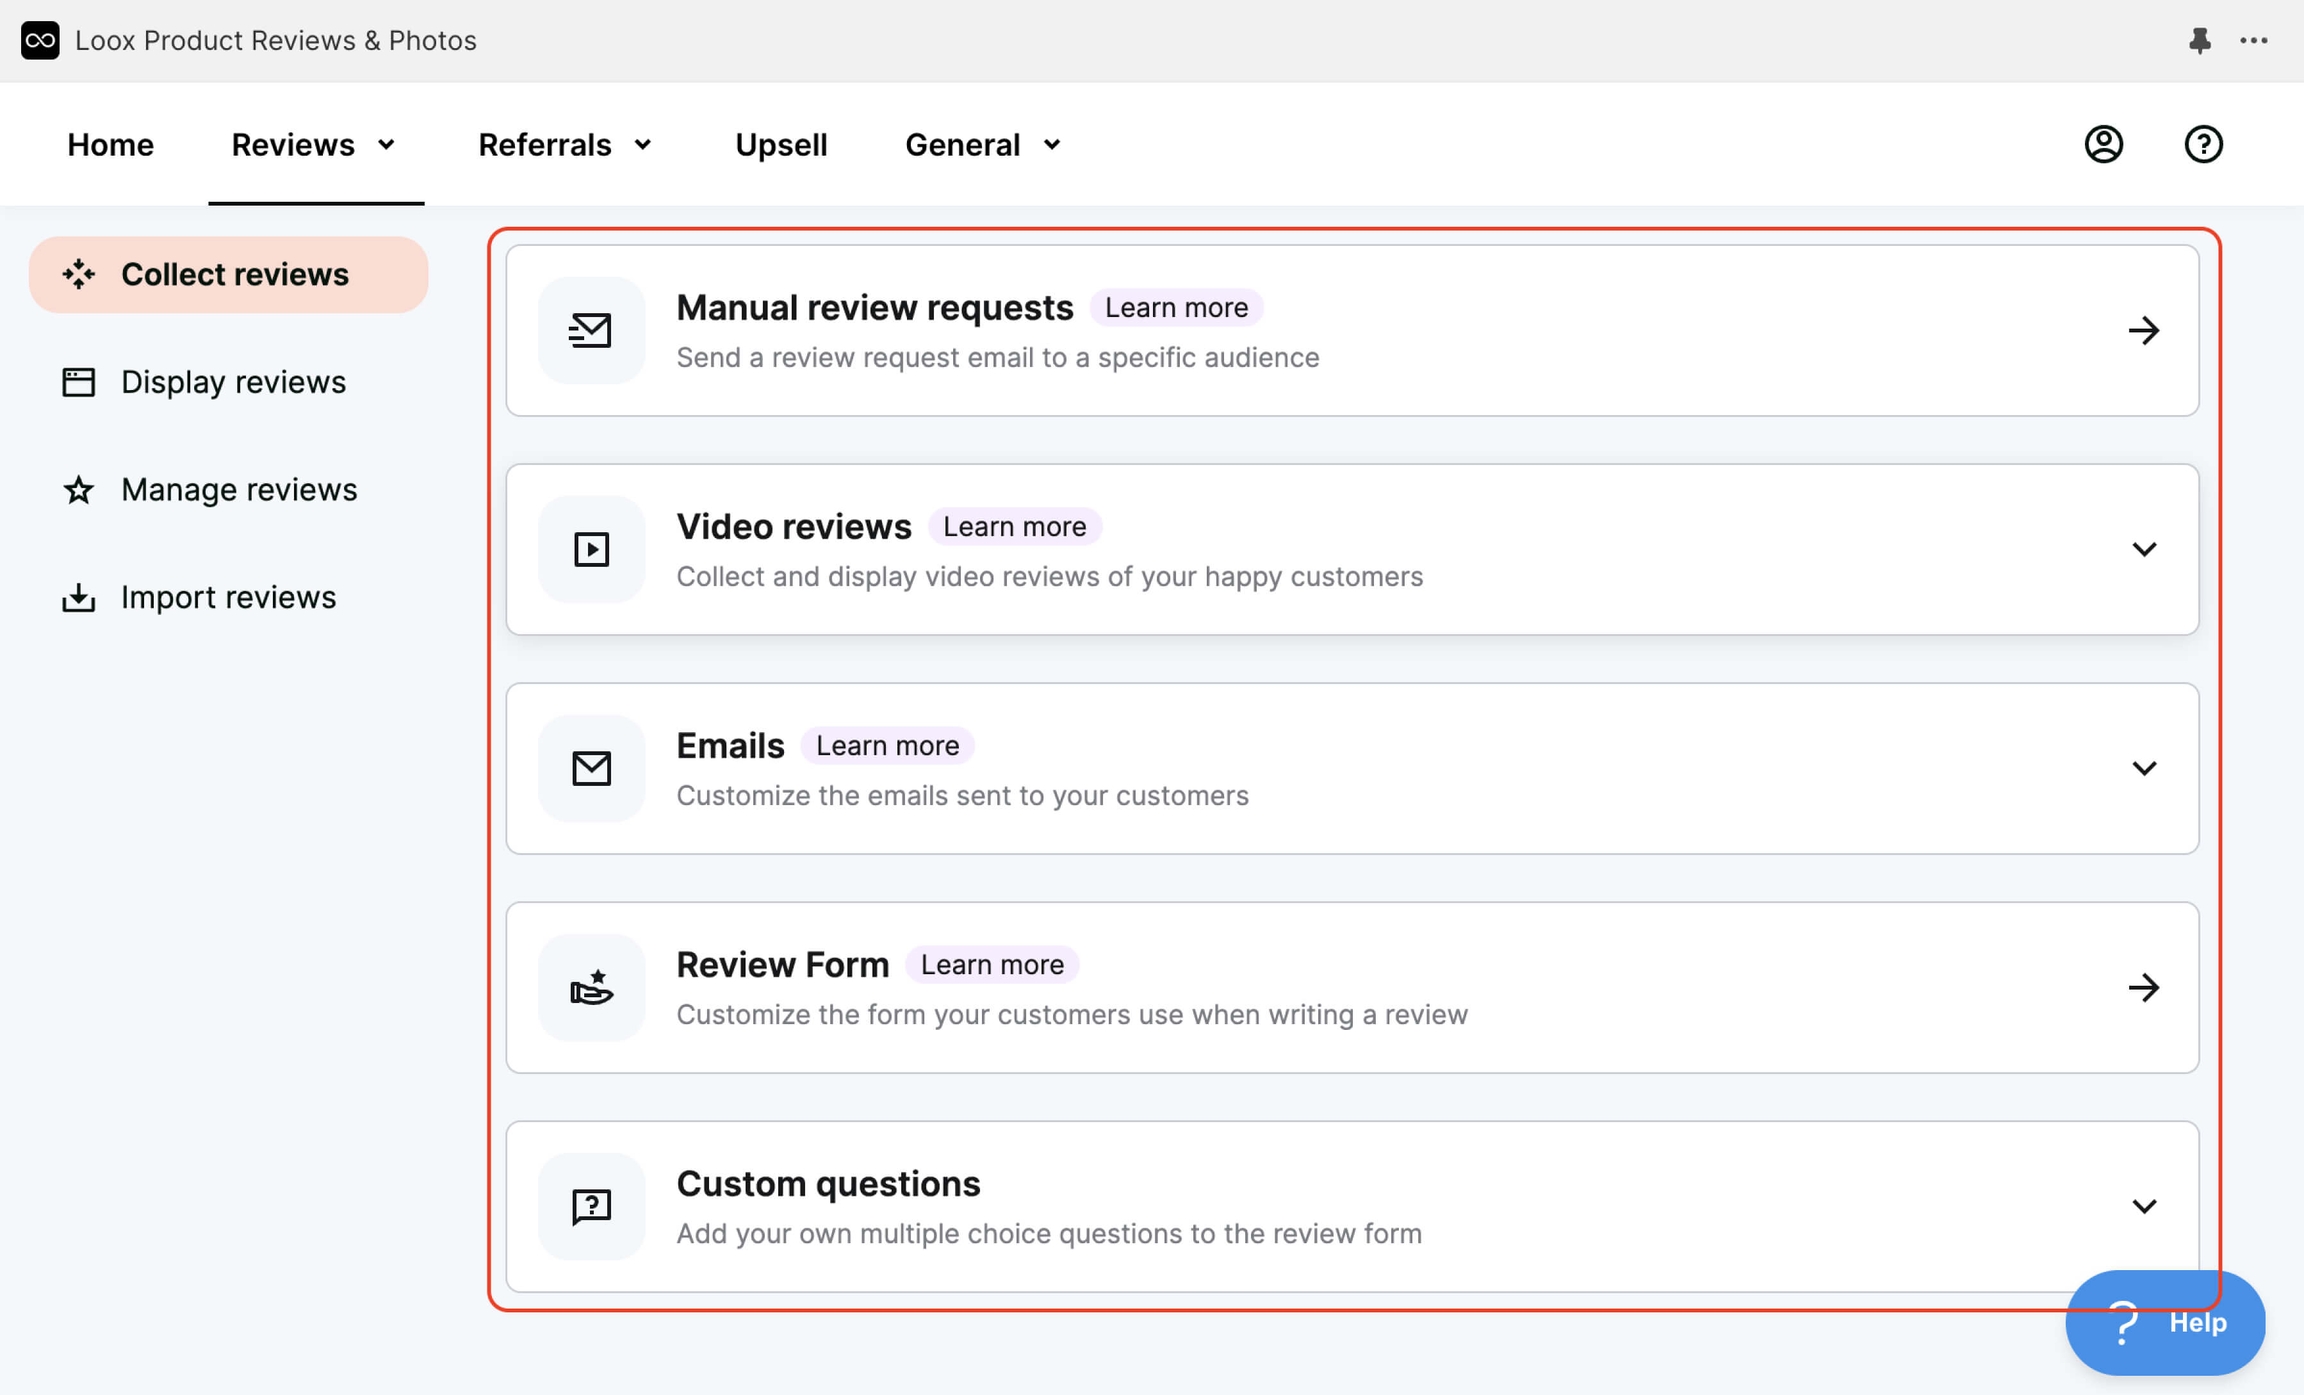
Manual review requests – Request a review manually.
Video reviews – Set up collection and display of video reviews (in the example, the basic plan is used, but this feature is available on the Scale plan).
Emails – Customize the text of elements and emails (for the example, we will leave everything as default).
Review Form – Customize the review collection form.
Custom questions – Create custom questions for the form (this feature is available only on the Scale plan).
With this link https://vecomlab.com/loox, you’ll get 30 days of free access to any plan from the VecomLab project. This means you can choose the Scale plan and test all features to the fullest!
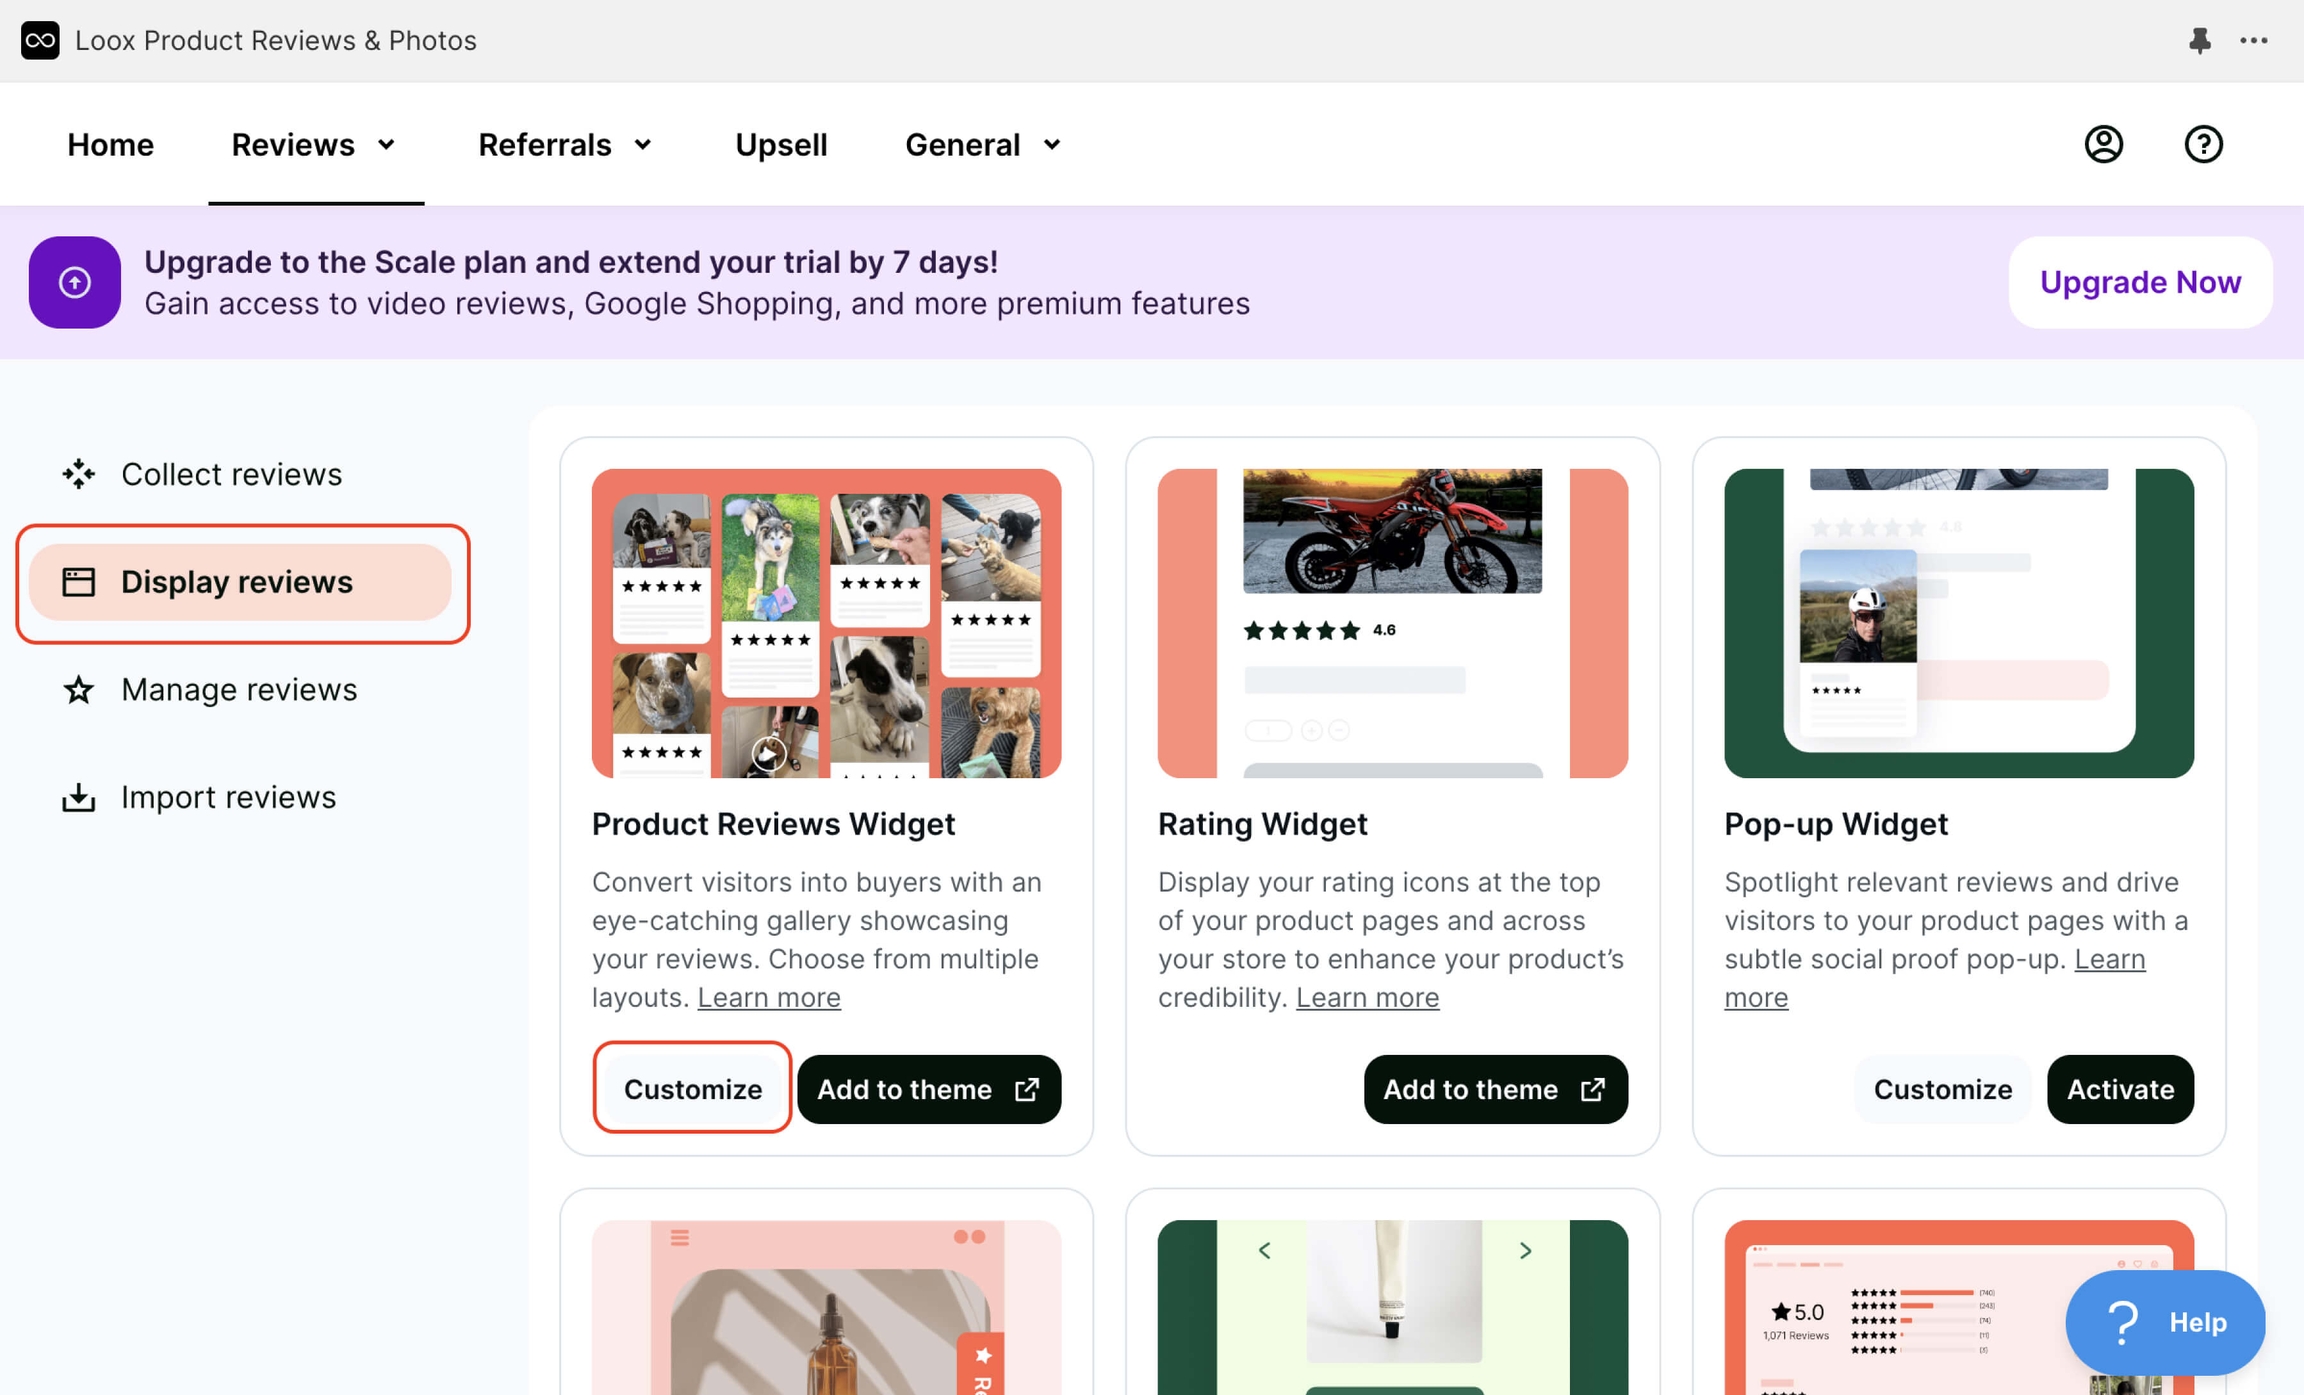
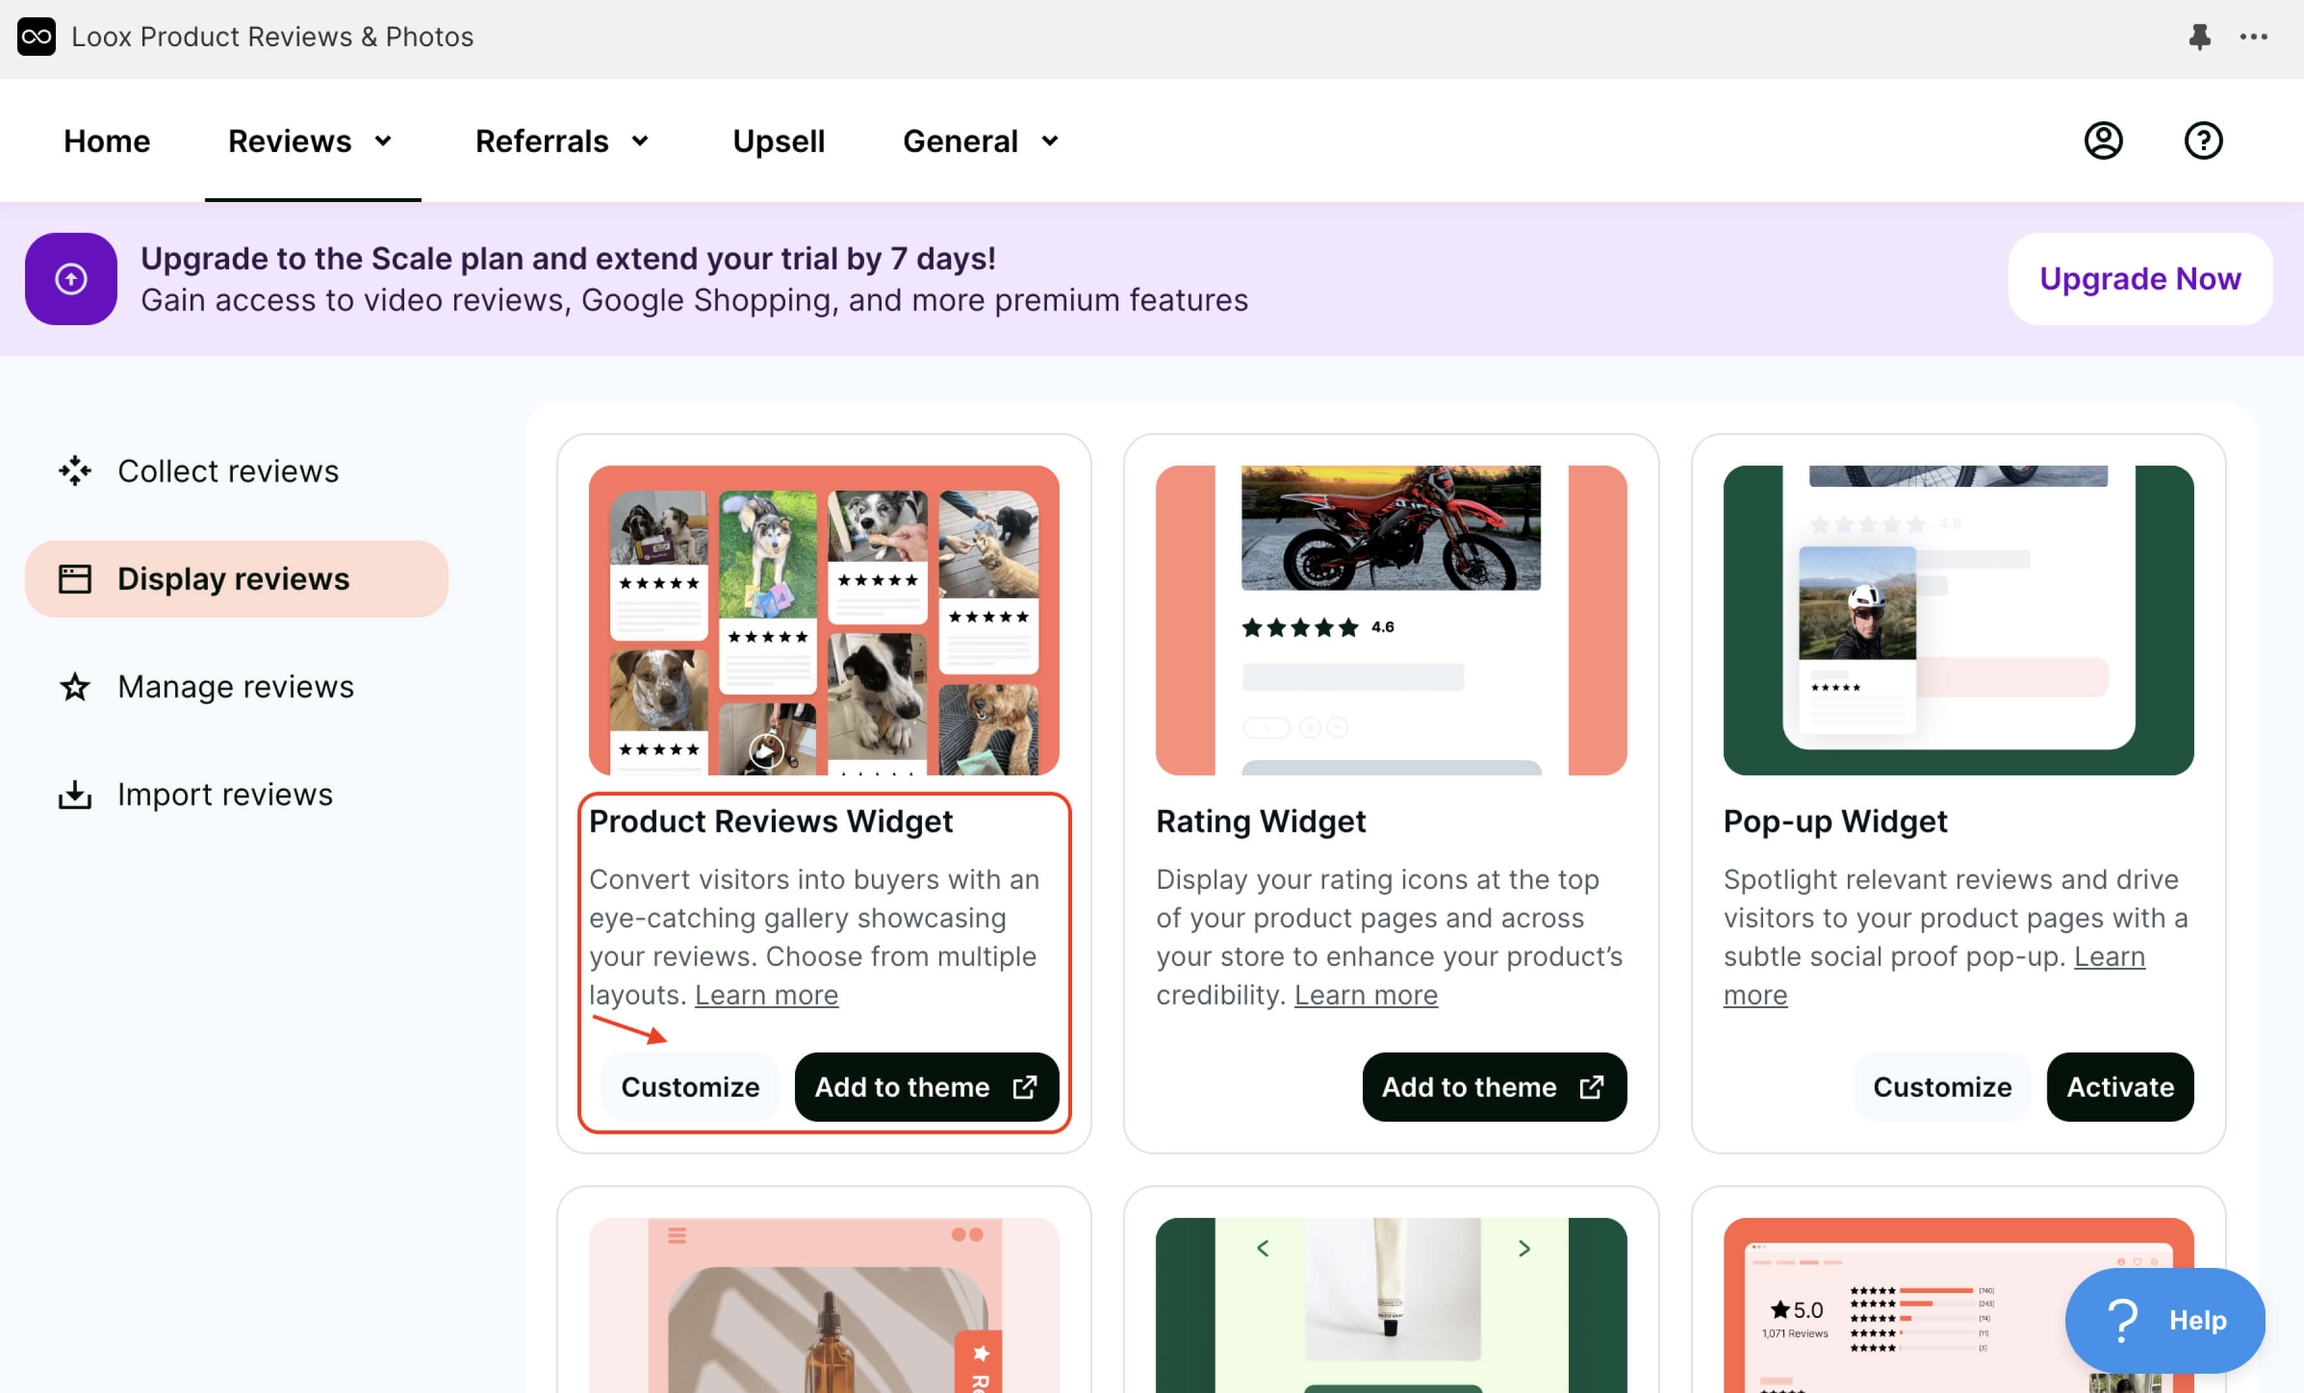
Configure Display reviews on the page to determine how reviews will be displayed on your website.
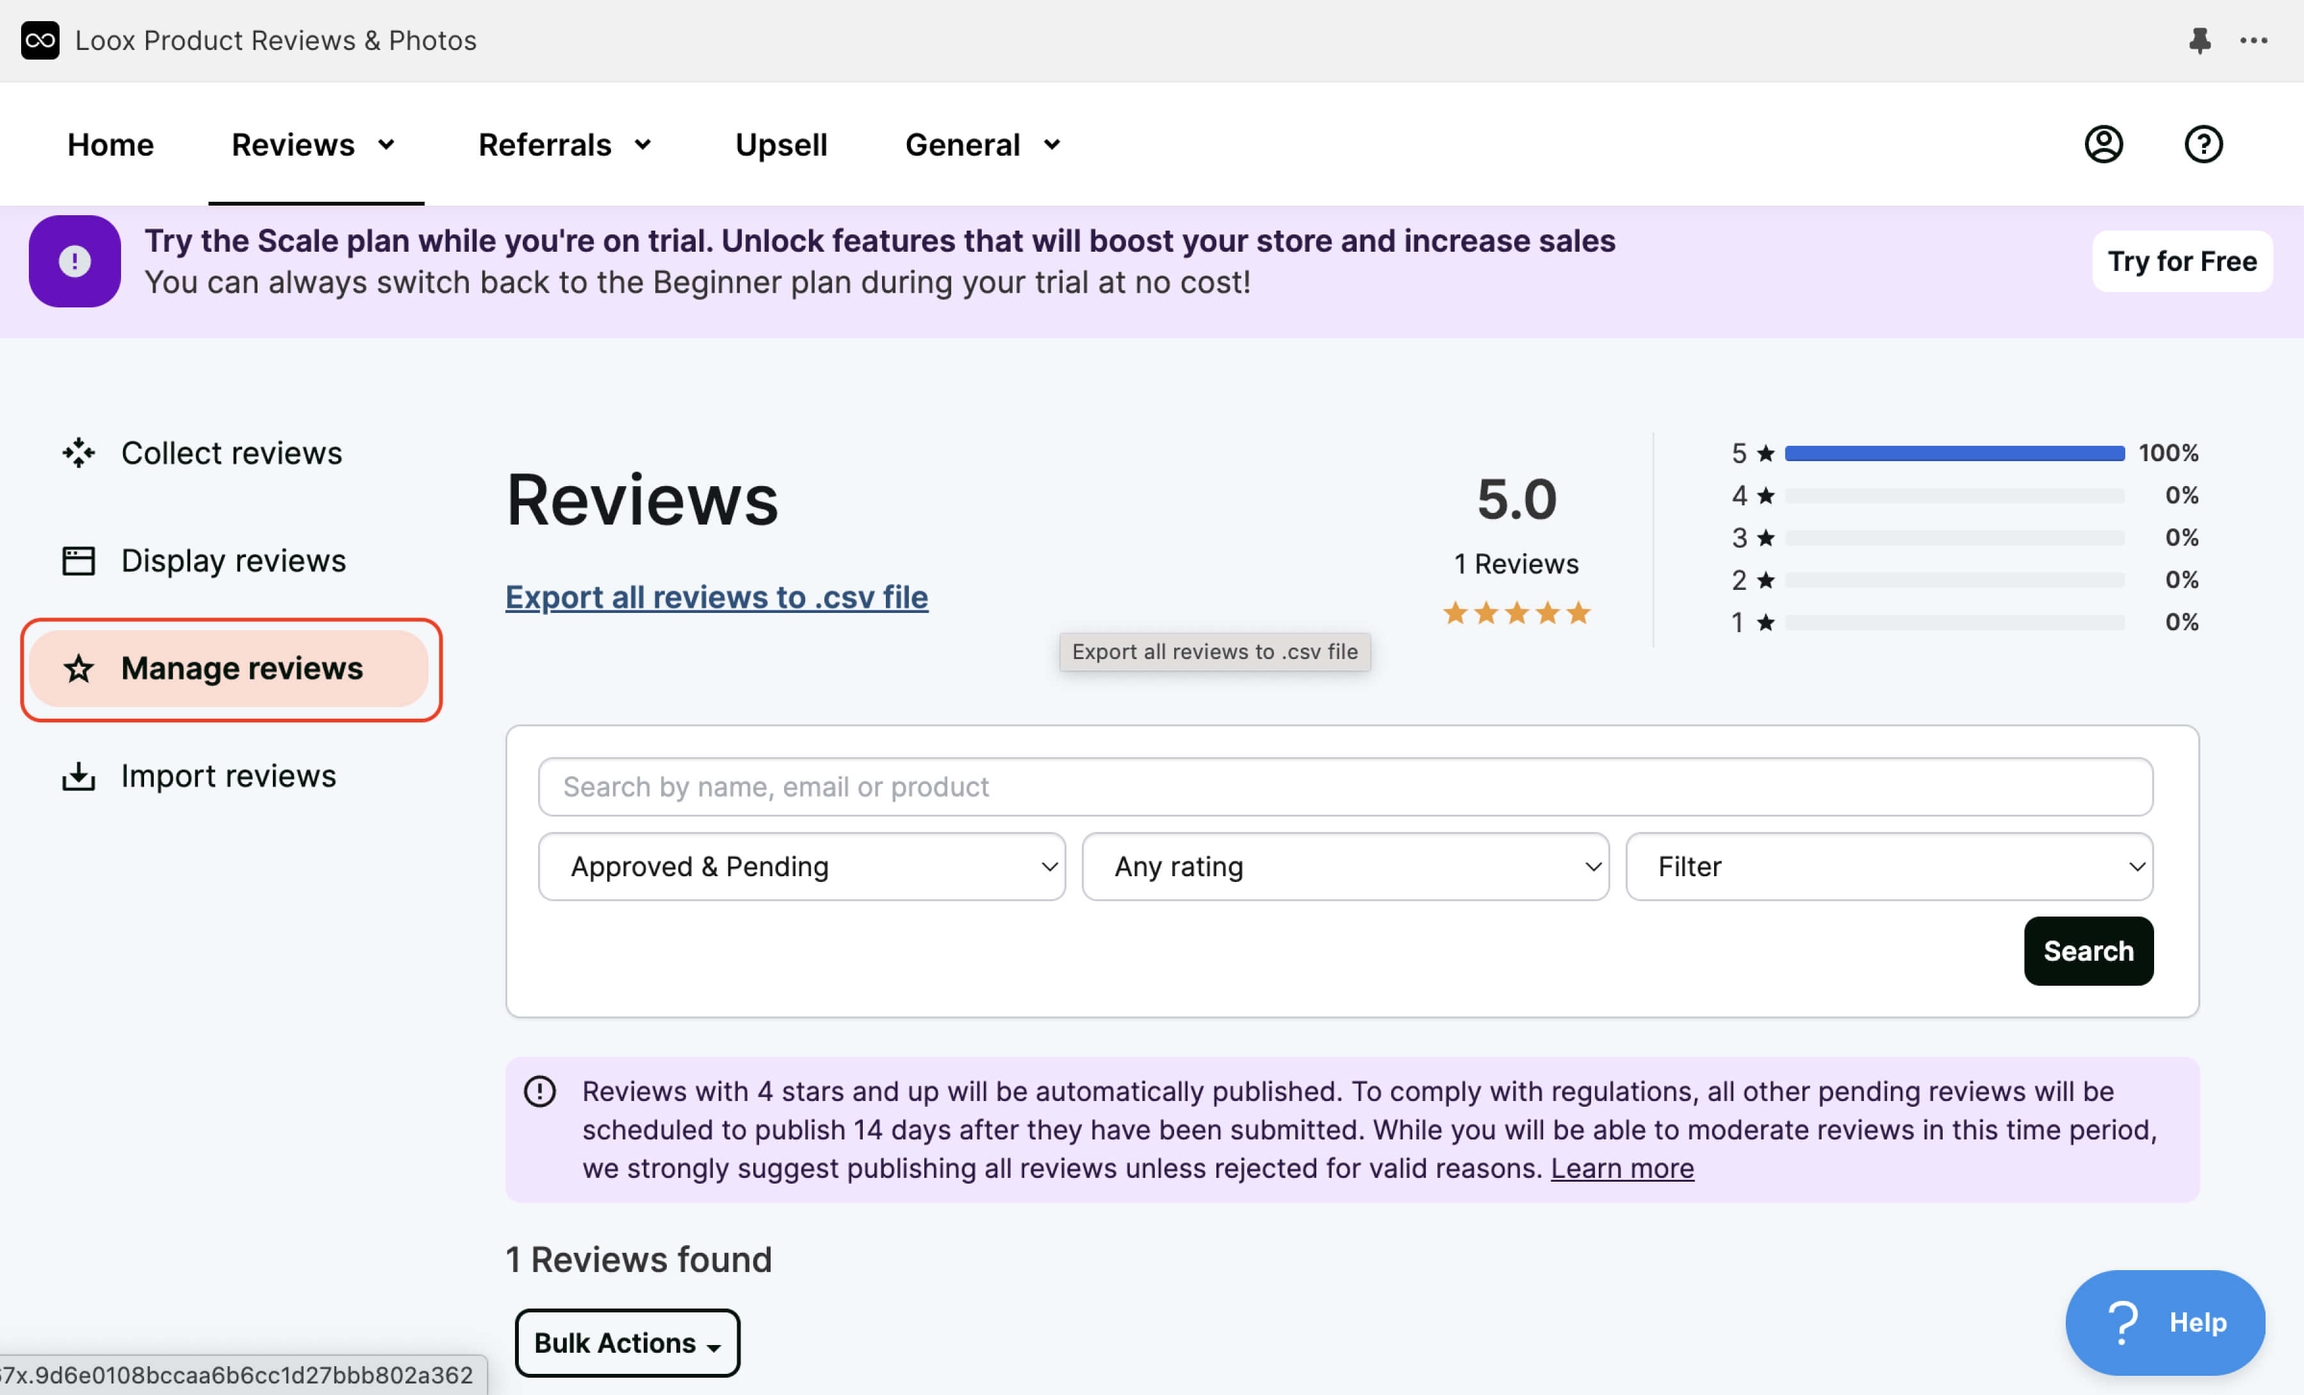
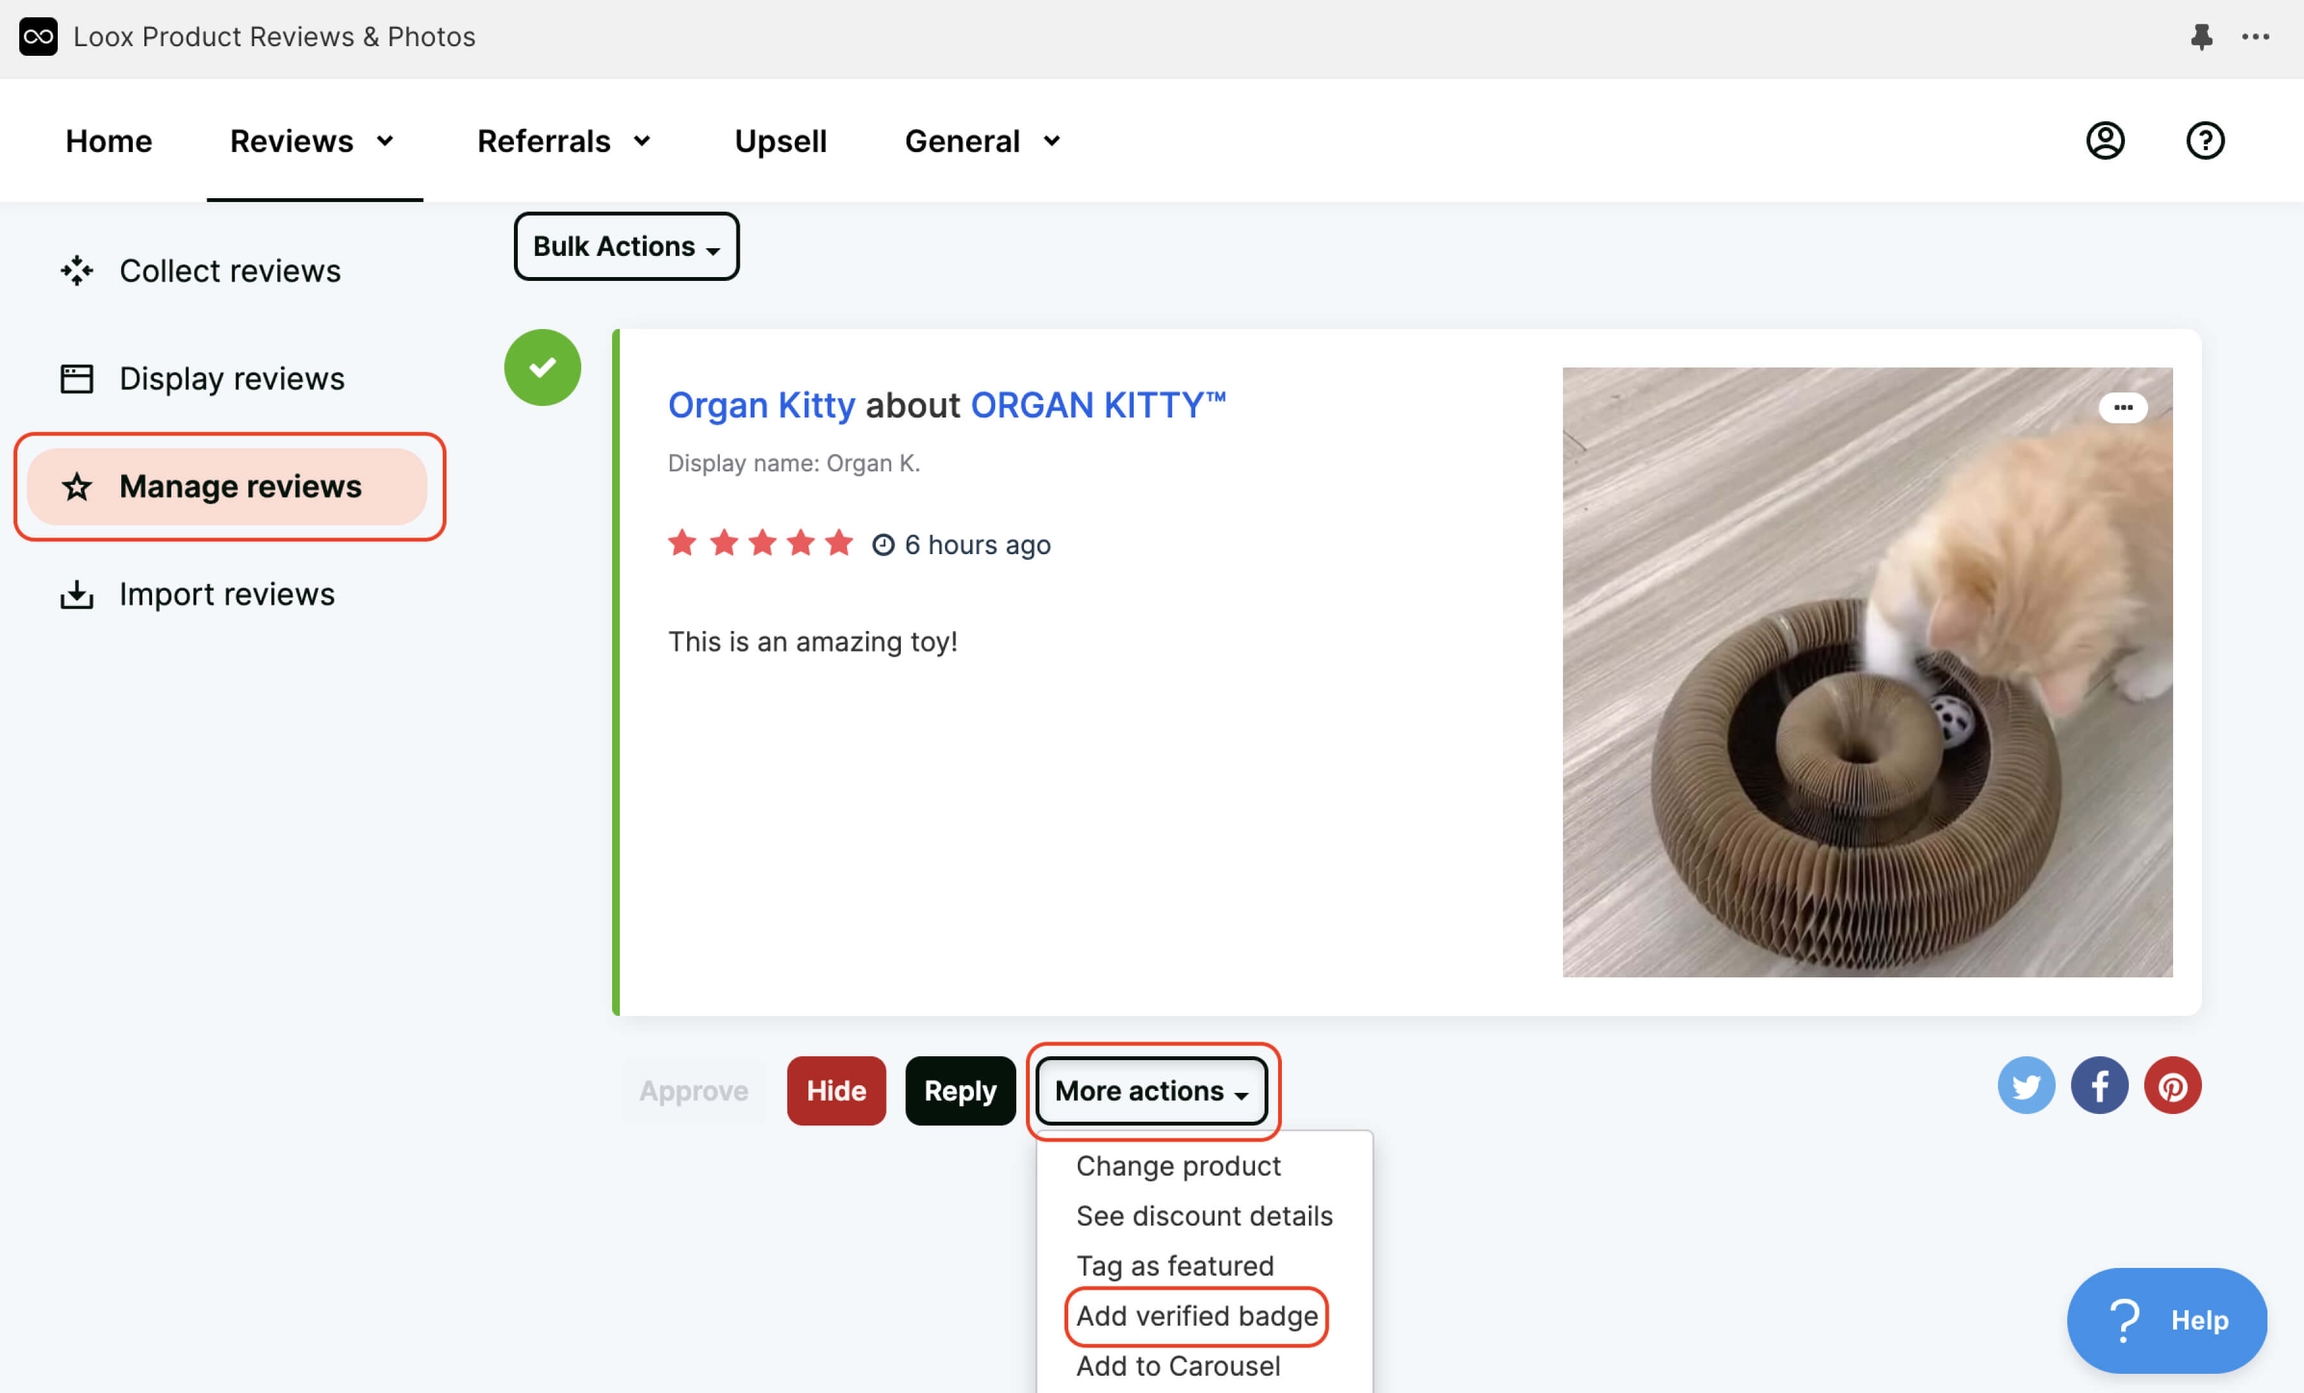
On the Manage reviews page, manage your reviews.
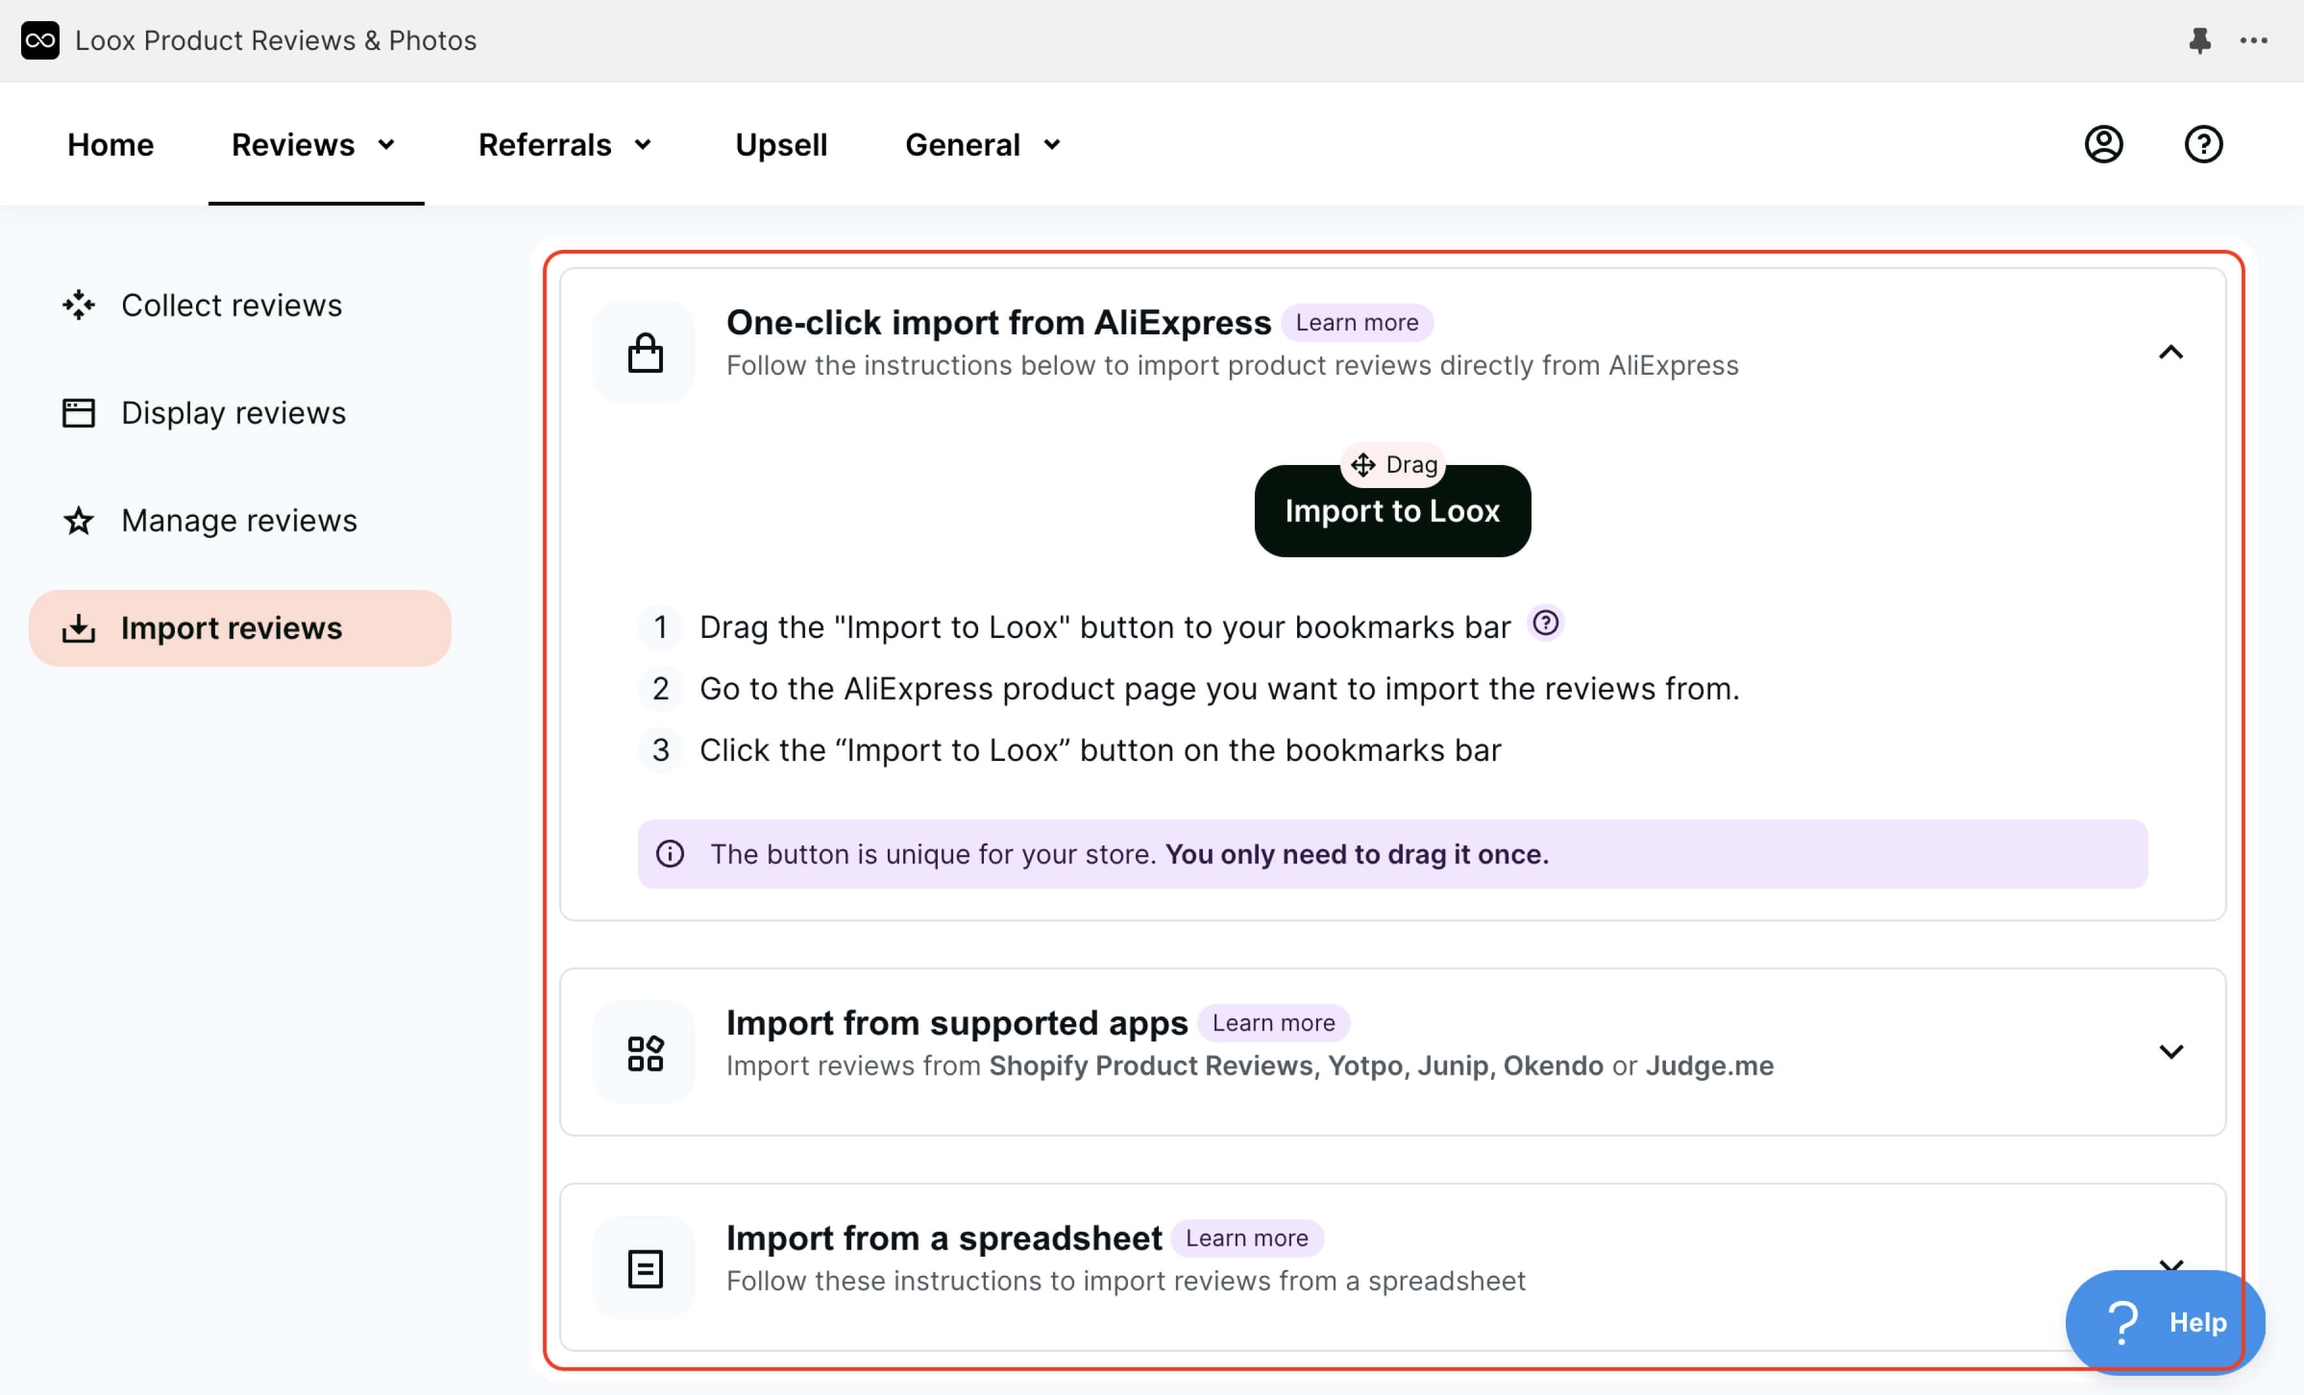
On the Import reviews page, you have three options to add reviews to your site. The first option, using AliExpress, is explained in the video. We recommend exploring the other methods on your own.
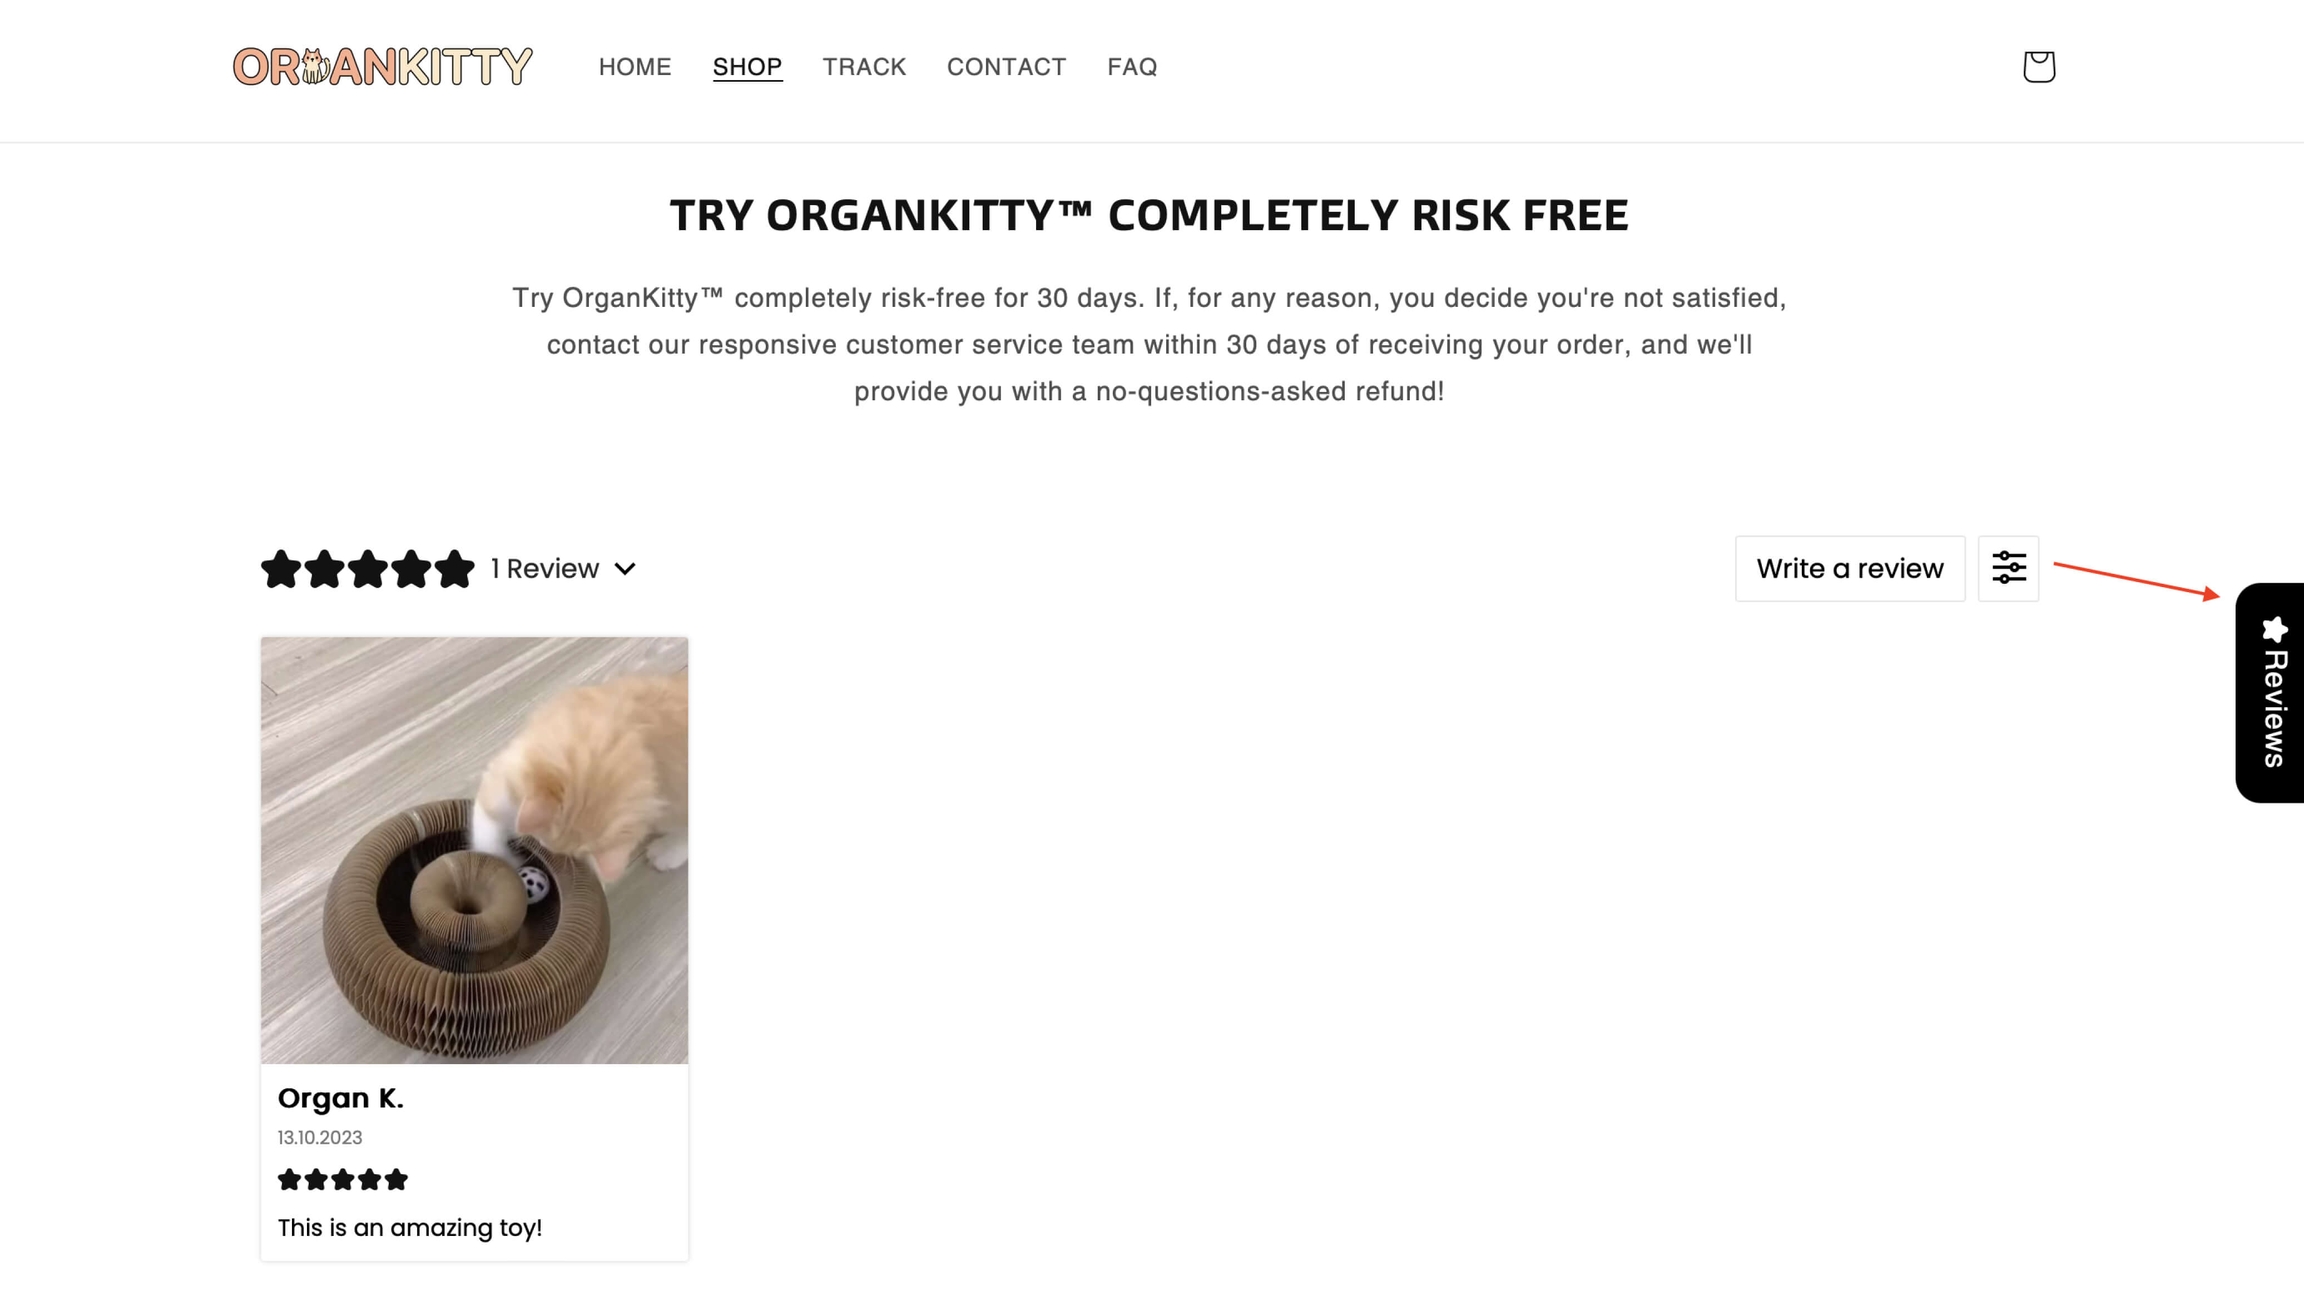
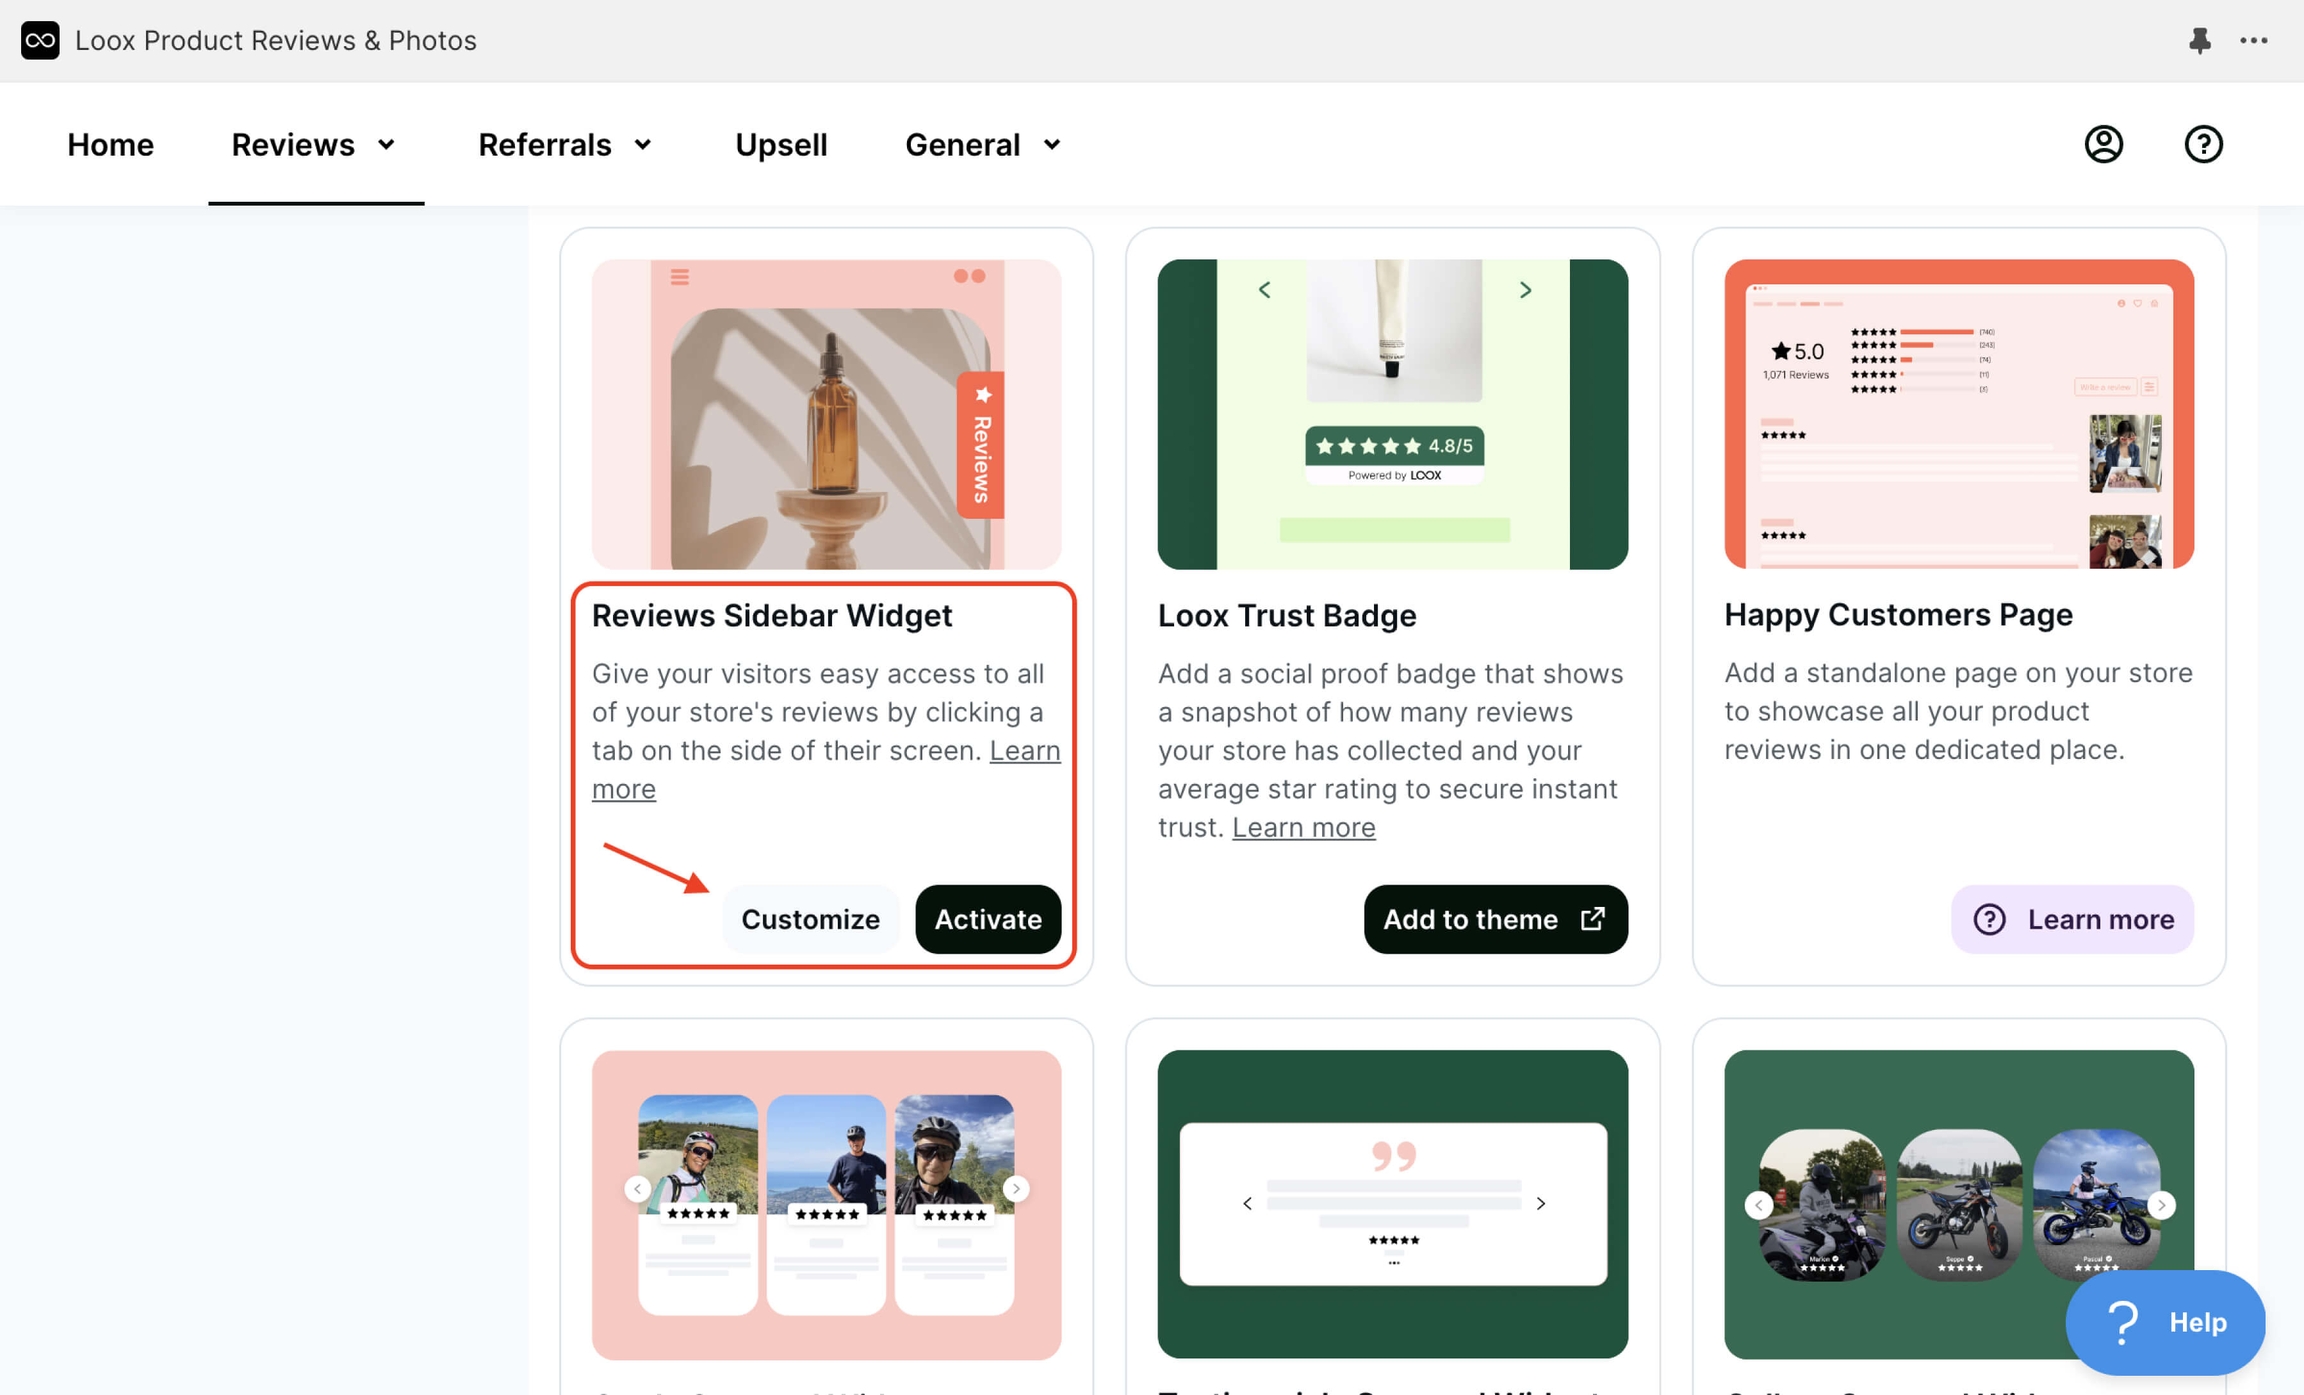
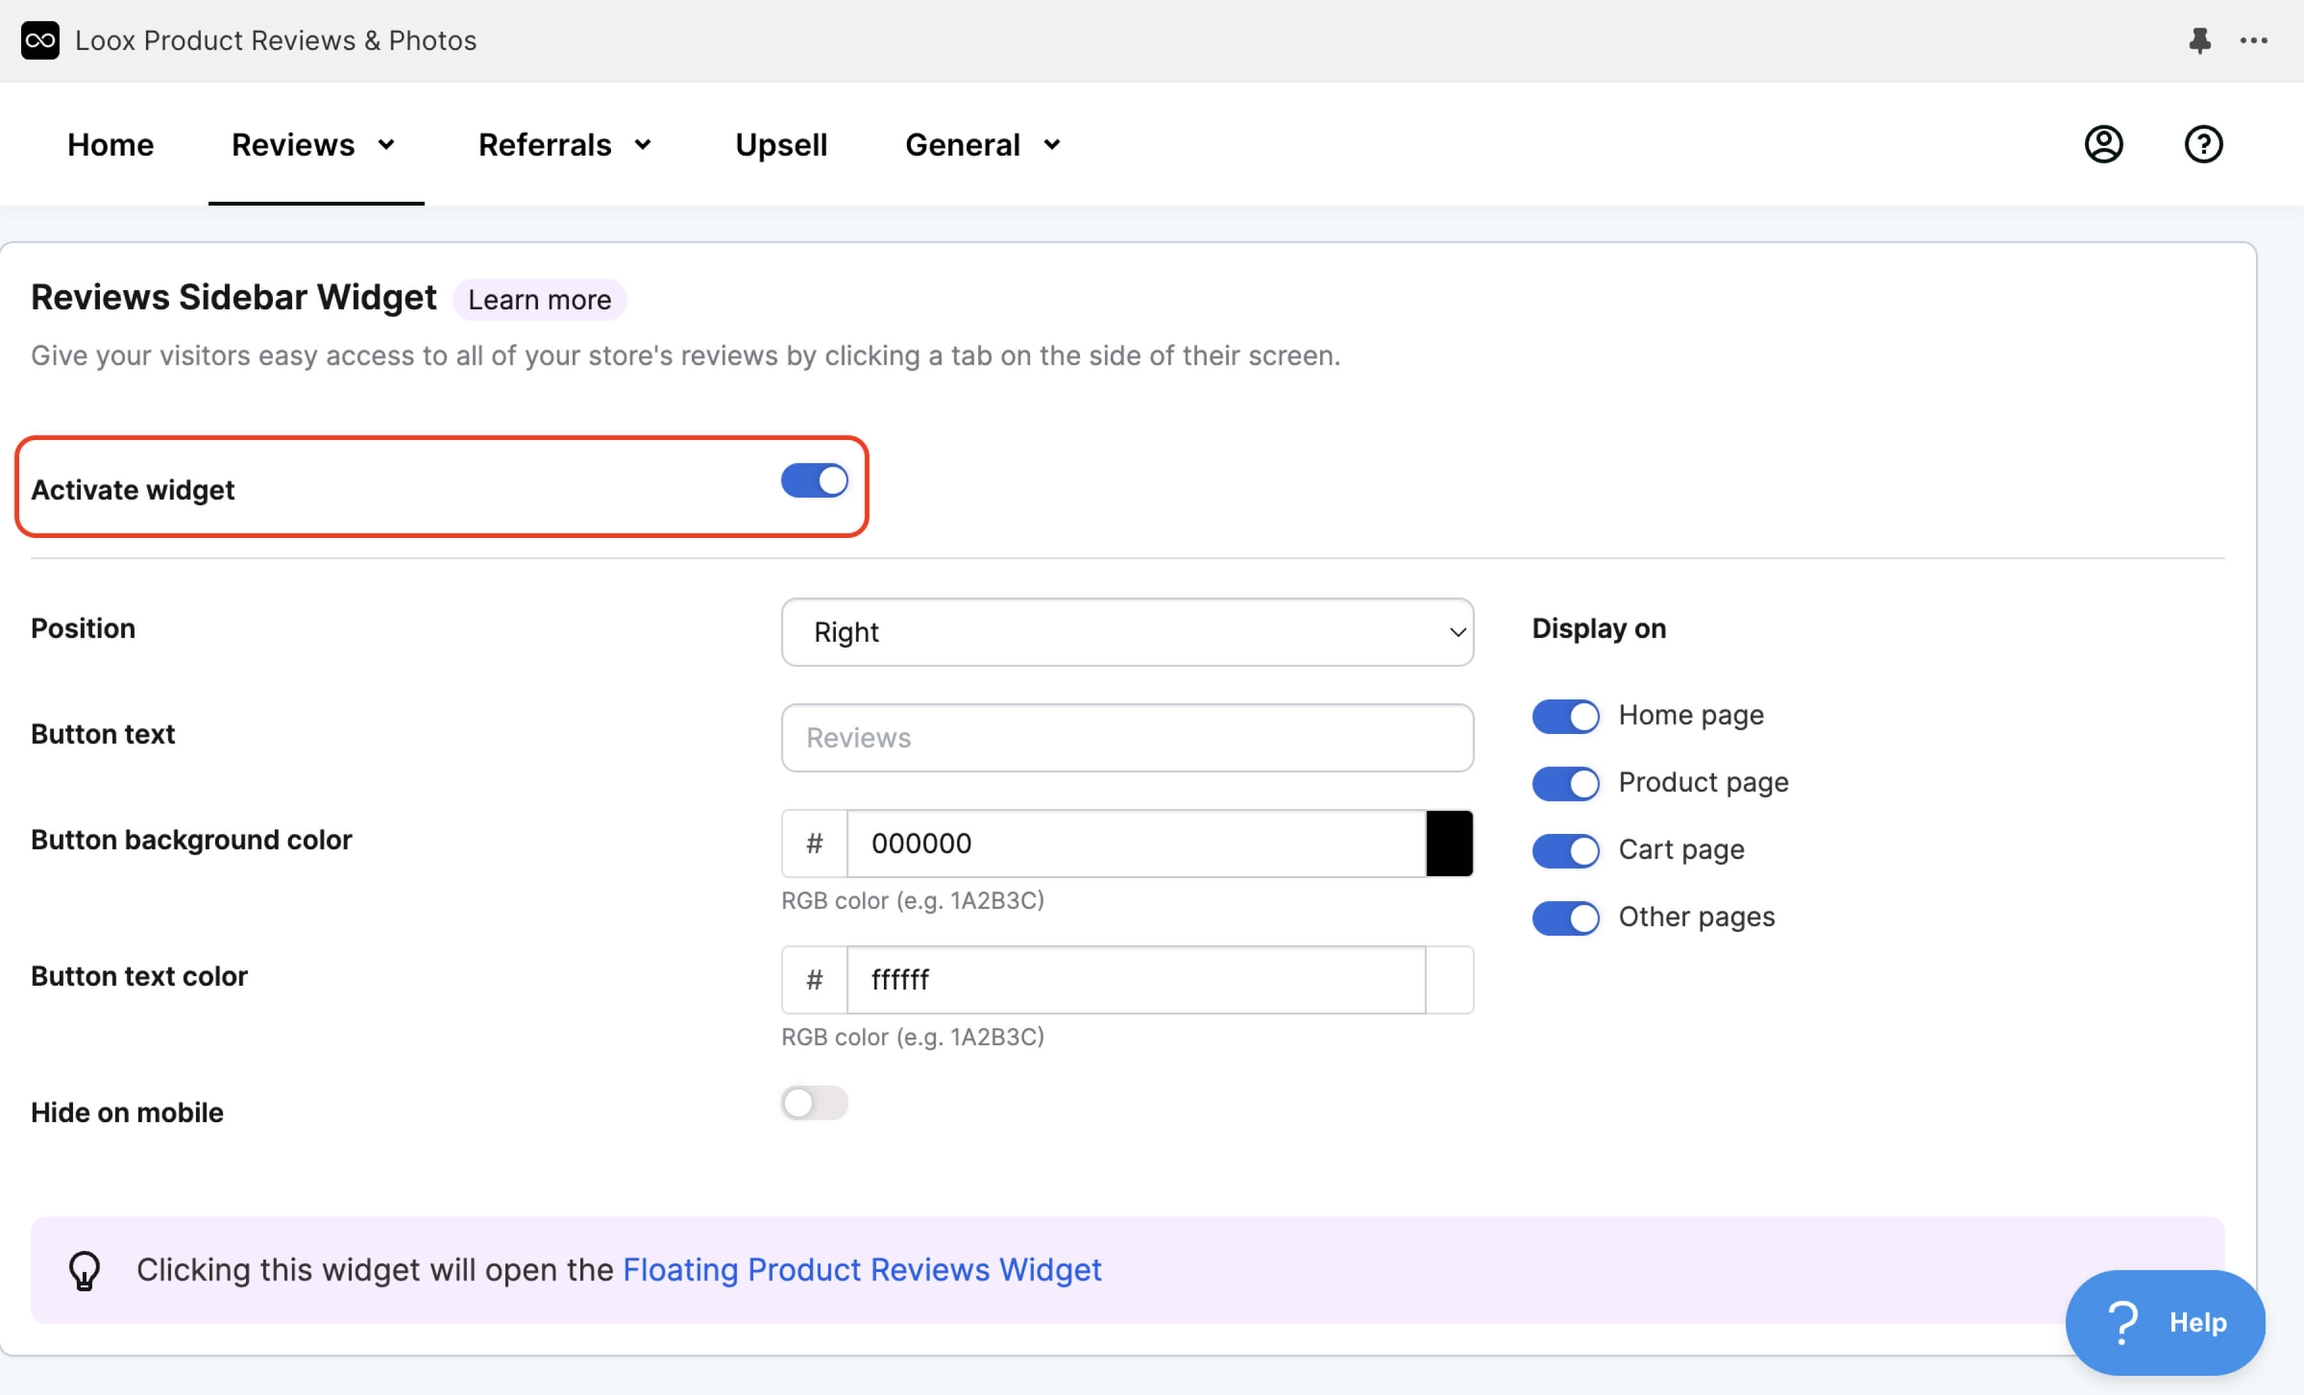
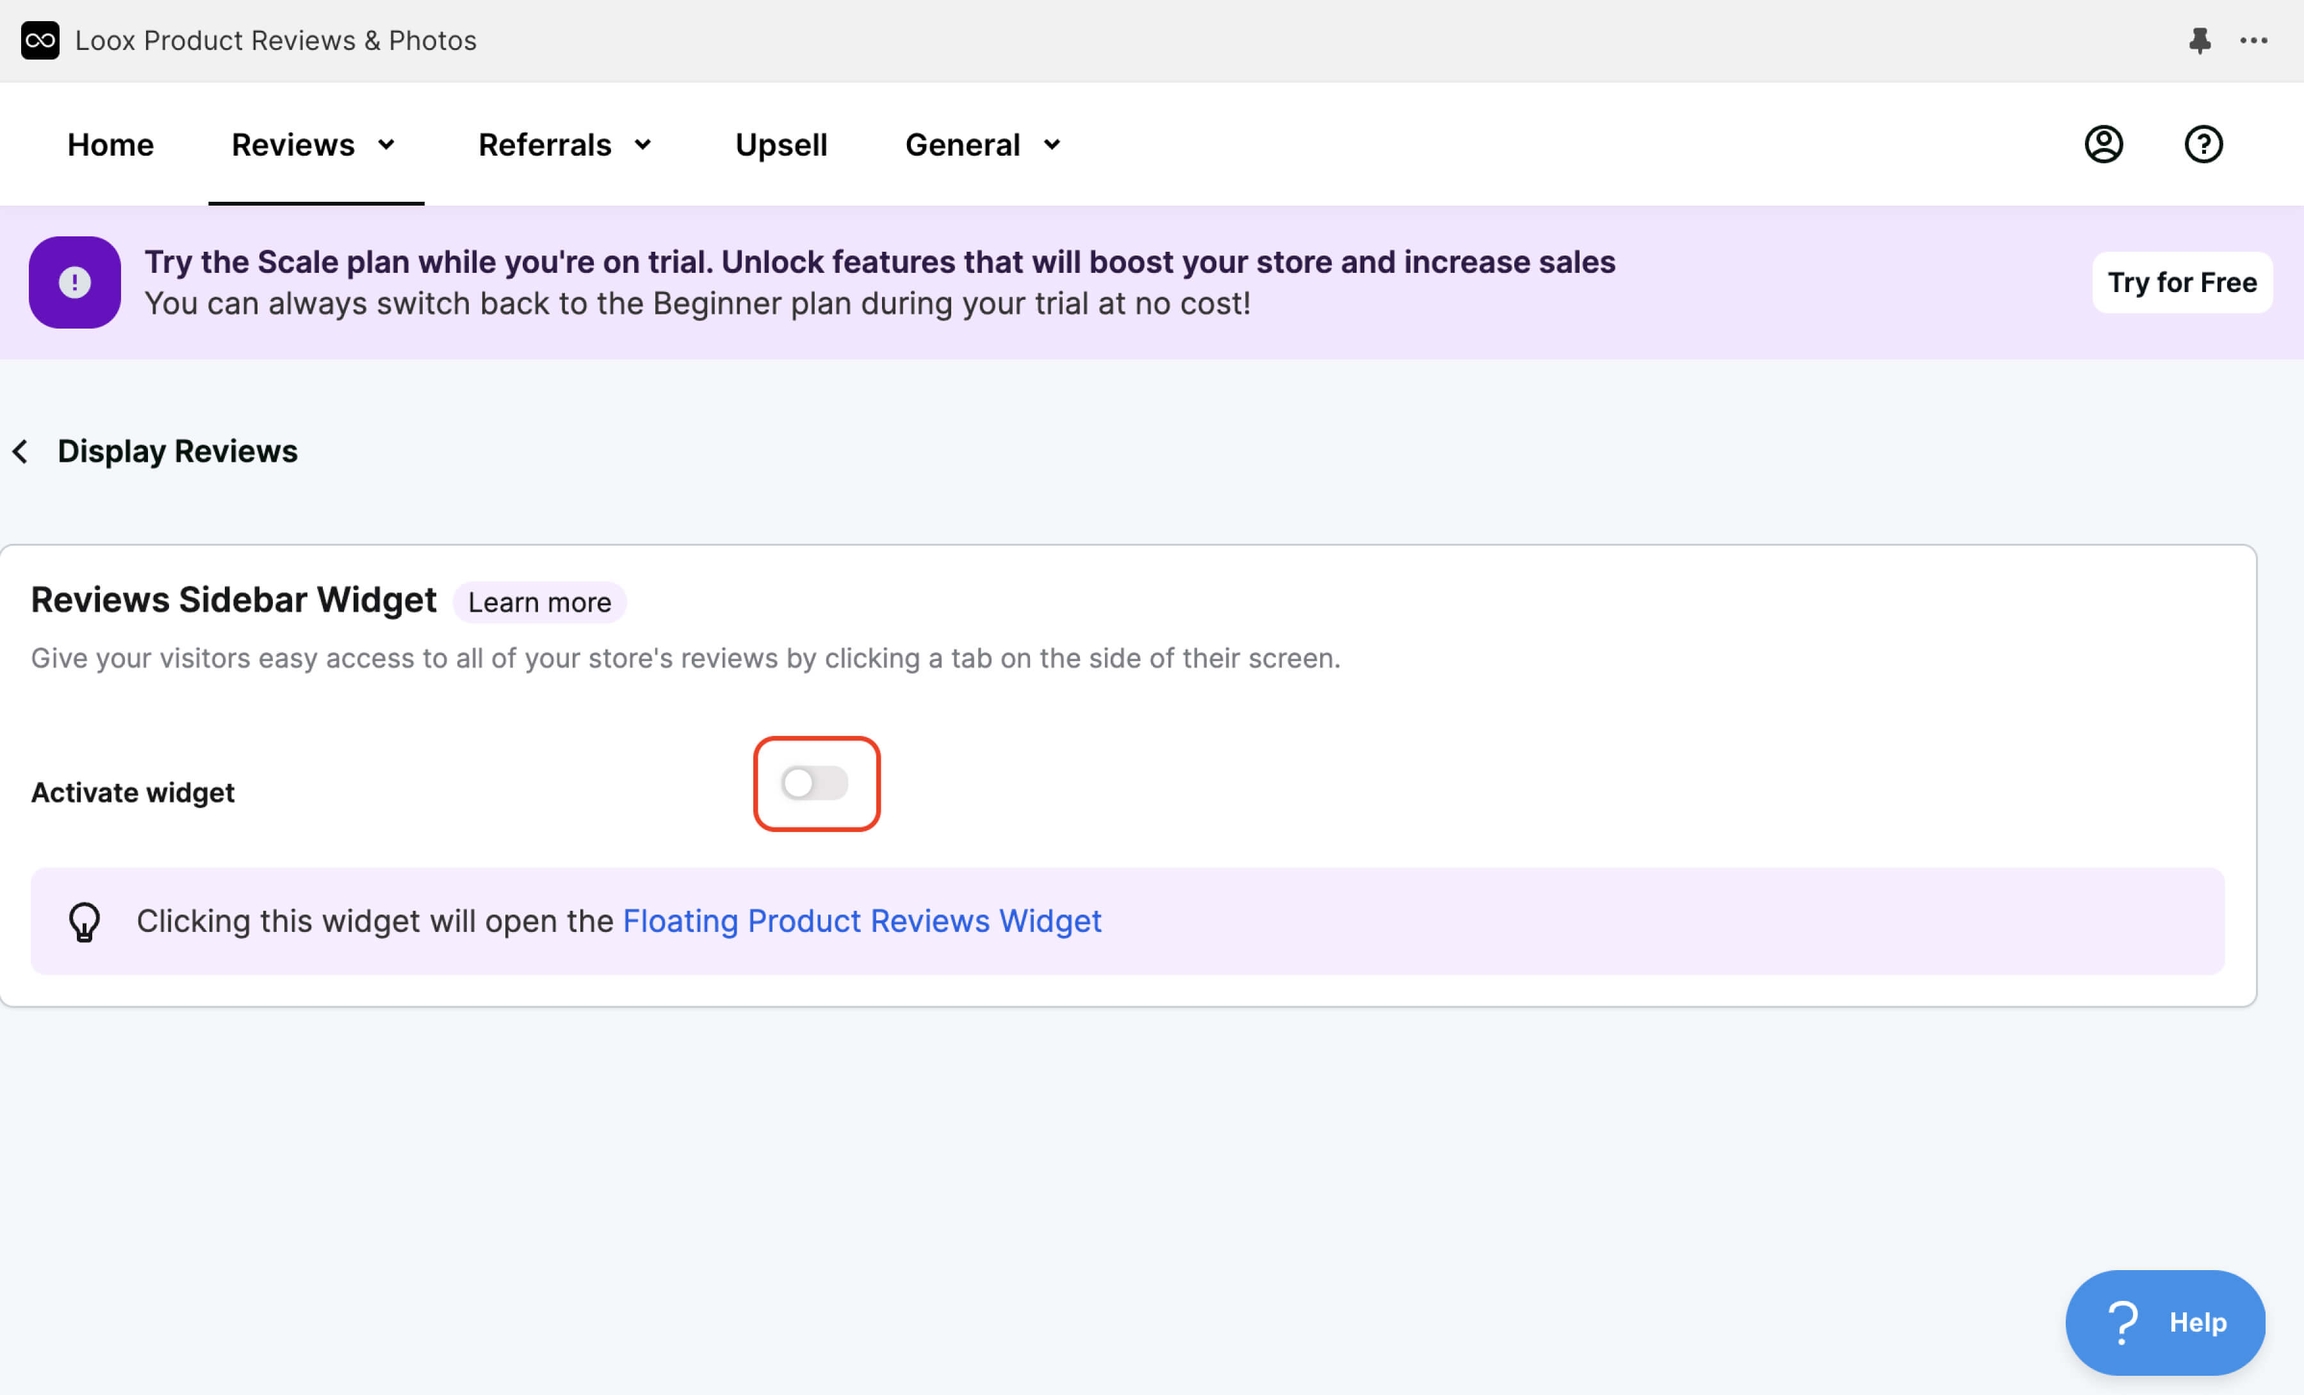
As an example, I will disable the Reviews Sidebar Widget in Display reviews.
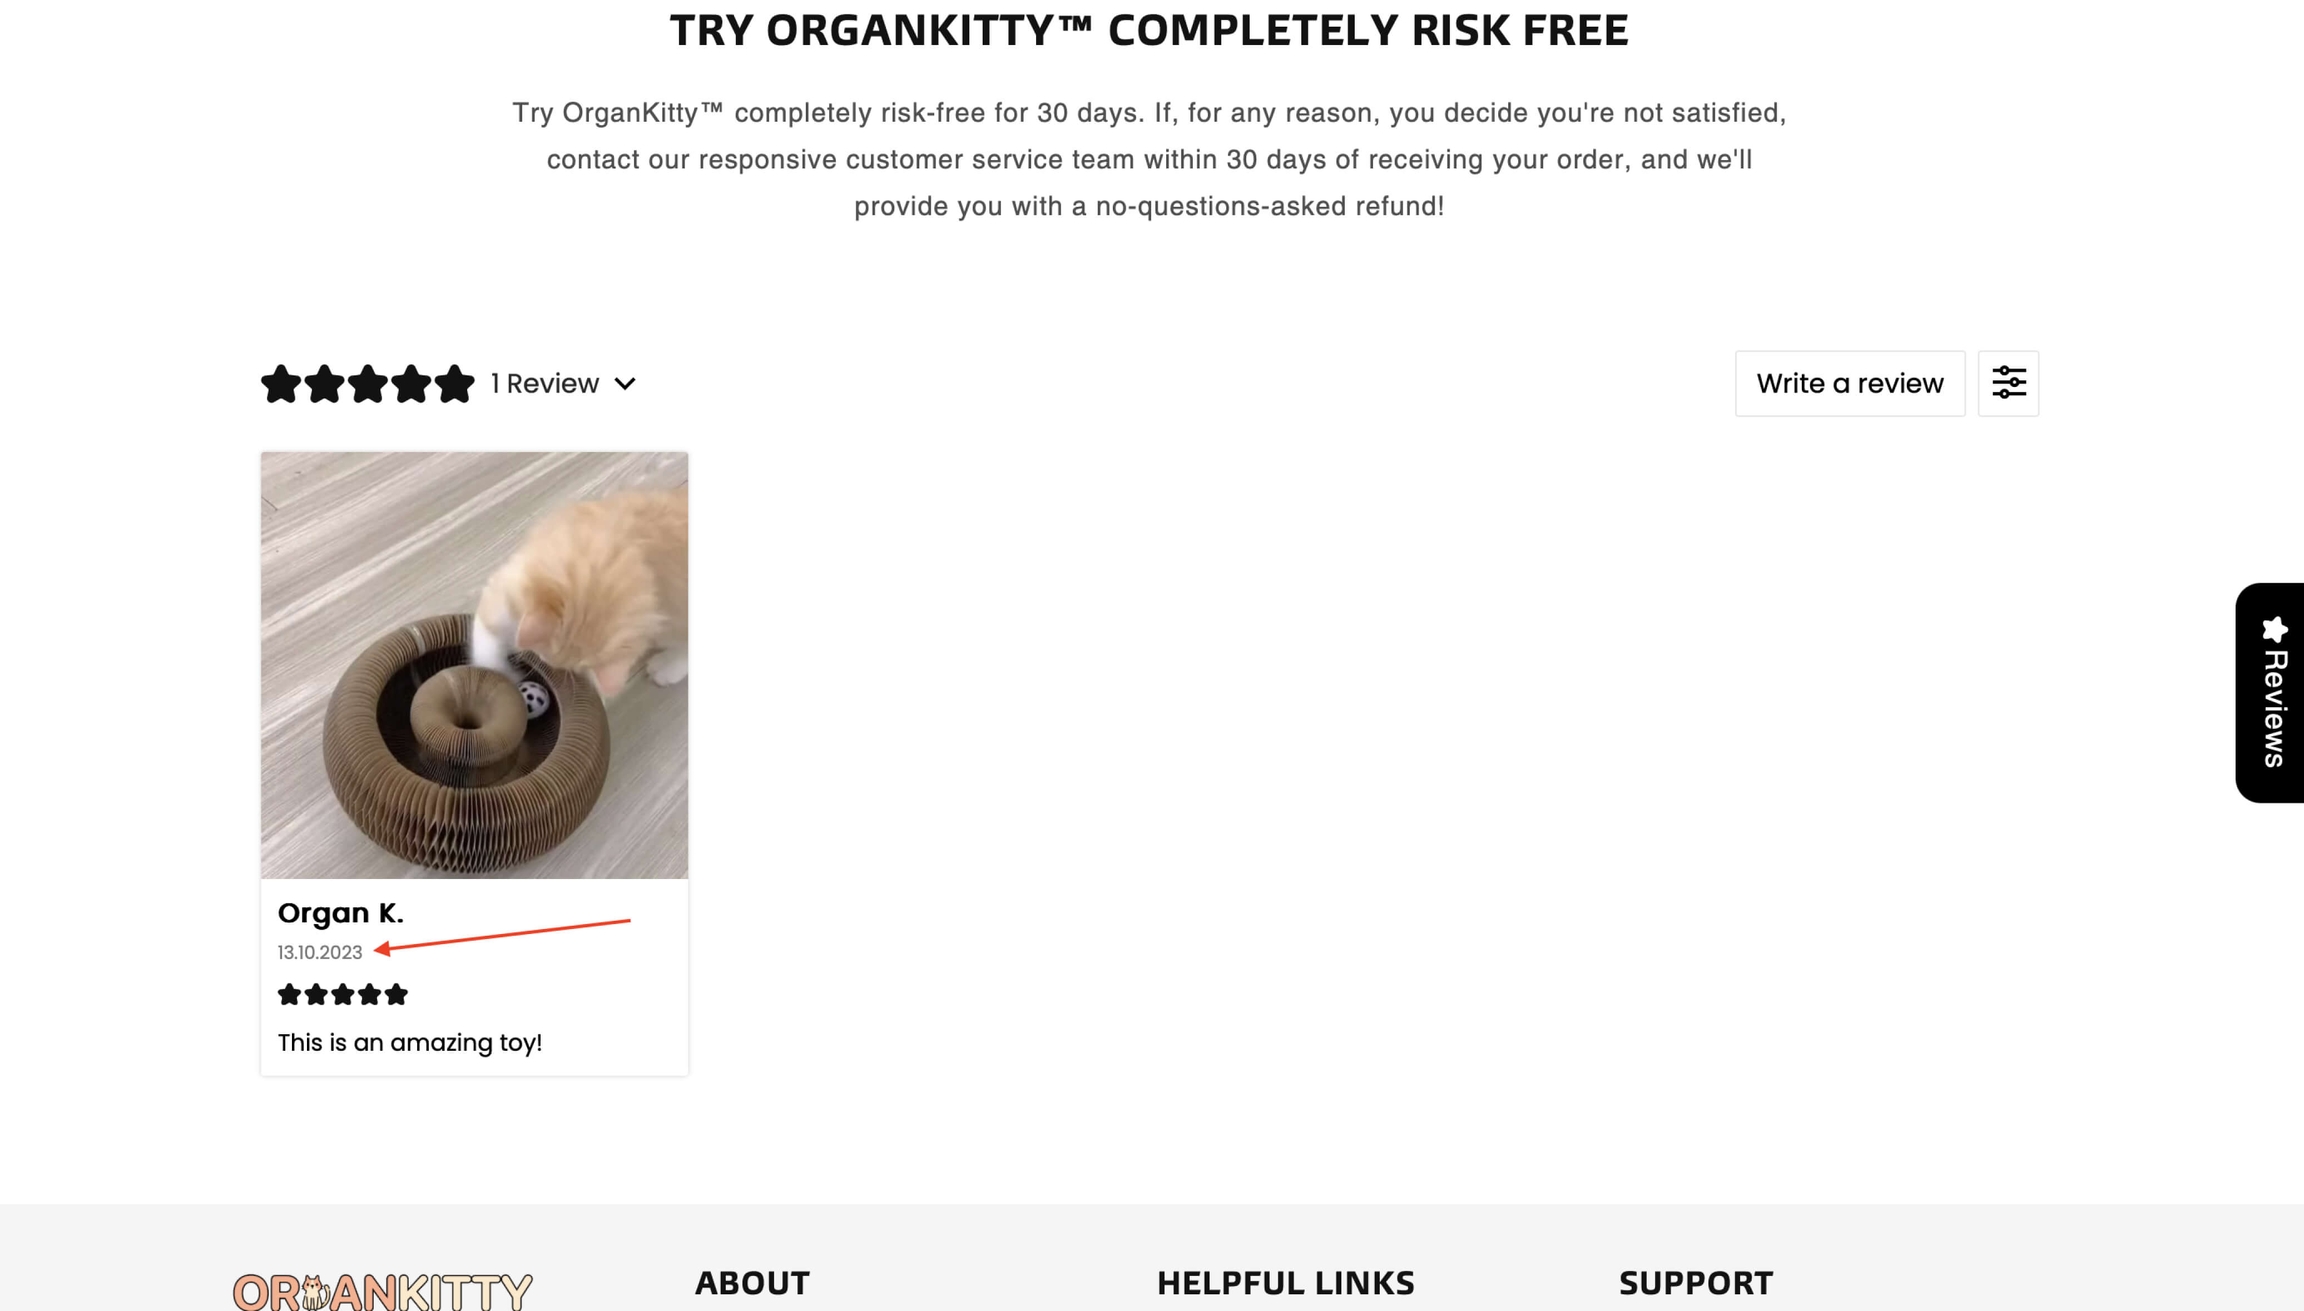
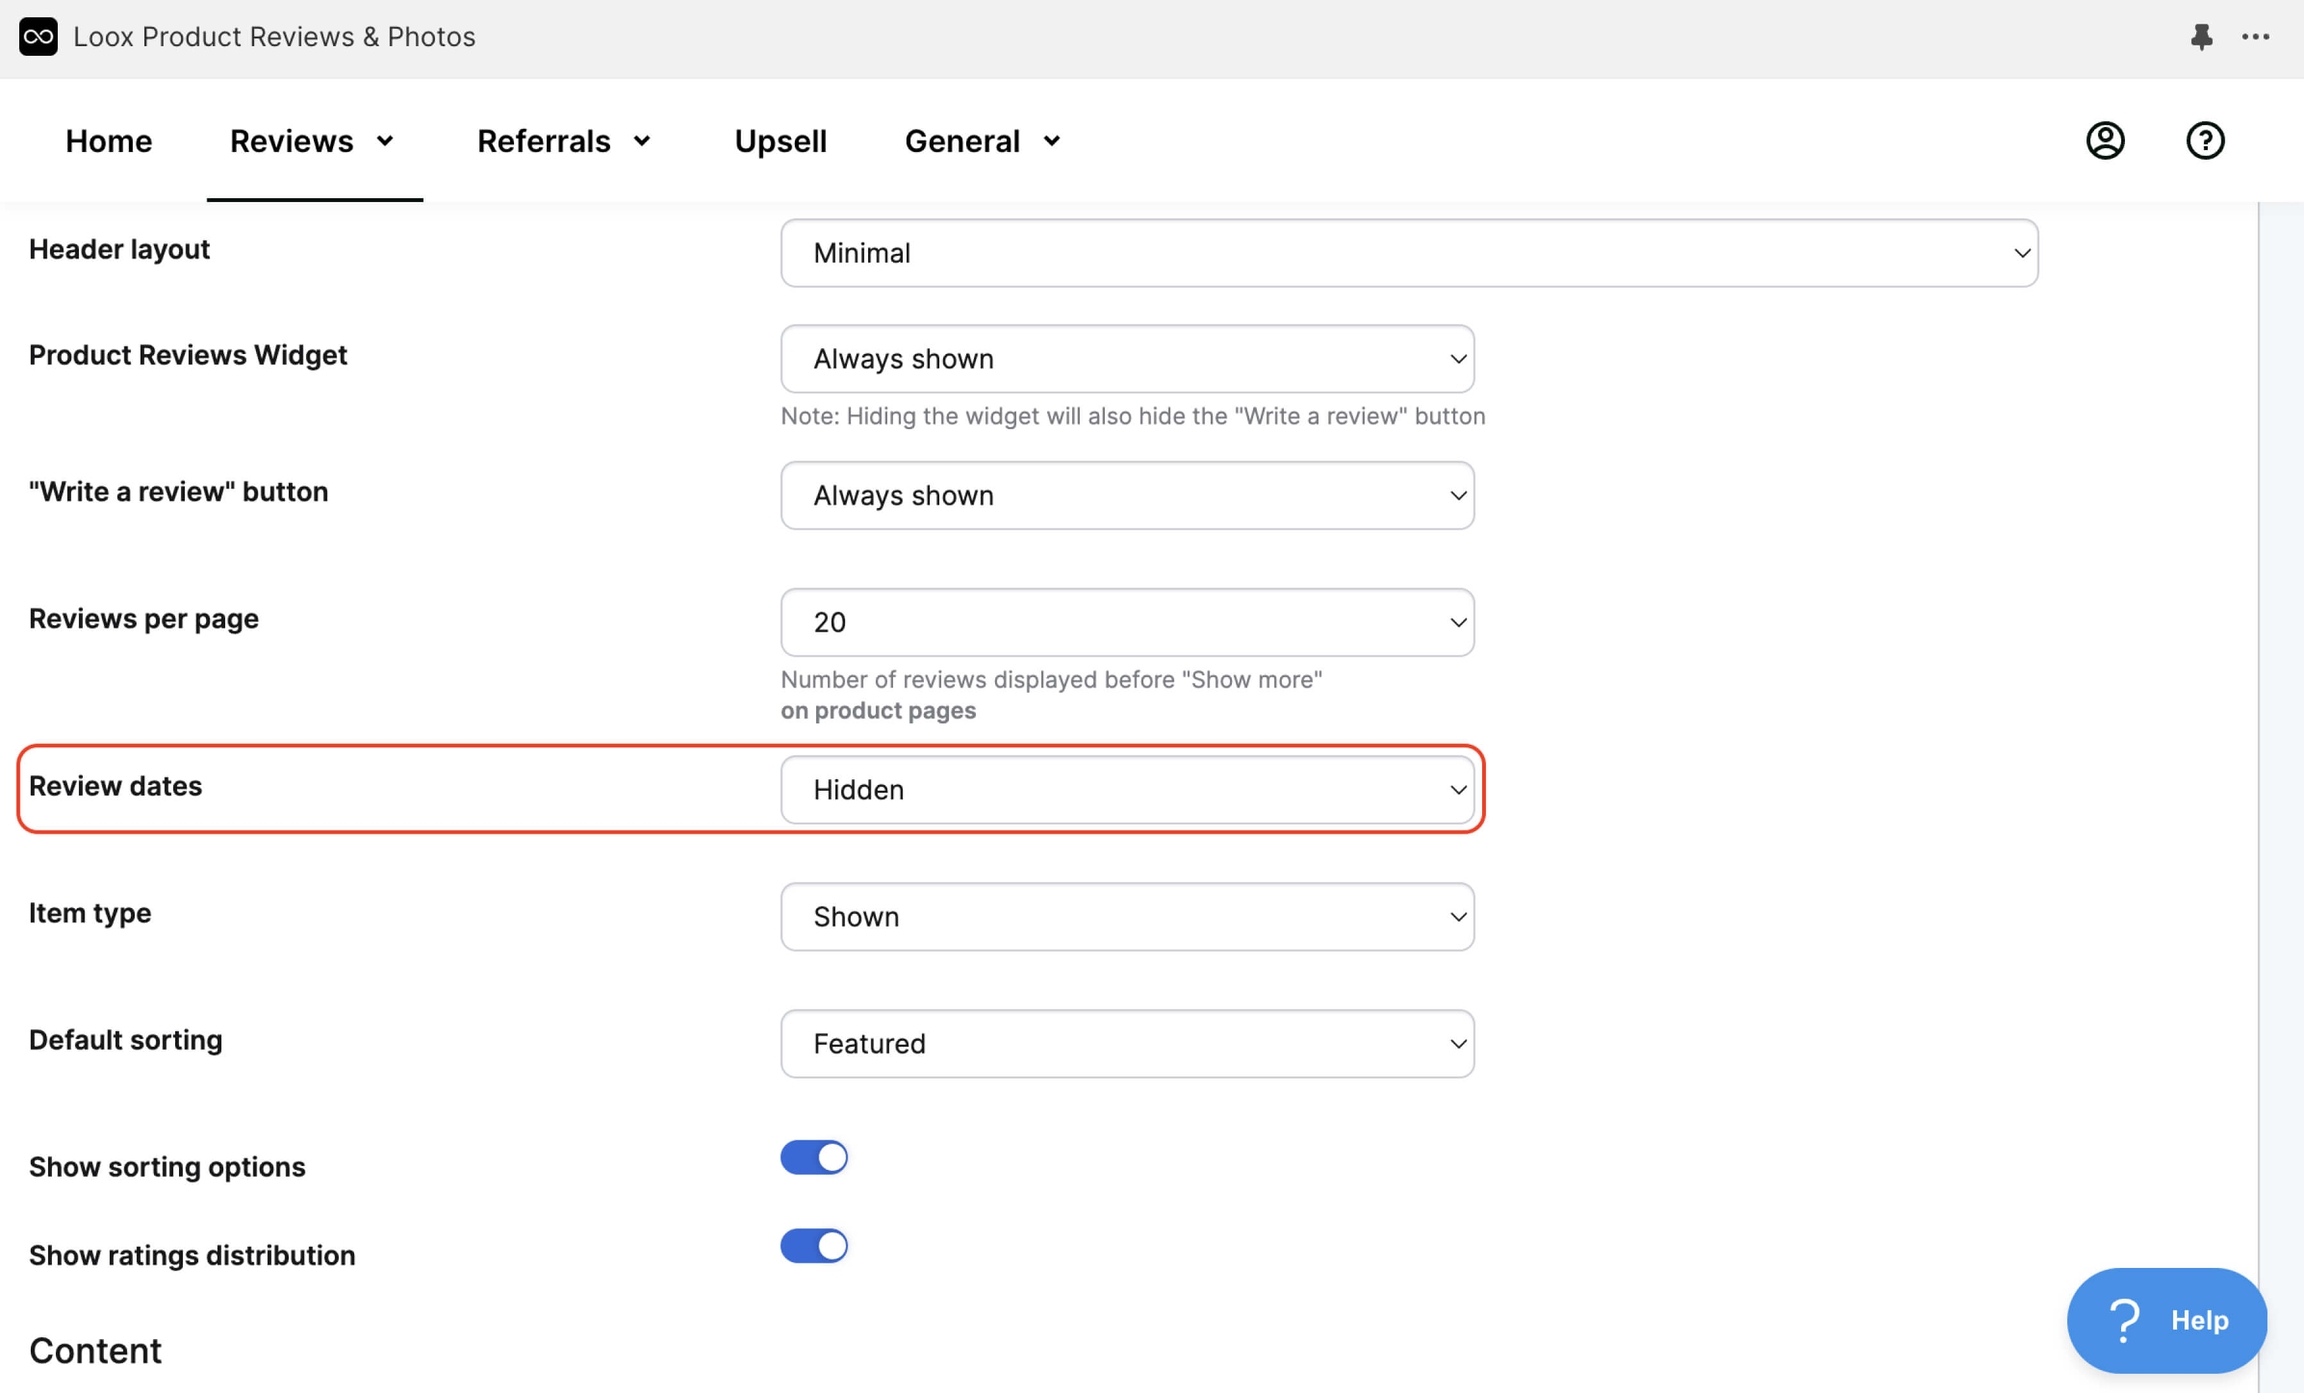
You can hide the review date in the Product Reviews Widget under Display reviews.
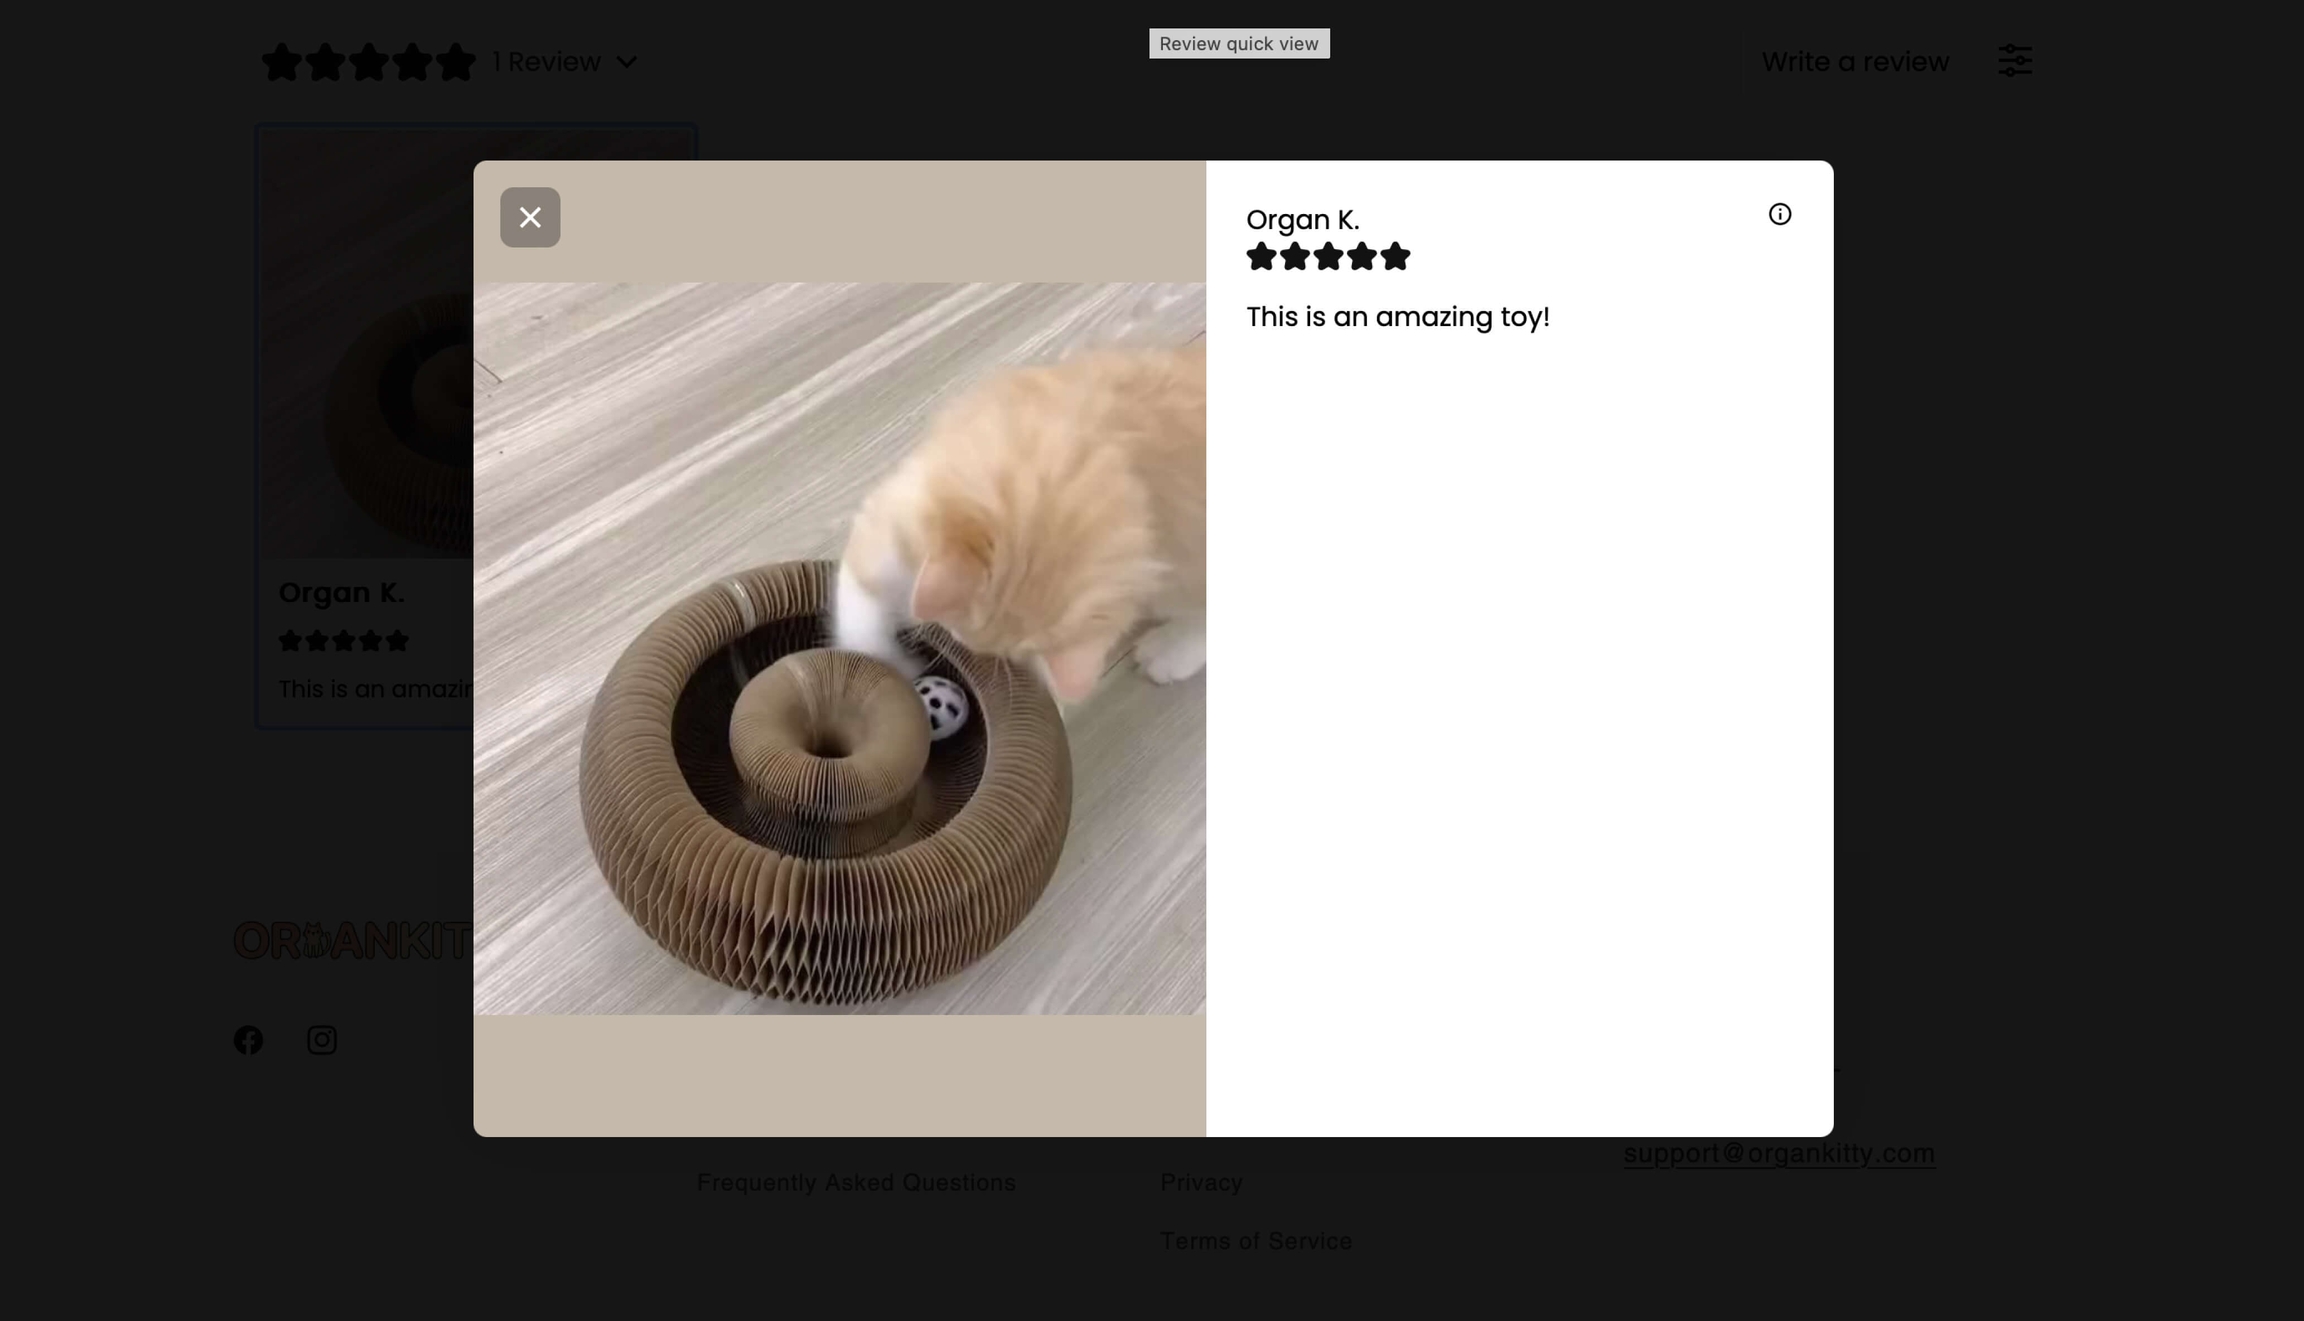
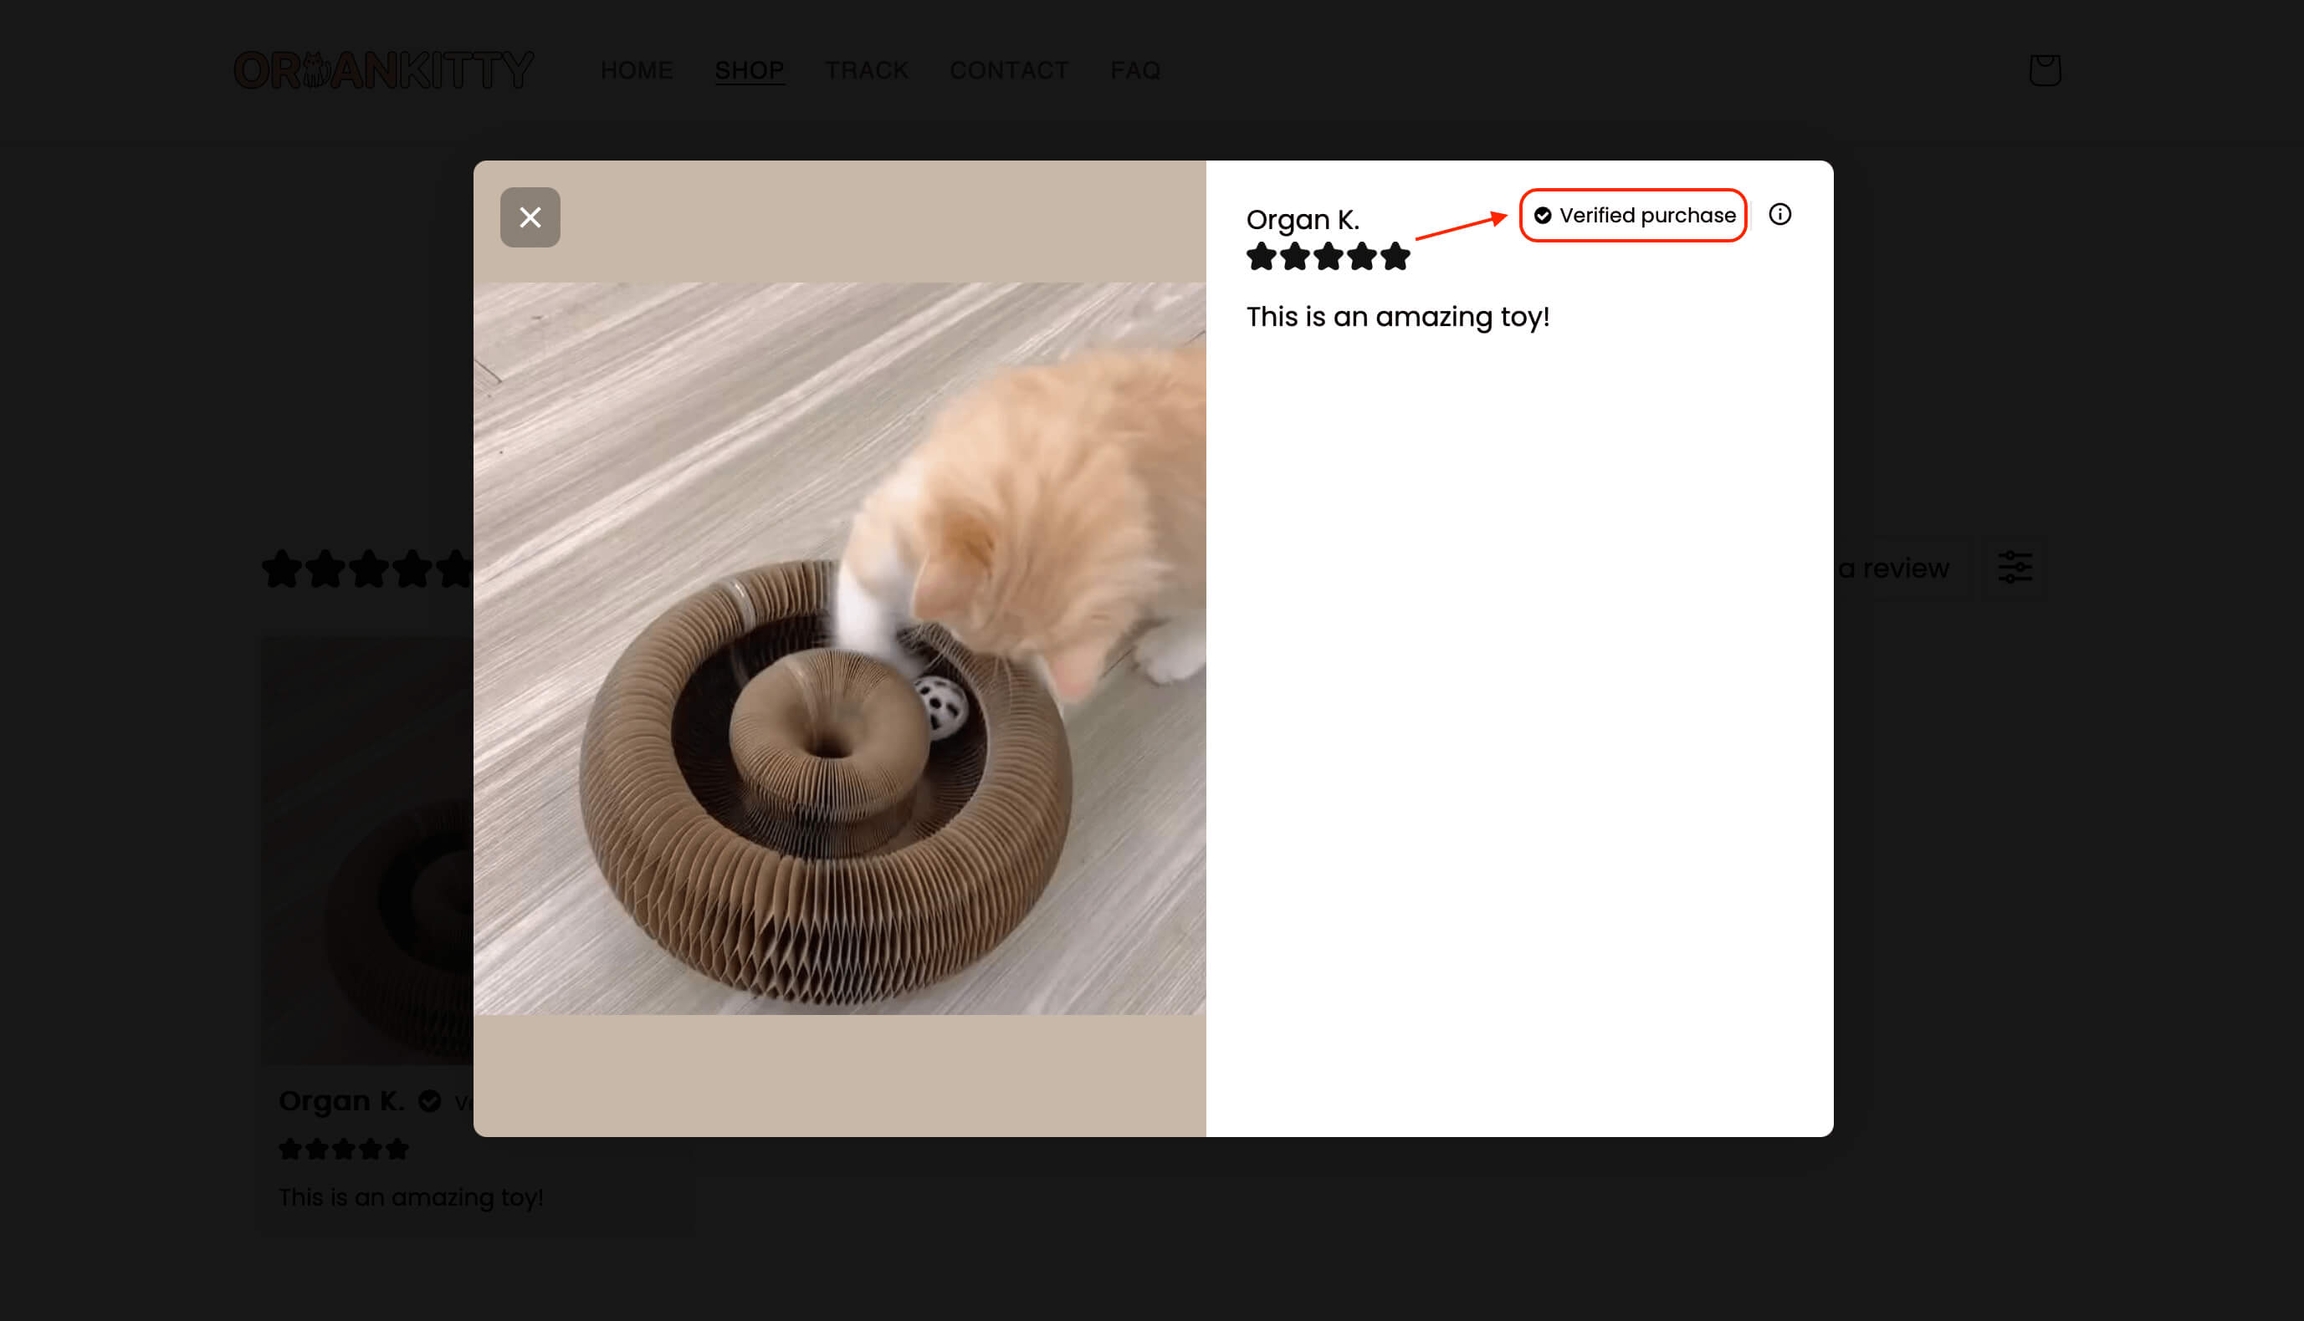
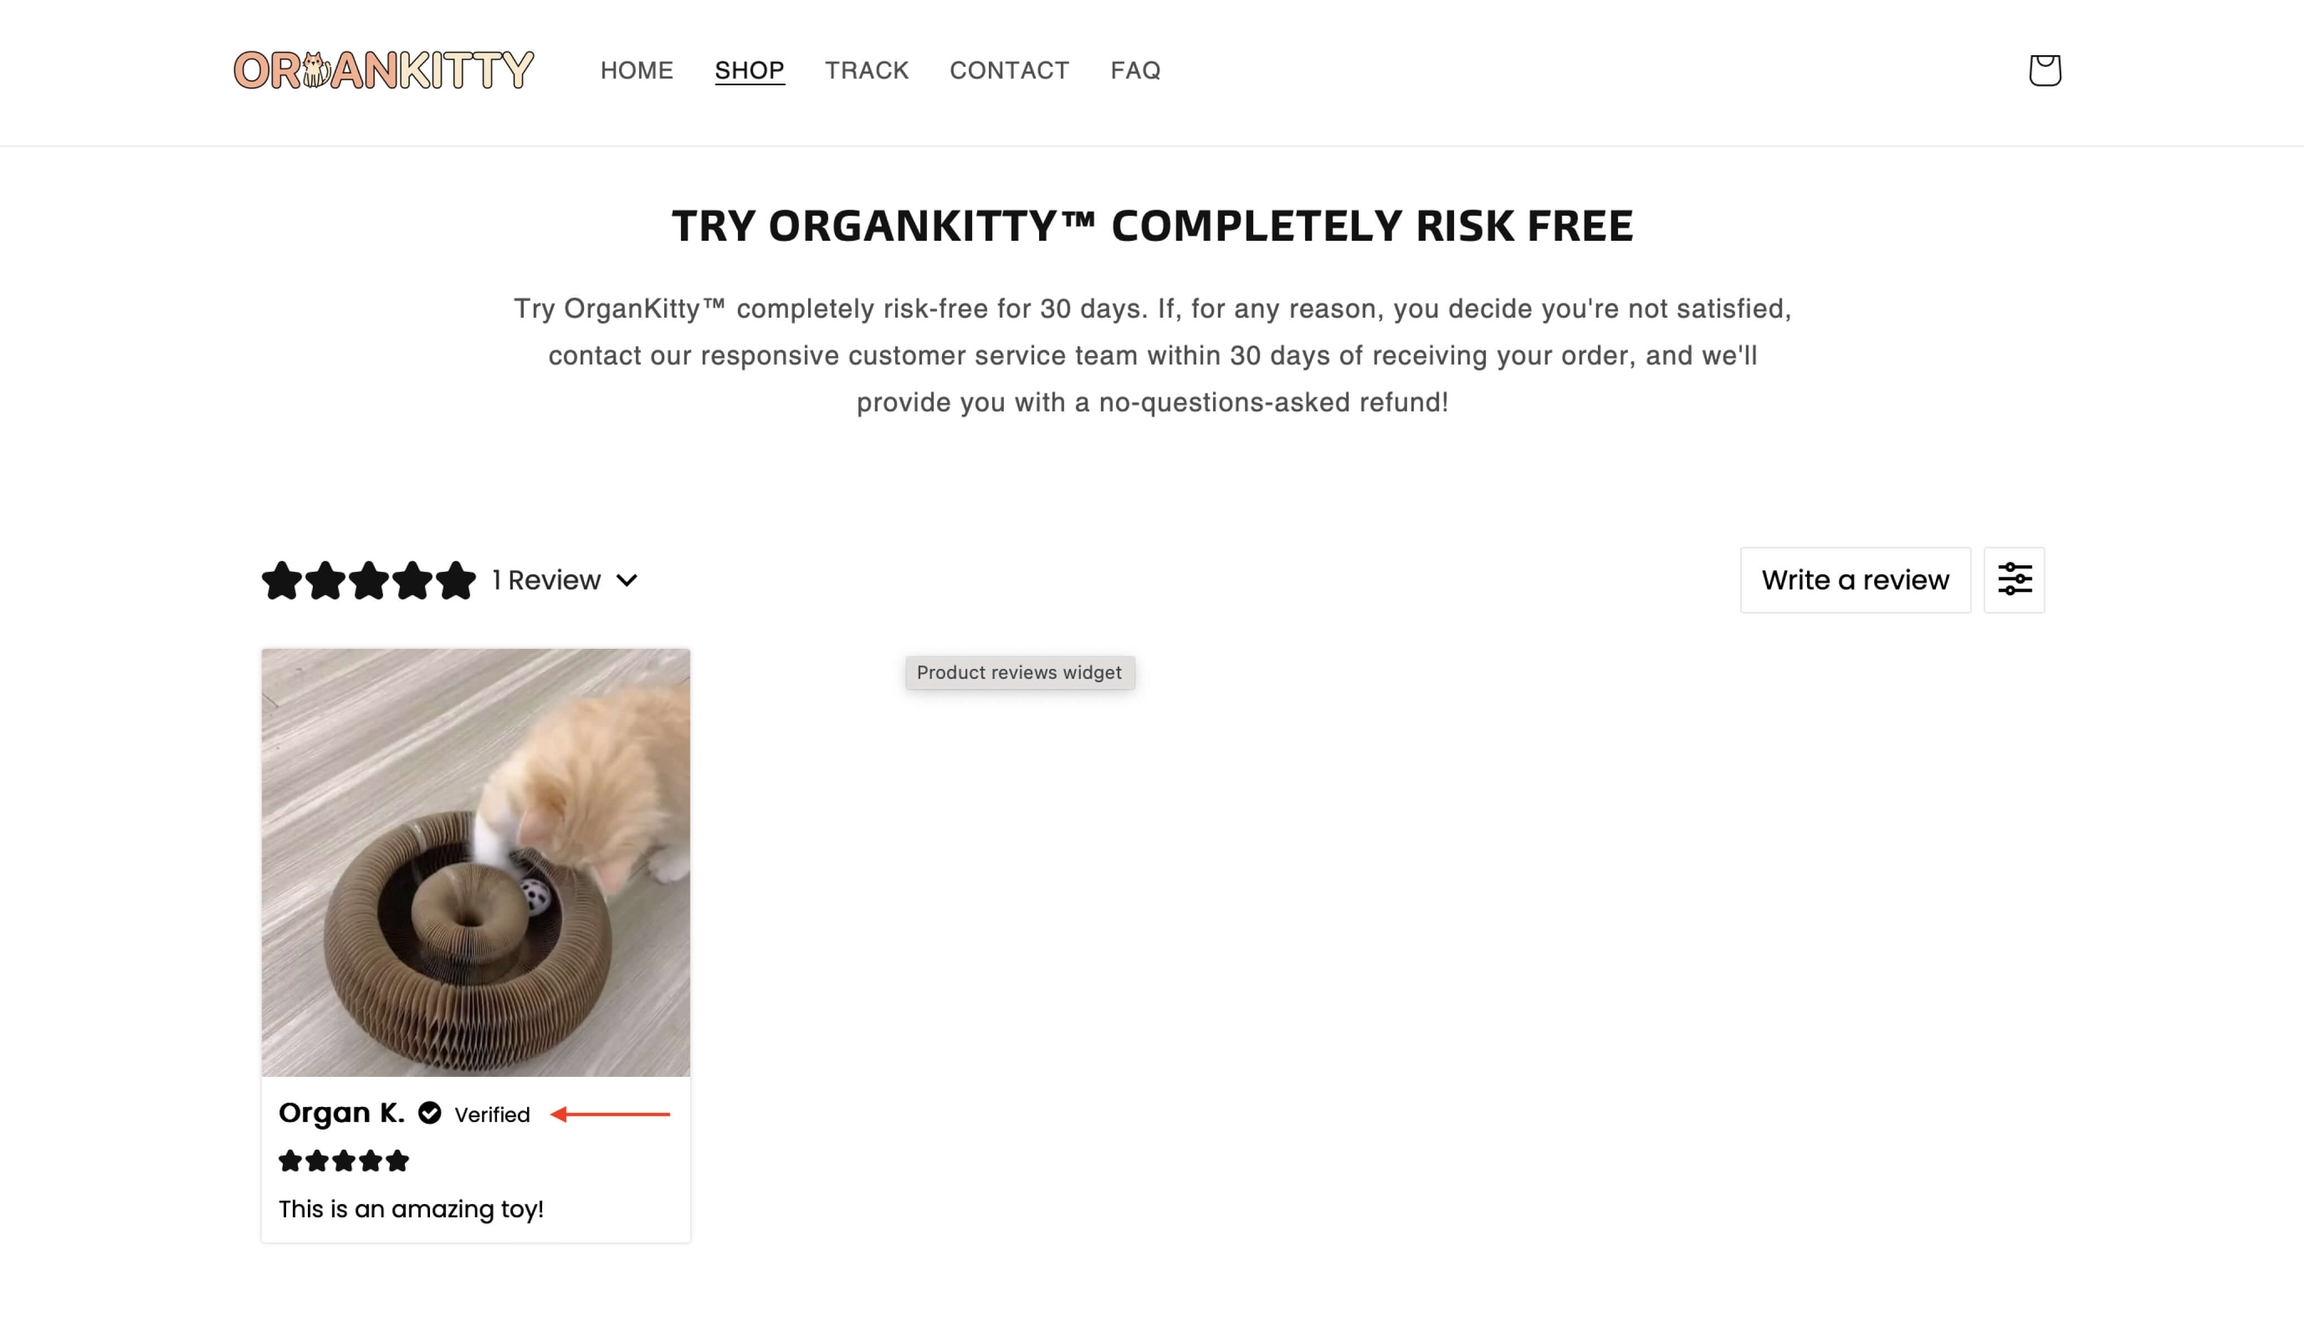
You can add a verification badge for each review in Manage reviews.
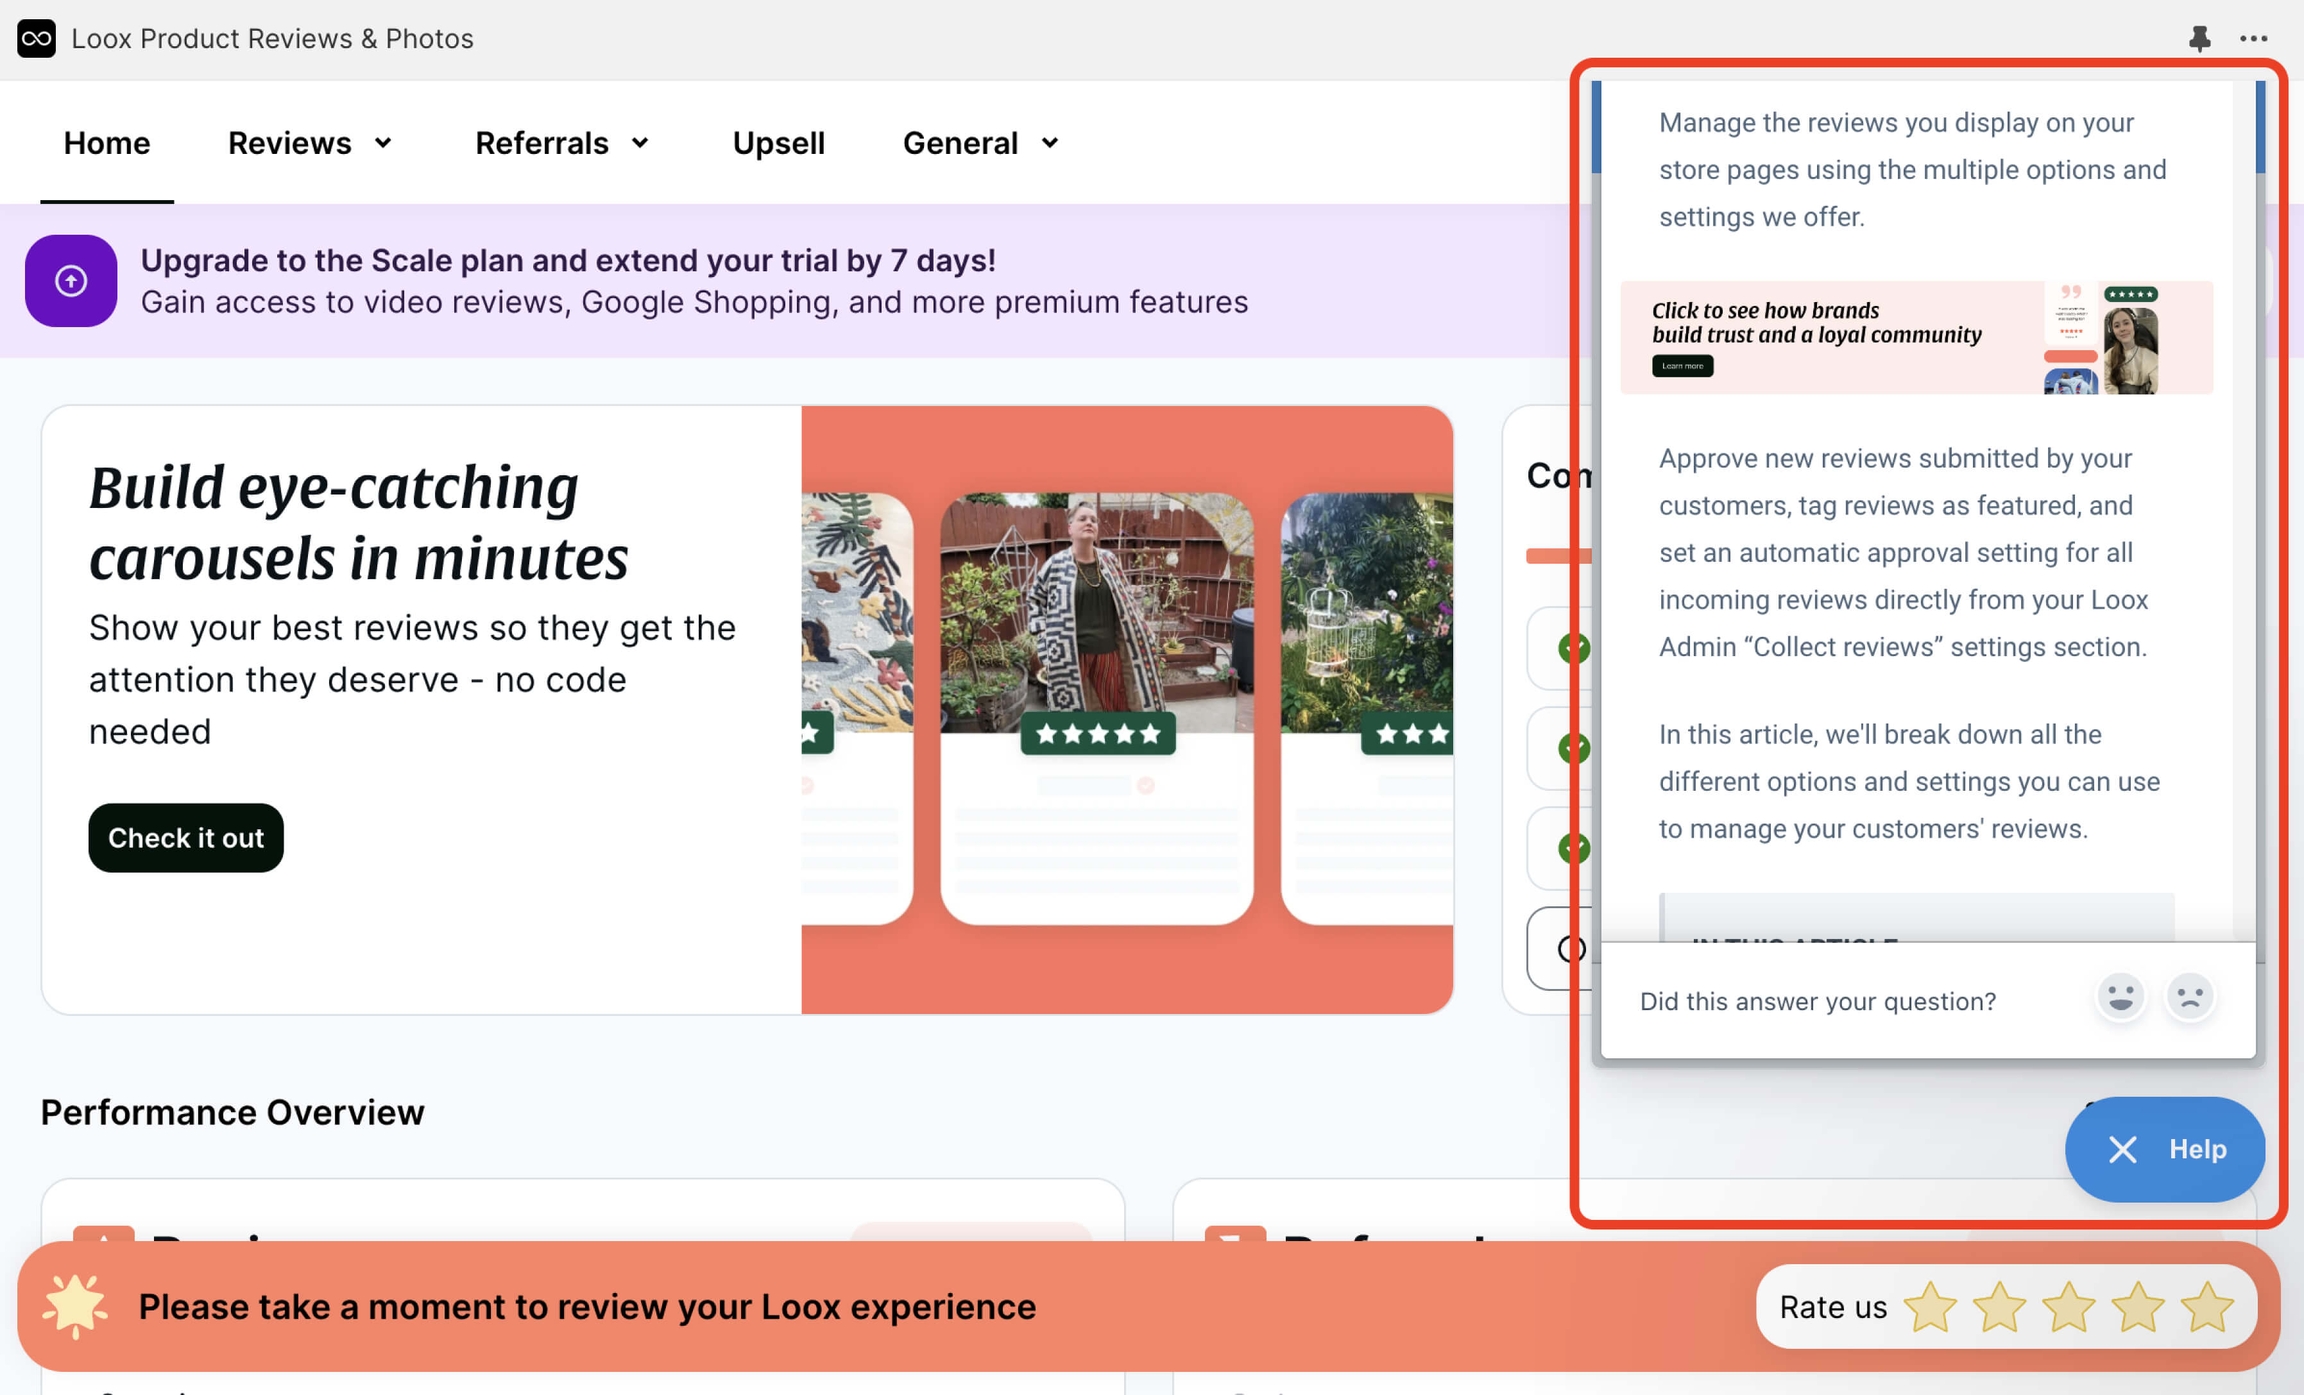
There is a Help button at the bottom right.
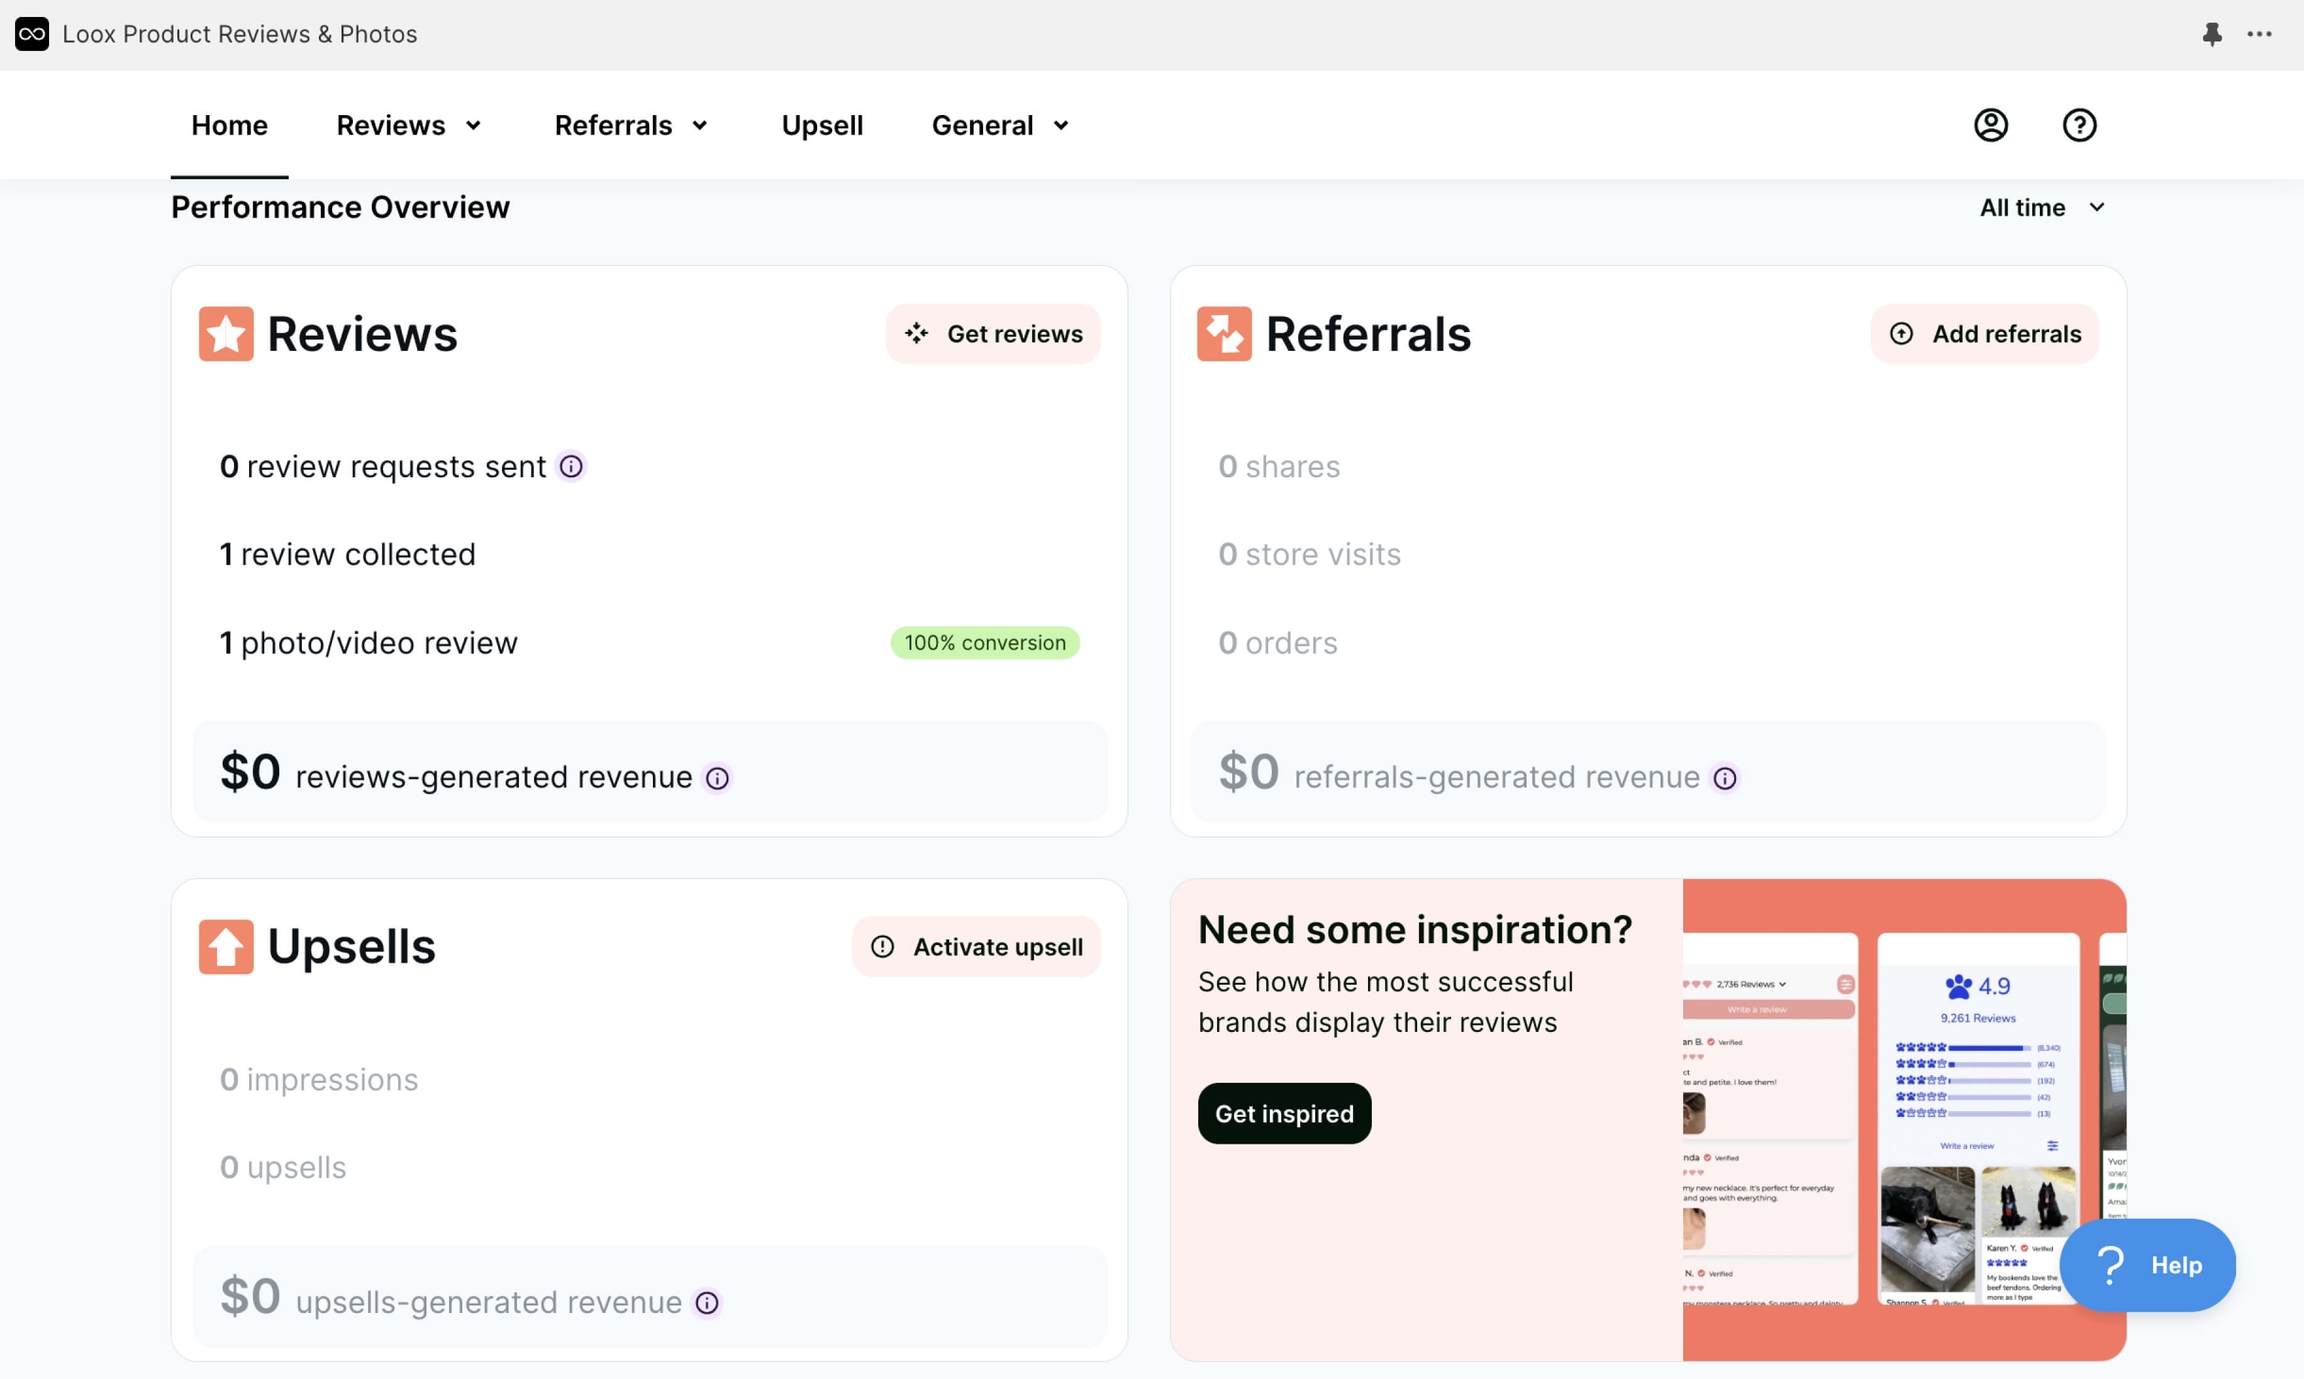
And all the performance data is in Home.
We’ve shown just a small part of the features of the Loox app. Start with this and enhance the functionality as needed.
Instructions
Install the app in Shopify
Set up the app
Add reviews
Actions
Example of a table for collecting reviews, if applicable.
Last updated